Make Your Wall Pop!
Make a colorful 3D wall display by creating layered paper shapes, painted backgrounds, and simple mounting—decorate your room while learning design and measuring.


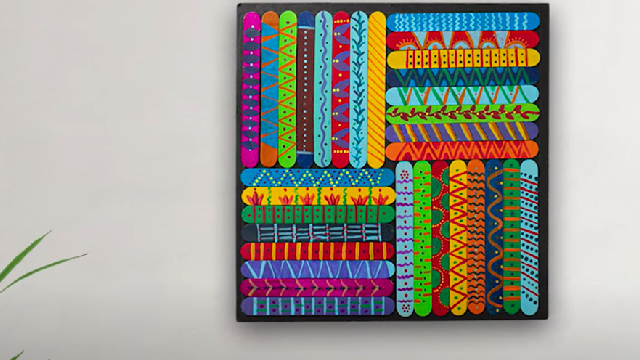

Step-by-step guide to make your wall pop
Step 1
Choose a spot on your wall where you want the 3D display.
Step 2
Measure the width of the chosen spot with your ruler.
Step 3
Measure the height of the chosen spot with your ruler.
Step 4
Write the width and height numbers on a scrap piece of paper.
Step 5
Sketch a simple layout on the scrap paper showing shapes sizes and how many layers each will have.
Step 6
Pick three to five colors from your papers and paints for the whole display.
Step 7
Paint a few pieces of cardstock with your chosen colors or textures.
Step 8
Let the painted cardstock pieces dry completely before touching them.
Step 9
Trace the layered shapes onto the painted cardstock and colored paper following your sketch.
Step 10
Cut out each traced shape carefully with scissors.
Step 11
Attach foam tape or folded paper tabs to the backs of the cut shapes to make them pop out from the wall.
Step 12
Lay out all shapes on a table or the floor to test the placement and spacing.
Step 13
Mount each shape on the wall using removable mounting putty or removable adhesive strips.
Step 14
Share your finished colorful 3D wall display on DIY.org
Help!?
What can I use instead of foam tape or removable mounting putty if I can't find them?
If you don't have foam tape or mounting putty, use folded paper tabs (as suggested in step 10) or small folded pieces of cardstock glued between layers to create the lift and double-sided tape or poster putty in place of strips when mounting in step 12.
My shapes keep sliding or falling off the wall after mounting — how do I fix that?
If shapes fall off after mounting, press each removable adhesive strip or piece of mounting putty (step 12) onto both the cut shape and the wall for 30 seconds, add an extra strip or a small dab of putty at corners, and make sure painted cardstock was fully dry before attaching (step 6).
How can I adapt this activity for younger kids or older kids who want more challenge?
For younger children, simplify the project by having an adult pre-measure (steps 2–3), pre-cut basic shapes (step 9) and let them paint (step 5), while older kids can sketch complex multi-layer layouts (step 4), use precise measurements with the ruler (steps 2–3), and experiment with more layers and color blending.
What are some fun ways to enhance or personalize the 3D wall display?
Enhance the display by painting some cardstock with glow-in-the-dark paint or metallics (step 5), adding small battery LED lights tucked behind foam tape or folded tabs (step 10) for backlighting, and attaching textured materials like fabric or glitter to selected cut shapes (steps 8–9) for extra visual interest.
Watch videos on how to make your wall pop
Easy and Quick Paper Wall Hanging Ideas / A4 sheet Wall decor / Cardboard Reuse /Room Decor DIY
3 Videos
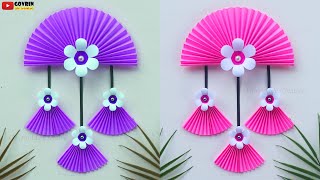
Easy and Quick Paper Wall Hanging Ideas / A4 sheet Wall decor / Cardboard Reuse /Room Decor DIY
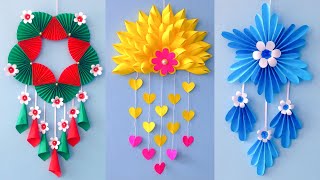
3 Unique Flower Wall Hanging / Quick Paper Craft For Home Decoration / Easy Wall Mate DIY Wall Decor
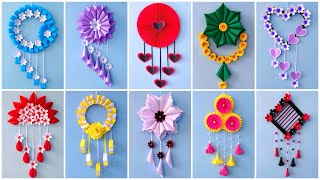
10 Unique Flower Wall Hanging / Quick Paper Craft For Home Decoration Easy Wall Mate DIY Wall Decor
Facts about paper crafts and room decor
🎨 Human eyes can distinguish around 10 million colors — tiny shade changes can make your wall pieces pop differently.
✂️ Adding just 1 cm or 2 cm of space between paper layers creates real 3D shadows that make shapes look dimensional.
📏 The rule of thirds divides a space into 9 equal parts and is an easy guide to place pieces so your display feels balanced.
🖌️ Acrylic paint dries much faster than oil paint (often within 15–30 minutes), so you can layer backgrounds and shapes quickly.
🧲 Removable adhesive strips can hold several pounds, letting you mount displays securely without drilling holes in the wall.
How do I make a 3D layered paper wall display?
What materials do I need for the wall display?
What ages is this activity suitable for?
What are the benefits of making a 3D wall display?
