Make Winter Landscape Sponge Art
Use sponges, paint, and paper to stamp trees, snowy hills, and falling snow, learning about texture, layering, and color blending while creating a winter landscape.


Step-by-step guide to make Winter Landscape Sponge Art
Paint a Landscape with a SPONGE || Step by Step Painting Tutorial for Beginners
Step 1
Lay a paper towel under your paper to keep the table clean.
Step 2
Tape the corners of the paper to the table so it won’t move.
Step 3
Squeeze small blobs of each paint color onto separate paper plates.
Step 4
Cut sponges into one big rounded shape and at least two triangle shapes for hills and trees.
Step 5
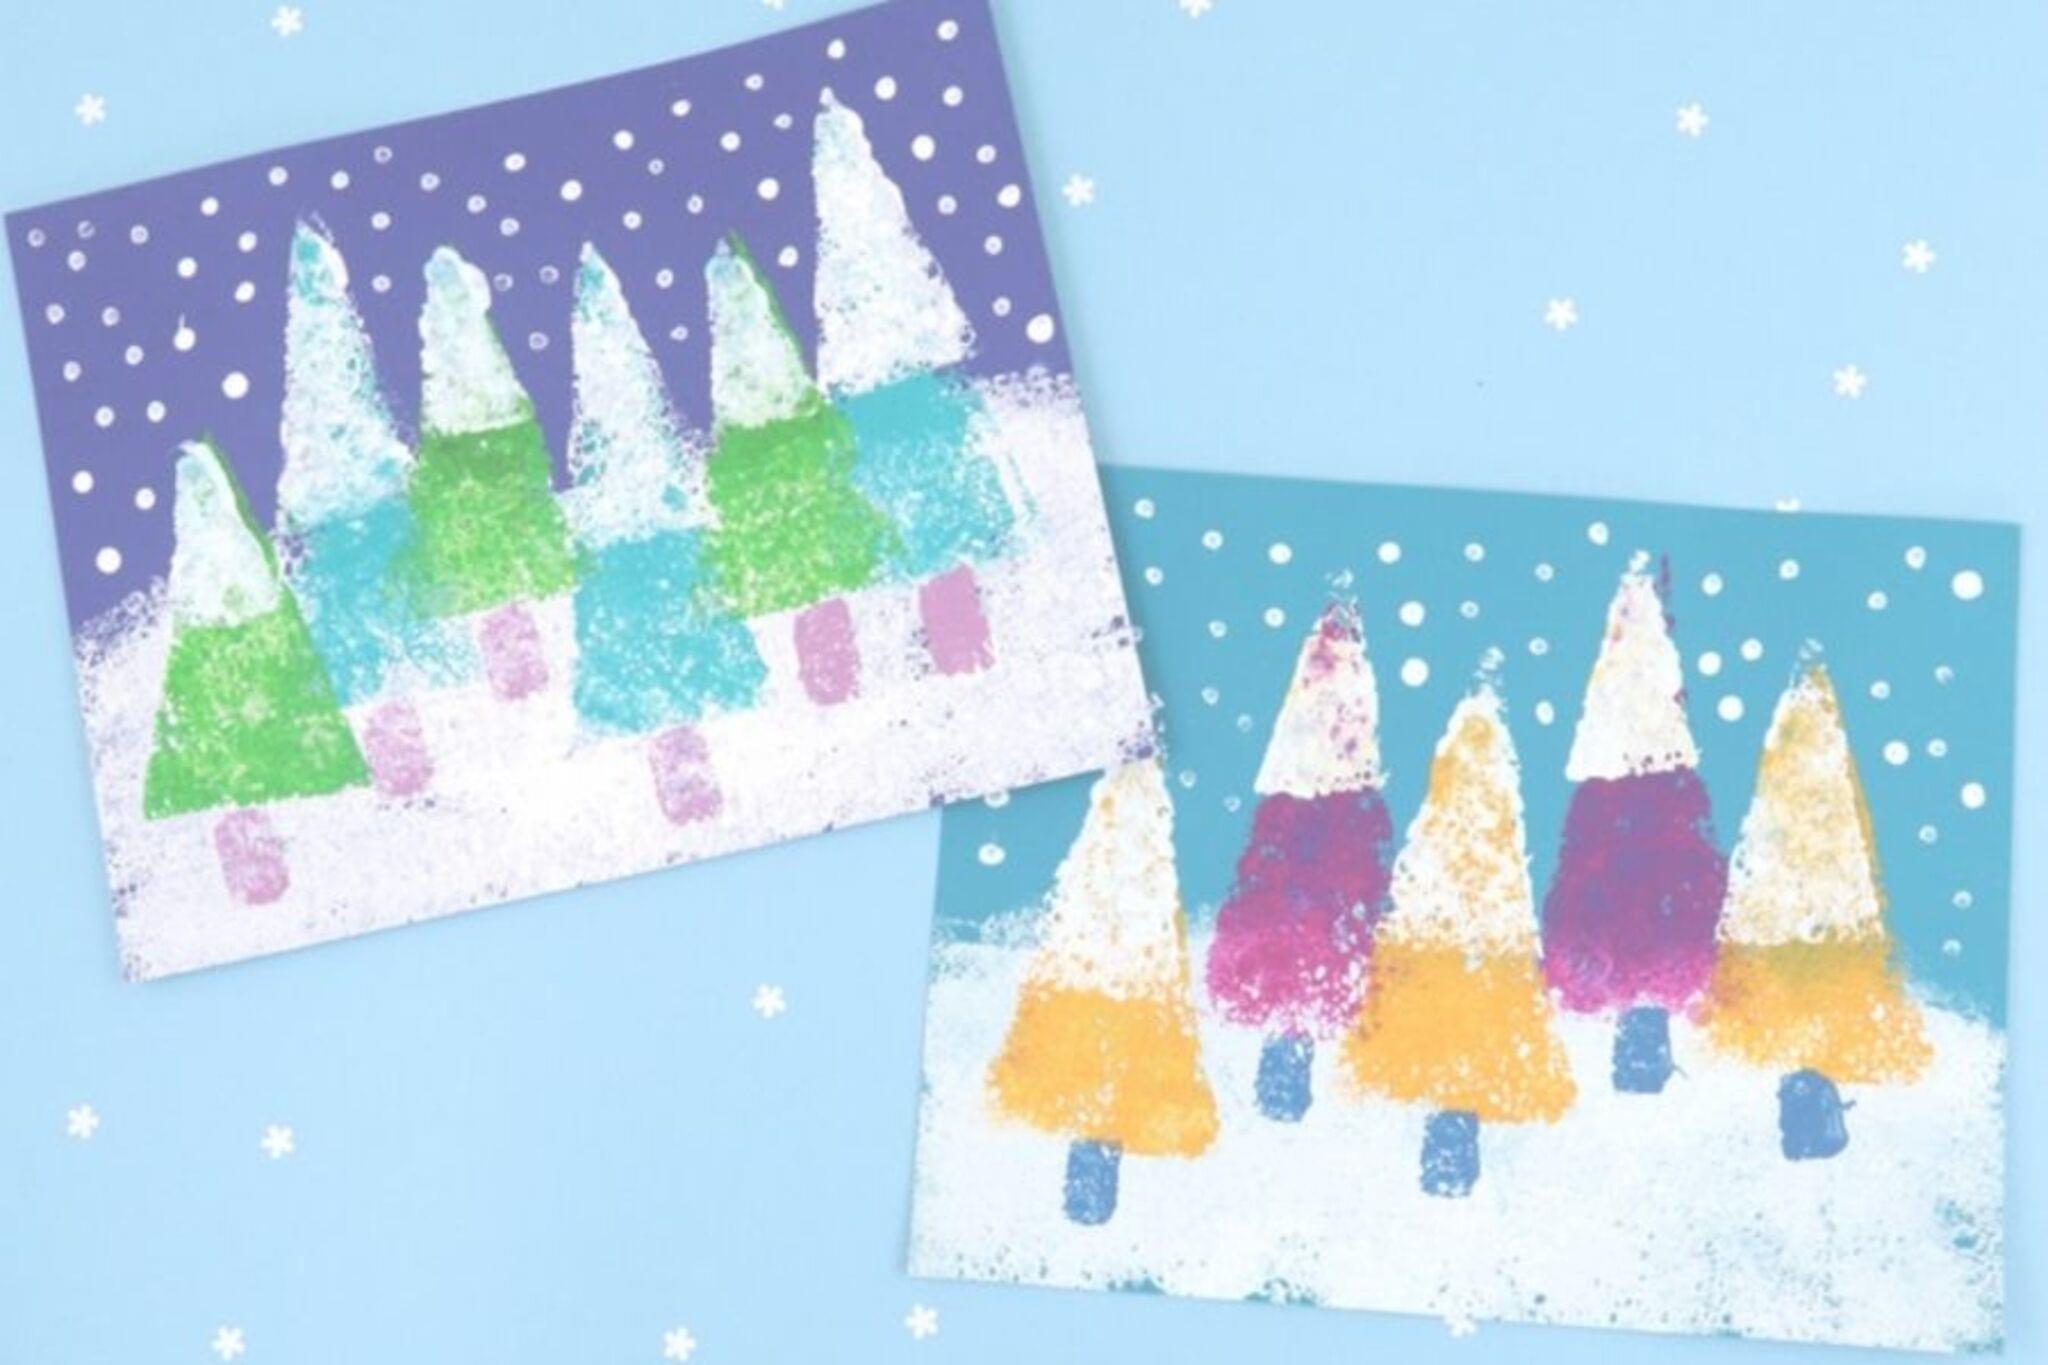
Dip the big rounded sponge into light blue paint and stamp the top two-thirds of the paper to make the sky.
Step 6
Dip a clean rounded sponge into white paint and stamp across the bottom of the paper to make snowy hills.
Step 7
Dip a triangle sponge into dark green or brown paint and stamp tree shapes standing on the hills.
Step 8
Dip the corner of a small sponge into a lighter color and gently dab the trees and hills to add texture and snow highlights.
Step 9
Dip your fingertip or a small paintbrush into white paint and dot the whole picture to make falling snow.
Step 10
Let your painting dry completely before touching it.
Step 11
Write your name in a corner of the painting to sign your artwork.
Step 12
Rinse and wipe your brushes and sponges clean on a paper towel.
Step 13
Share your finished winter landscape on DIY.org.
Help!?
What can we use if we don't have craft sponges or paper plates?
If you don't have craft sponges, cut clean kitchen sponges or fold thick paper towels into the big rounded and triangle shapes, and use plastic lids or disposable yogurt cups instead of paper plates to hold the paint.
My paint keeps smearing or the colors look muddy—what should I do?
Wipe or rinse the sponge between colors (especially before switching from the light blue sky to white hills or dark green trees), blot excess paint on the paper towel under your work, and tape the paper corners firmly so stamps don't shift and smear.
How can I adapt this activity for different ages?
For preschoolers pre-cut the big rounded and triangle sponges and limit to two or three colors, while older kids can cut their own sponge shapes, blend shades when stamping the top two-thirds for the sky, and add fine brush details before signing their name.
How can we extend or personalize the winter landscape once it's finished?
After the painting dries, add texture and sparkle by dabbing lighter paint for snow highlights, glue on cotton-ball snowmen or sequins to the snowy hills and trees, then write your name in a corner as the final signature.
Watch videos on how to make Winter Landscape Sponge Art
Snowy Winter Birch Trees Art Lesson For Kids
4 Videos
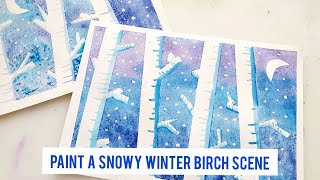
Snowy Winter Birch Trees Art Lesson For Kids
How to Draw a Winter Landscape
Watercolor and Collage Art Lesson | Easy Winter Landscape
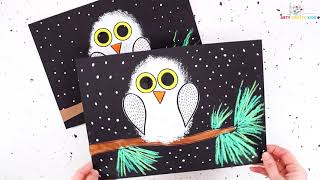
Sponge Painted Snowy Owl Craft
Facts about sponge painting and texture techniques
🧽 Sponge painting is a real decorative technique designers use to create textured finishes—perfect for stamping trees and hills.
🎨 Adding white to a color creates a tint, an easy trick to make frosty blues and pale purples for winter skies.
❄️ No two snowflakes are identical—stamp different-sized dots with a sponge to mimic unique falling snow.
🌲 Layering darker tree stamps in front and lighter, bluer shapes behind creates depth using atmospheric perspective.
🖼️ Sponge stamping teaches basic printmaking: pressing the same shape repeatedly transfers paint like a stamp to build patterns and texture.
How do I make a winter landscape sponge art?
What materials do I need for winter landscape sponge art?
What ages is winter landscape sponge art suitable for?
What are the benefits and safety tips for sponge painting a winter landscape?
