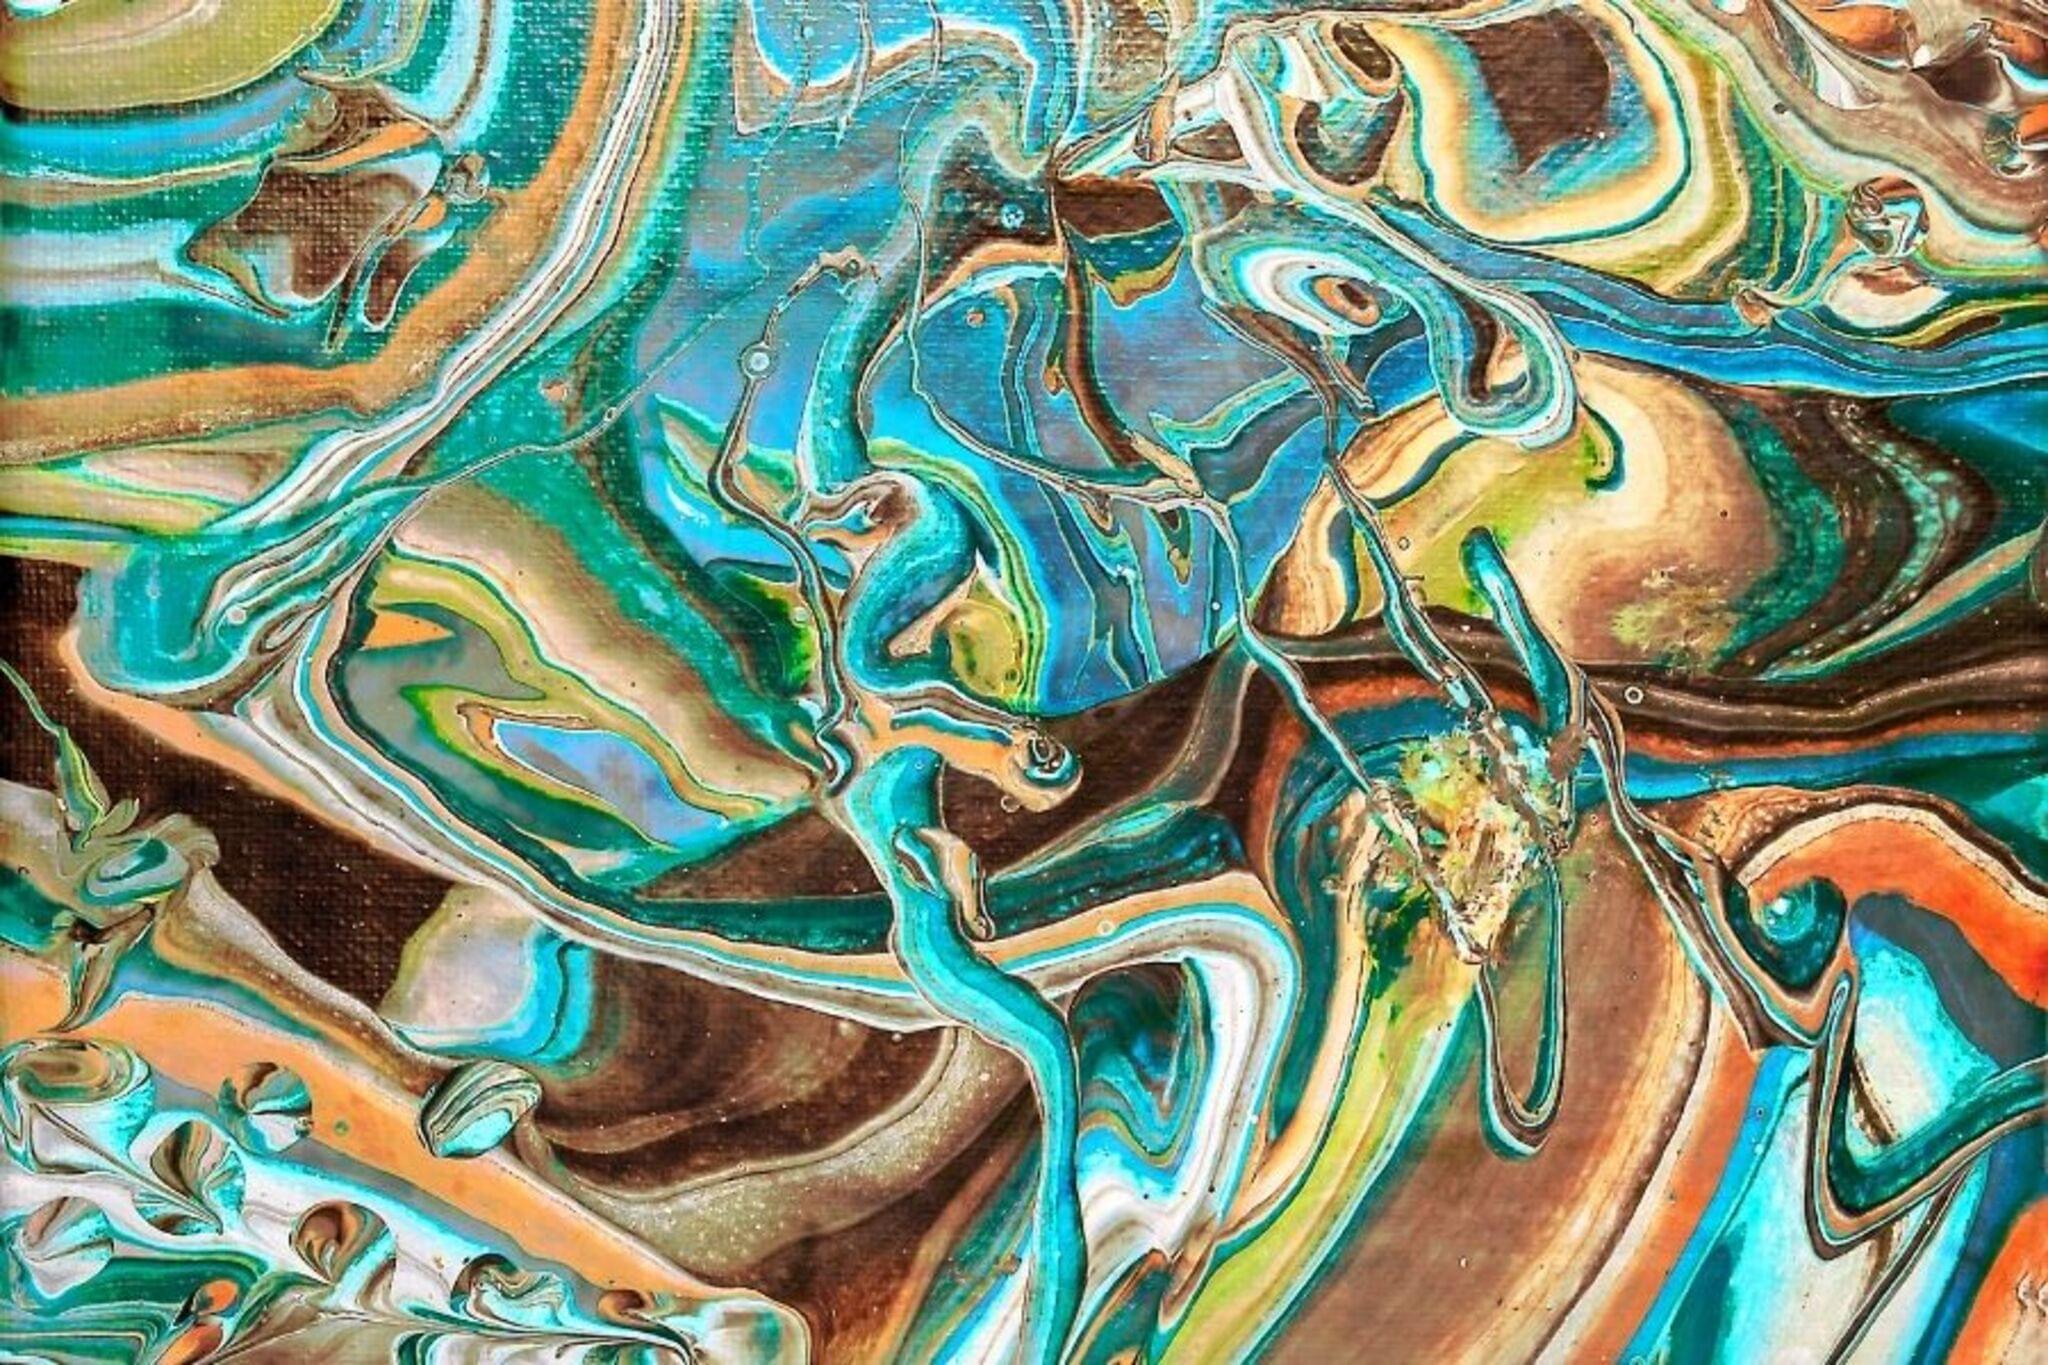
Make Super Awesome Pour Art!
Create colorful pour-paint art using acrylics, cups, and tilting techniques; explore color mixing, patterns, and safe workspace setup to make unique canvases.


Step-by-step guide to make Super Awesome Pour Art
VASE POUR + CANVAS | Fun & Easy 2-for-1 Paint Project to Make With Kids & Grandkids
Step 1
Spread the plastic table cover over your workspace so the area is protected.
Step 2
Place the cardboard or plastic tray on the covered area to catch any paint drips.
Step 3
Put on your disposable gloves to keep your hands clean.
Step 4
Set your small canvas or heavy cardstock on the tray where you will paint.
Step 5
Squeeze a small amount of one acrylic paint color into a clean plastic cup.
Step 6
Add pouring medium or a small splash of water to that cup to thin the paint.
Step 7
Stir the paint and pouring medium in the cup with a wooden stick until the mixture is smooth.
Step 8
Repeat Steps 5 to 7 for each paint color you want to use.
Step 9
For a dirty pour effect layer different colors into an empty cup one at a time without stirring.
Step 10
Slowly pour the prepared paint from your cup onto the center of the canvas.
Step 11
Tilt the canvas gently in different directions so the paint flows and covers the surface.
Step 12
Tap the sides of the canvas or use a stick to move paint and create interesting patterns.
Step 13
Leave the canvas on the tray to dry undisturbed for at least 24 hours.
Step 14
Share your finished creation on DIY.org
Help!?
What can I substitute for pouring medium or a small canvas if they're hard to find?
If you don't have pouring medium, mix a small splash of water and about a teaspoon of white PVA (school) glue into the acrylic in the cup and stir as in Step 6 to reach a pourable consistency, and use heavy cardstock on the tray instead of a small canvas for Step 4.
My paint isn't flowing or keeps forming globs when I pour—how do I fix that?
If the paint won't spread during Step 10, thin each color more in its cup with additional pouring medium or a tiny bit of water and re-stir (Step 6) until the mixture flows smoothly and then tilt the canvas gently (Step 11).
How can I adapt this pour art activity for different age groups?
For younger kids, pre-mix only two washable acrylic colors in cups and have an adult do the pouring and tilting (Steps 9–12) while the child taps the sides (Step 12), and for older kids let them layer multiple colors into a cup for a dirty pour (Step 9) and experiment with larger canvases on the tray (Step 2).
What are simple ways to enhance or personalize our finished pour art?
To create cell effects and personalize the piece, add a few drops of silicone oil into one color cup before Step 7, sprinkle fine glitter on the wet paint after Step 10 if desired, and seal the finished canvas with a gloss varnish after it dries (Step 13).
Watch videos on how to make Super Awesome Pour Art
Family Art Projects for Kids | Fun kid-friendly collaborative art activities for groups & families!
4 Videos
Family Art Projects for Kids | Fun kid-friendly collaborative art activities for groups & families!
Easy Art Project for Kids
3 INSANELY COOL CRAFTS FOR ARTSY KIDS
Vibrant and Colorful Fluid Art Tutorial: Scoop and Fold Technique
Facts about paint pouring and acrylic painting
🎨 Acrylic paint dries faster than oil paint, which makes it perfect for experimenting with multiple pour layers in one session.
🧪 Adding a pouring medium and a few drops of silicone oil helps form those cool round "cells" in pour paintings.
🌈 Many fluid artists start with just 3–4 colors and discover surprising new shades as paints mix on the canvas.
🖼️ Working on small canvases uses less paint and lets you practice tilting and layering without wasting supplies.
♻️ Leftover mixed pour paint can be poured onto cardboard to make marbled paper—great for cards and reducing waste.
How do I make Super Awesome Pour Art?
What materials do I need for Super Awesome Pour Art?
What ages is Super Awesome Pour Art suitable for?
What safety tips and fun variations can we try with pour art?
