Make Paper Stairs
Fold and cut paper to build a small model of stairs, learning measurement, symmetry, and simple construction while testing stability and counting steps.


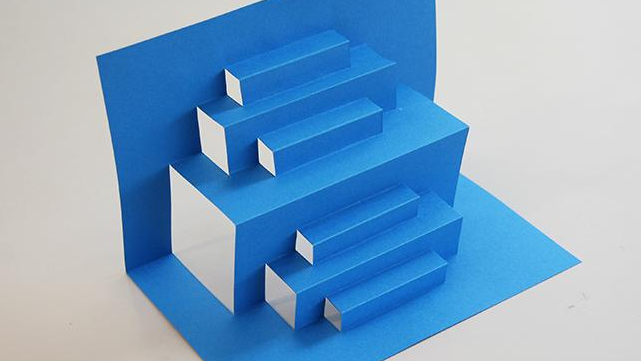

Step-by-step guide to Make Paper Stairs
Step 1
Gather all your materials and clear a flat workspace so you have room to build.
Step 2
Decide how many steps you want in your staircase (pick a number between 3 and 6).
Step 3
Lay the paper landscape and use the ruler and pencil to divide the long side into the same number of equal rectangles by marking vertical lines.
Step 4
Cut along the pencil lines to make one rectangle piece for each step.
Step 5
Fold each rectangle in half along the shorter side so each piece makes an L shape that can stand up.
Step 6
Place one folded L piece flat on the table to be the bottom step of your staircase.
Step 7
Put a small dab of glue or a short piece of tape inside the next folded L piece where it will stick to another step.
Step 8
Press the glued or taped folded piece onto the top of the bottom step with a little forward offset to make the next stair.
Step 9
Repeat gluing or taping and pressing for each remaining folded piece to build the staircase upward.
Step 10
Let the glue dry for a few minutes so the steps hold together firmly.
Step 11
Gently press the top step to test stability and use the ruler to measure each riser height to check they match for symmetry.
Step 12
Count the steps out loud to practice number skills and then share a photo of your finished paper stairs on DIY.org
Help!?
What can we use if we don't have glue, tape, or a ruler?
Use double-sided tape, a glue stick, or a small strip of regular tape instead of glue for sticking each folded L piece, and use a straight book edge or the long side of a cereal box in place of a ruler to mark and measure the vertical lines.
My stairs keep collapsing or look uneven—what should I check?
If steps collapse or are uneven after pressing the glued folded L pieces, reinforce the inside seam with an extra strip of tape, press each glued area firmly, let the glue dry fully, and try thicker paper so the riser heights match when measured with the ruler.
How can I adapt this activity for younger or older kids?
For preschoolers, have an adult pre-cut and pre-fold the rectangles so they can simply glue or tape the folded L pieces onto the bottom step, while older kids can use the ruler and pencil to precisely divide the paper into 6 rectangles, vary riser heights, and decorate each step before assembly.
How can we extend or personalize the paper staircase after building it?
Decorate each folded L with markers or colored paper before gluing, experiment with different forward offsets and measure riser heights for patterns using the ruler, add a paper handrail taped along one side, and then take a photo to share on DIY.org.
Watch videos on how to Make Paper Stairs
paper stair model making | origami paper stair design | paper stairs architecture
4 Videos
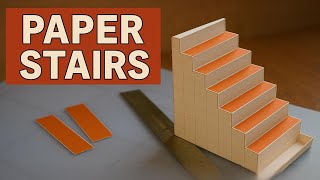
paper stair model making | origami paper stair design | paper stairs architecture
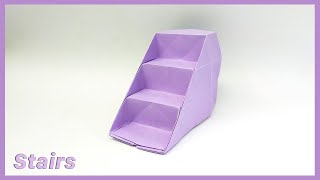
Origami Stairs Easy | Step by Step Tutorial | Cách gấp bậc cầu thang bằng giấy | Tuan Bo TubeHD
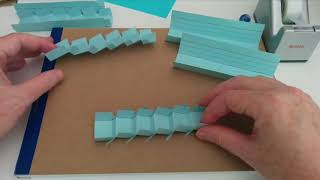
How to make stairs for a paper roller coaster
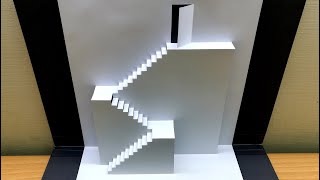
Pop Up card Designer|Kirigami Paper Art Tutorial|Architecture stairs|Hobby Knife #1
Facts about paper engineering for kids
🪜 Many homes use about 12–16 steps per flight — counting steps helps builders plan stair height and spacing.
✂️ Kirigami (cut paper art) lets you make pop-up and folding stair models that plain origami can't.
📐 Symmetry makes stairs easier to fold and assemble because mirrored parts match up perfectly.
📏 Tiny measurement changes (even a few millimetres) can change how many steps fit in a model — measure twice, cut once!
🔺 Triangles are one of the strongest shapes in building — using triangular supports can make paper stairs more stable.
How do I make paper stairs at home?
What materials do I need to make paper stairs?
What ages is the paper stairs activity suitable for?
What are the benefits of making paper stairs with kids?
