Make Indian Paper Craft by DIY Star Maxbubble
Make an Indian paper craft called a DIY Star Maxbubble using colored paper, scissors, glue, and folding to create a decorative star for display.


Step-by-step guide to make an Indian paper craft: DIY Star Maxbubble
Step 1
Clear a table so you have a clean workspace to build your star.
Step 2
Pick two or three colors of paper that you want for your DIY Star Maxbubble.
Step 3
Use the pencil and ruler to draw five squares about 10 cm on each side on the colored paper.
Step 4
Cut out the five squares carefully with scissors.
Step 5
Cut a small circle about 6 cm across from leftover paper to use as the star center.
Step 6
Fold one square diagonally corner to corner to make a triangle.
Step 7
Roll the triangle into a cone shape and put glue along the seam to hold it closed.
Step 8
Trim the open base of the cone so the cone sits flat on the table.
Step 9
Repeat steps 6 to 8 for the remaining four squares to make a total of five cones.
Step 10
Glue the flat bases of the five cones evenly around the small paper circle so the pointy ends form a star shape.
Step 11
Add decorations like small paper shapes or coloring to make your star bright and unique.
Step 12
Attach a loop of string to the back of the paper circle with glue so you can hang your Star Maxbubble.
Step 13
Share your finished DIY Star Maxbubble on DIY.org
Help!?
What can I use if I don't have colored craft paper or a ruler?
Use plain printer paper, magazine pages, or wrapping paper cut into five 10 cm squares and use a book edge or straight cardboard as a ruler when you draw the squares in step 3 and cut them in step 4.
My cones won't hold their shape or sit flat—what should I try?
Be sure to put glue along the seam in step 7 and hold or clip the seam until dry, then trim the open base a little more as in step 8 so each cone sits flat before you glue them to the center circle in step 9.
How can I adapt this activity for different ages?
For younger children have an adult pre-draw and pre-cut the five 10 cm squares and pre-fold the triangles so kids can roll and glue cones in steps 6–8, while older kids can measure precisely in step 3, try larger square sizes, and create detailed decorations in step 11.
How can we enhance or personalize our Star Maxbubble?
Personalize your Star Maxbubble by layering contrasting colors from step 2, adding sequins or paper shapes in step 11, optionally fixing a battery tealight behind the paper circle instead of only attaching a loop in step 12 for a glowing effect, and then share your finished star on DIY.org as in step 13.
Watch videos on how to make an Indian paper craft: DIY Star Maxbubble
How to cut star shape perfectly |DIY paper Star | How to make star with paper |Paper star
3 Videos
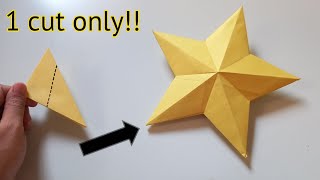
How to cut star shape perfectly |DIY paper Star | How to make star with paper |Paper star
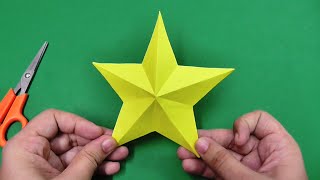
How to make simple & easy paper star | DIY Paper Craft Ideas, Videos & Tutorials.
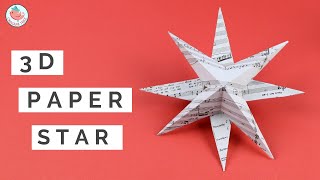
🌟 How to Make a Simple 3D Paper Star Craft (Tutorial) - Narrated Step-by-Step Instructions!
Facts about paper crafts for kids
🧾 Paper was invented in China around 105 AD — long before paper stars were a thing!
✂️ Origami is the art of paper folding and traditionally uses no scissors or glue at all.
🪔 In India, decorative paper lanterns and stars (often called kandils) are popular decorations for Diwali.
🌟 Many 3D paper stars are modular — made from repeated folded units that slot together to form a bigger shape.
♻️ Paper crafts are eco-friendly: most paper is recyclable and biodegradable, so stars can be reused or recycled.
How do I make an Indian paper craft called a DIY Star Maxbubble?
What materials do I need for a DIY Star Maxbubble paper craft?
What ages is this DIY Star Maxbubble suitable for?
What are the benefits and safety tips for making a DIY Star Maxbubble?
