Make Halloween-Themed Painting
Create a Halloween-themed painting using watercolors or tempera paints, stencils, and glitter for accents; practice mixing colors and spooky designs.

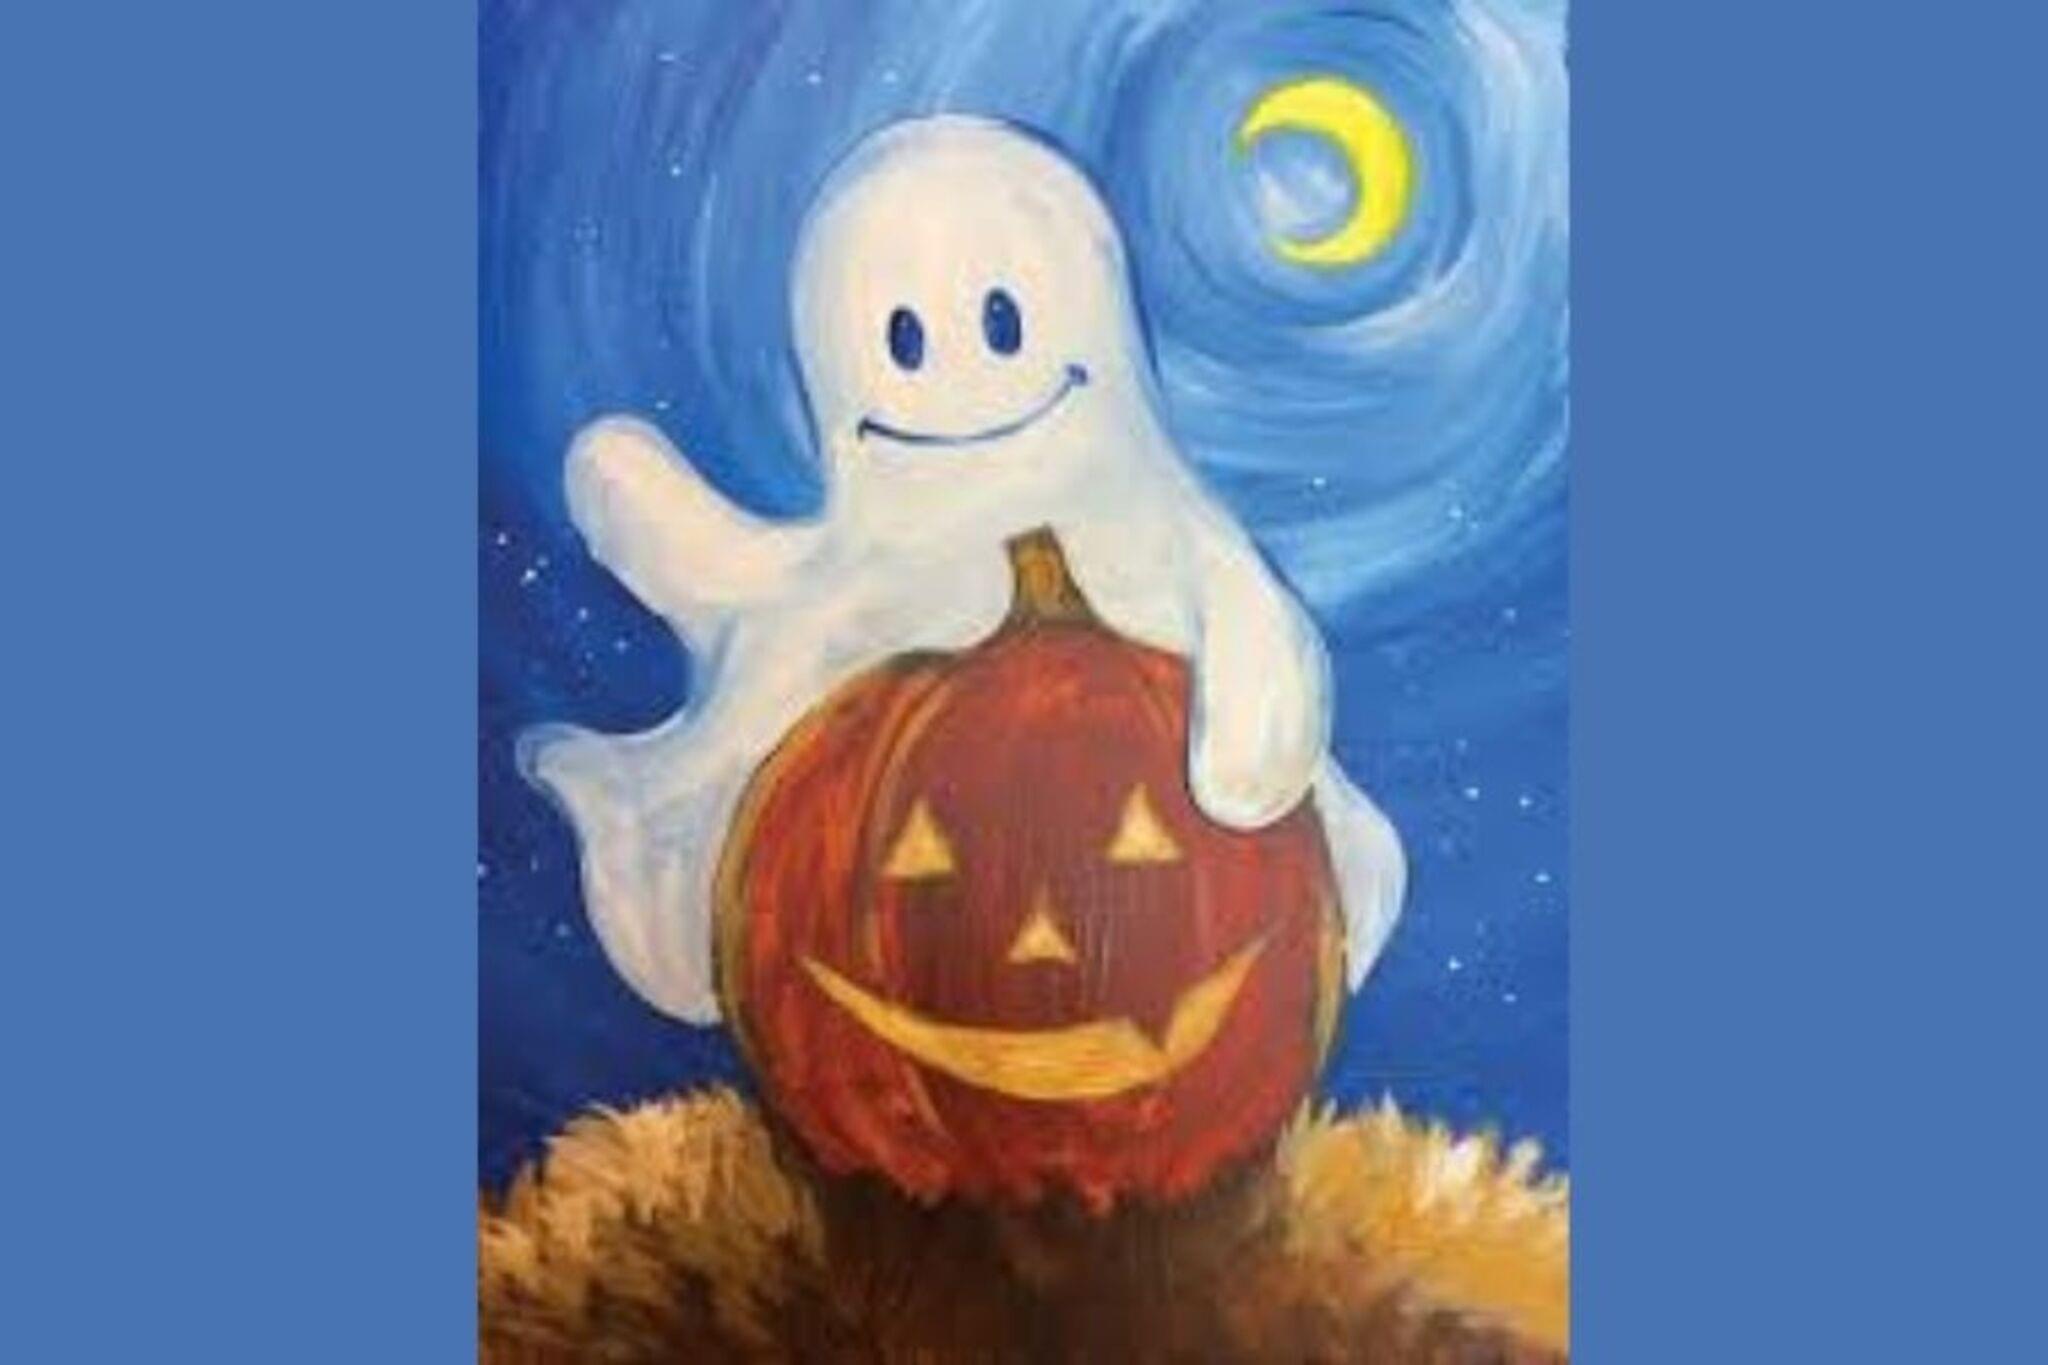

Step-by-step guide to make a Halloween-themed painting
Easy Halloween Crafts for Children | Twinkl
Step 1
Gather all the materials listed and bring them to your workspace.
Step 2
Use masking tape to tape the edges of your paper to the table so it stays flat.
Step 3
Arrange your paints palette brushes cup of water and a paper towel within easy reach.
Step 4
Lightly sketch simple Halloween shapes like a pumpkin ghost bat moon or haunted house with your pencil.
Step 5
Mix a background color on your palette by blending two paint colors until you like the shade.
Step 6
Use a large brush to paint a wash of the background color across the paper.
Step 7
Let the background dry completely before adding other elements.
Step 8
Choose a stencil and place it where you want a shape on your painting.
Step 9
Use a medium brush to paint through the stencil to fill in the shape.
Step 10
Carefully lift the stencil straight up off the paper when the paint is set.
Step 11
Use a small brush to paint faces windows and other spooky details on your shapes.
Step 12
Mix a darker shade on your palette to make shadows for depth.
Step 13
Paint shadows and highlights with the darker shade to make your picture look spooky and 3D.
Step 14
Add glitter accents by applying glue or glitter glue to spots you want to sparkle and let it dry.
Step 15
Share your finished Halloween-themed painting on DIY.org.
Help!?
What can we use if we don't have a stencil, glitter glue, or masking tape?
If you don't have a stencil, cut shapes from cardboard or print templates and tape them down, substitute glitter glue with clear school glue plus loose glitter or metallic paint for the 'Add glitter accents' step, and replace masking tape with painter's tape or weigh the paper down with small books as in 'Use masking tape to tape the edges of your paper to the table...'.
My paint bled under the stencil or the background smeared—what should I do?
If paint bleeds or smears, follow 'Let the background dry completely' and wait longer, blot excess water with the paper towel, use less paint on the medium brush when painting through the stencil, and press the stencil edges down firmly before you paint to prevent seepage.
How can I adapt the activity for different ages or skill levels?
For preschoolers simplify the 'Lightly sketch' step to large pumpkin or ghost outlines and give chunky brushes or sponges and pre-cut stencils, for elementary kids practice mixing a background color and adding basic shadows with a medium brush, and for older kids encourage detailed faces, layered highlights using a small brush, and more complex haunted-house composition.
How can we extend or personalize the Halloween painting once it's finished?
To extend the project, add glow-in-the-dark paint to highlights, experiment with salt or plastic wrap on the wet background wash for texture before 'Let the background dry completely,' layer multiple stencils to build a scene, or frame and photograph the piece to share on DIY.org.
Watch videos on how to make a Halloween-themed painting
Fun Halloween Resources For Kids!
4 Videos
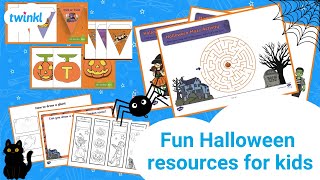
Fun Halloween Resources For Kids!
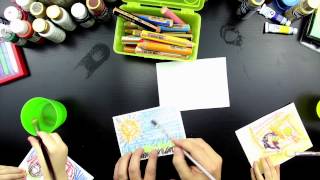
Painting Tips For Kids
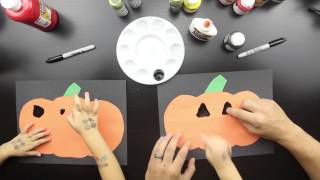
Pumpkin Finger Painting Just For Little Kids
DIY Projects For Kids | Halloween Craft | Twinkl
Facts about painting and color mixing for kids
🎃 Halloween grew from the ancient Celtic festival Samhain more than 2,000 years ago.
🖌️ Watercolor painting uses water-soluble pigments and has been a favorite for artists and kids for centuries.
🎨 Tempera (often egg tempera) was the main painting medium before oil paint and dries quickly to a matte finish.
✂️ Stencils let you repeat crisp shapes fast—street artists and crafters both use them for decorations.
🌈 With just three primary colors (plus white and black) you can mix a huge range of spooky shades—practice helps!
How do I help my child make a Halloween-themed painting?
What materials do I need for a Halloween-themed painting?
What ages is this Halloween painting activity suitable for?
What are the benefits, safety tips, and variations for Halloween painting?
