Make Gold 'n' Glitter Art
Create shimmering gold and glitter artwork using safe paints, glue, stencils, and paper; practice patterns, fine motor skills, and creative design while keeping surfaces protected.


Step-by-step guide to Make Gold 'n' Glitter Art
Draw and Paint a Rainbow Glitter Castle. Acrylic painting for Kids Hands on. Step by step tutorial.
Step 1
Gather all your Materials Needed and bring them to a table.
Step 2
Cover the table with scrap paper or newspaper to protect the surface.
Step 3
Tape your paper or cardstock to the protected surface so it stays flat.
Step 4
Place stencils where you want glitter designs and tape them lightly in place.
Step 5
Put small amounts of gold paint and white glue onto your palette or disposable plate.
Step 6
Use a paintbrush to paint a gold background or gold shapes on your paper.
Step 7
Wait until the gold paint is dry to the touch before moving on.
Step 8
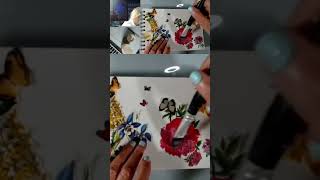
Apply glue through the stencils or draw glue patterns freehand where you want glitter to stick.
Step 9
Sprinkle glitter over the glue areas while the glue is still wet.
Step 10
Gently tap the paper so loose glitter falls onto the scrap paper below.
Step 11
Use a thin paintbrush to add fine gold details or repeat patterns around the glitter shapes.
Step 12
Let your whole artwork dry completely before touching it.
Step 13
Rinse paintbrushes and any glue tools under water until clean.
Step 14
Fold the scrap paper to funnel excess glitter back into its container.
Step 15
Share your finished creation on DIY.org
Help!?
What can I use if I can't find gold paint or fine glitter?
If you don't have gold paint, use a metallic gold marker or mix yellow acrylic with a little metallic eyeshadow, and if you don't have glitter, sprinkle sequins, gold mica powder, or small pieces of cut-up foil over the glue when you 'Apply glue through the stencils'.
Why does my glitter smear or fall off and how do I fix it?
Glitter smears or falls off when the paint or glue isn't dry, so follow 'Wait until the gold paint is dry' before you 'Apply glue through the stencils', press glitter gently into the wet glue, tap excess onto the scrap paper, and seal with clear-drying glue or hairspray after the piece dries.
How can I adapt this activity for different age groups?
For younger children, tape down pre-cut stencils and give large brushes and glue sticks for simple 'gold background' painting and glue application, while older kids can use a 'thin paintbrush to add fine gold details', precise stenciling, and layered textures.
How can we enhance or personalize the finished artwork?
Enhance the piece by creating a painted background before the gold layer, adding sequins or beads onto the glittered glue areas for texture, using the 'thin paintbrush' step for custom details, and sealing the finished art before sharing on DIY.org.
Watch videos on how to Make Gold 'n' Glitter Art
🐟 Draw a Sparkly Glitter Fish | Fun Art with Chiki Art | HooplaKidz How To
4 Videos
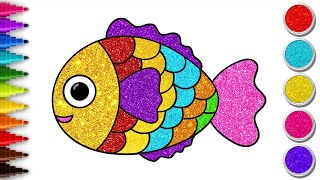
🐟 Draw a Sparkly Glitter Fish | Fun Art with Chiki Art | HooplaKidz How To
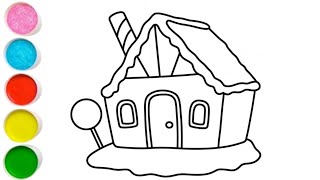
Glitter House Drawing, Painting & Coloring For Kids and Toddlers_ Kids Art
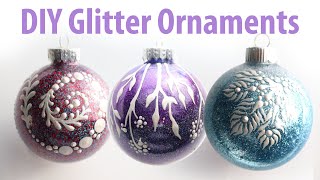
DIY Painted Glitter Ornaments - Step by Step glitter ornament tutorial with 4 designs included
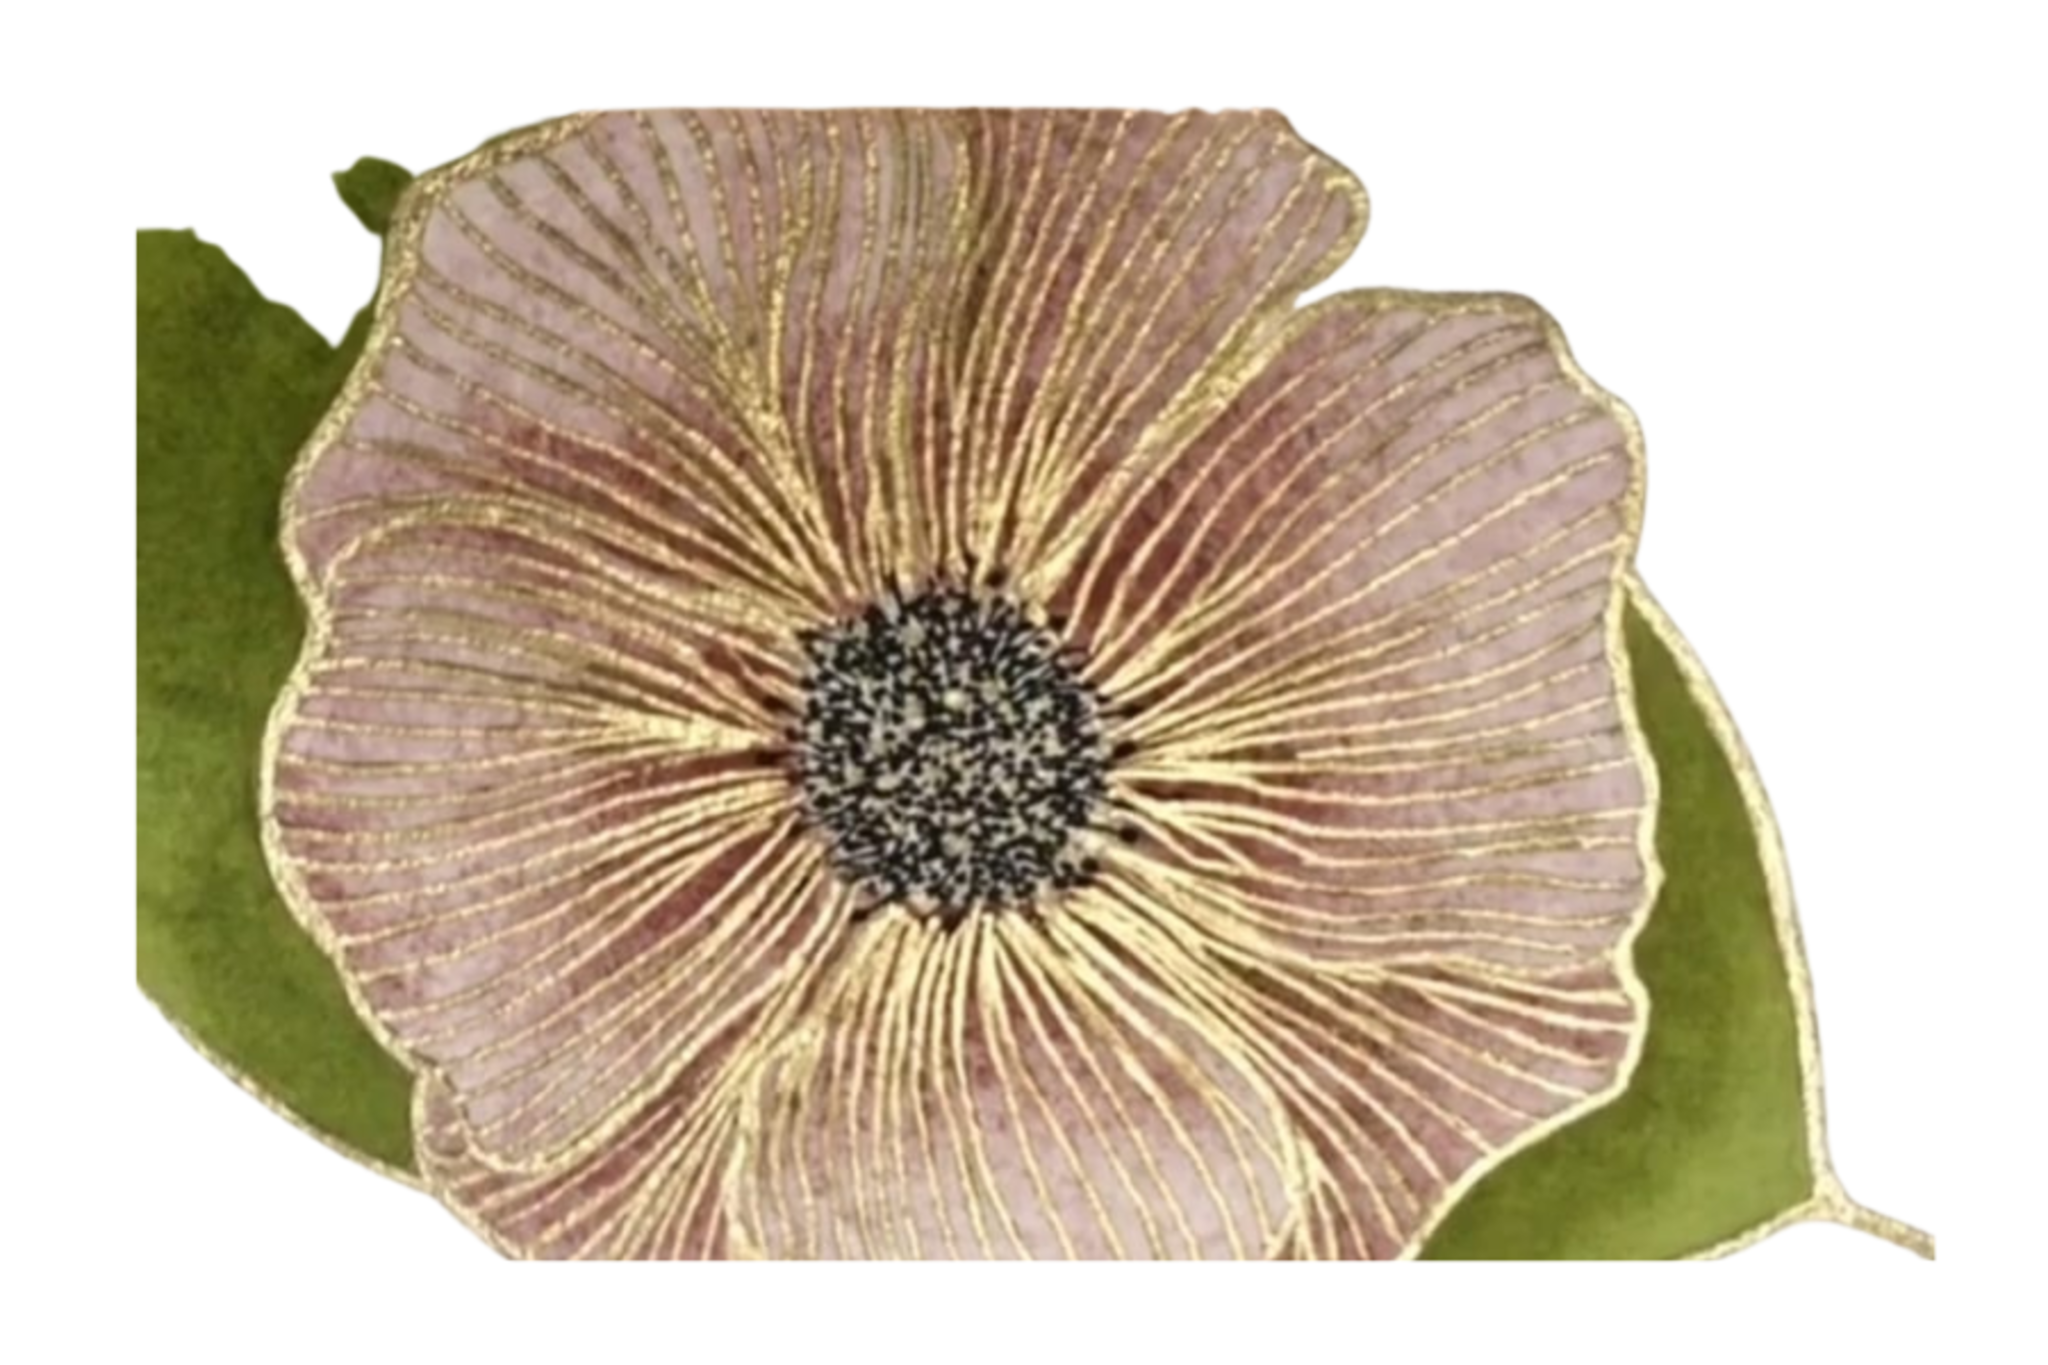
How to create colorful flowers with napkins, gold glitter, and watercolors step by step
Facts about glitter and gold art techniques for kids
✨ Glitter used to be made from ground glass before plastic made it cheap and widely available.
🪙 A single gram of gold can be beaten into a sheet about one square meter, which is why gold leaf is so thin and shiny.
🎨 Stencils let artists repeat crisp shapes quickly — they're great for making patterns and practicing steady hand control.
✂️ Papercraft covers techniques like origami and kirigami, so folding and cutting paper can create everything from cards to tiny sculptures.
♻️ Most craft glitter is tiny plastic pieces that can pollute waterways; biodegradable glitter is a safer choice for kid projects.
How do I make Gold 'n' Glitter Art with my child?
What materials do I need for Gold 'n' Glitter Art?
What ages is Gold 'n' Glitter Art suitable for?
What are the benefits and safety tips for Gold 'n' Glitter Art, plus easy variations?
