Make DIY Stickers with DIY Star @Uniiii
Design and create your own star-themed stickers using paper, markers, scissors, and glue with adult help; cut, decorate, and apply them.

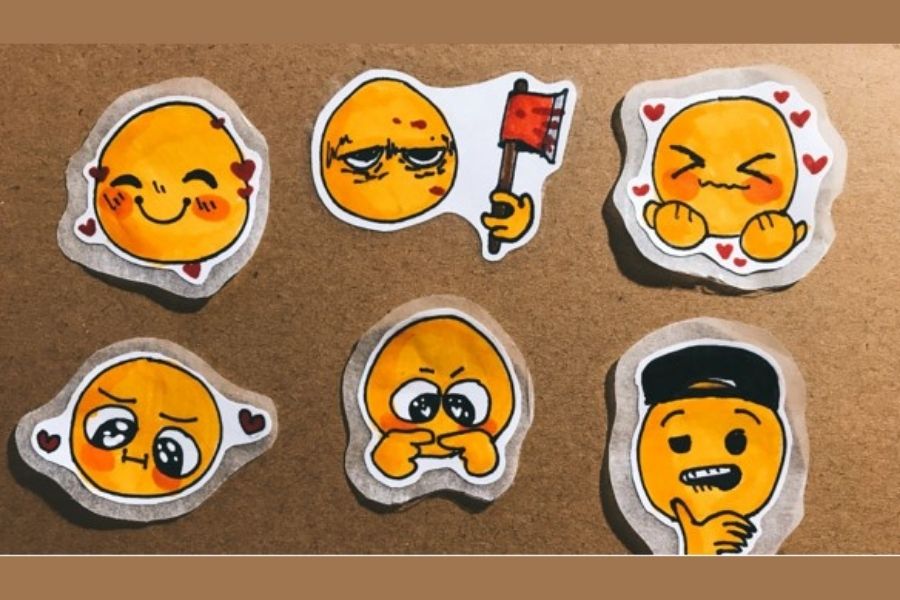

Step-by-step guide to Make DIY Stickers with DIY Star @Uniiii
Step 1
Decide which paper to use: sticker paper for peel-and-stick stars or plain paper for glue-on stars.
Step 2
Use a pencil to lightly draw star shapes of different sizes on your chosen paper.
Step 3
Trace over each pencil star with a marker to make bold outlines.
Step 4
Draw fun patterns inside the stars using markers or crayons.
Step 5
Color each star in bright colors.
Step 6
Wait for the marker or crayon to dry completely.
Step 7
With adult help carefully cut out each star along the marker lines.
Step 8
If you used sticker paper peel the backing off each star.
Step 9
If you used plain paper apply a thin layer of glue stick to the back of each star.
Step 10
Press each star firmly onto the surface you want to decorate.
Step 11
Let any glue dry fully so your stickers stay put.
Step 12
Take a photo and share your finished star stickers on DIY.org
Help!?
What can we use instead of sticker paper if it's hard to find?
If sticker paper isn't available, follow the plain paper route from the instructions and use a glue stick to adhere stars, or add double-sided tape or glue dots to the back of cut stars or cover the front and back with clear packing tape to make peel-and-stick versions.
My outlines or colors smudge and the stars tear when cutting—how do we avoid that?
Prevent smudging by following the 'wait for the marker or crayon to dry completely' step, use a permanent fine-tip marker for bold outlines, apply only a thin layer of glue stick to avoid wrinkling, and have an adult cut slowly along the marker lines with sharp scissors to prevent tearing.
How can we adapt this sticker activity for younger or older kids?
For younger children use large pre-drawn star templates, washable markers/crayons, and child-safe scissors with adult help for the 'cut out each star' step, while older kids can draw smaller, more intricate patterns, use sticker paper, metallic markers, or seal designs with clear tape for extra durability.
How can we enhance or personalize the finished star stickers?
Personalize by adding glitter glue or sequins after coloring (let dry before cutting), turn finished stars into magnets using adhesive magnet strips instead of glue stick, or laminate with clear packing tape for long-lasting stickers before sharing photos on DIY.org as the final step.
Watch videos on how to Make DIY Stickers with DIY Star @Uniiii
HOW TO MAKE STICKERS ✨️STEP BY STEP✨️! (without baking paper)
4 Videos
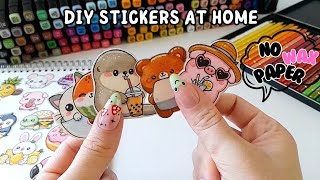
HOW TO MAKE STICKERS ✨️STEP BY STEP✨️! (without baking paper)

How to Make Stickers at Home | Step by Step!
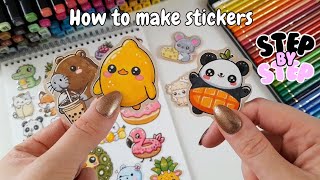
How to Make Stickers at Home | Step by Step!
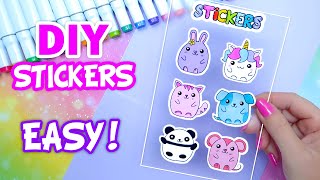
How to Make Stickers/ DIY Stickers / Handmade Stickers / Homemade Stickers
Facts about paper crafts and sticker making
🌟 Stars: The Sun is a star and contains about 99.8% of the total mass in our Solar System — wow, that's heavy!
✨ Star art: Star shapes have been used in decorations and symbols across cultures for thousands of years — they're timeless!
🖍️ Markers: Washable kid-friendly markers let you layer bright colors and usually wash off skin and most clothes with soap and water.
✂️ Scissors: Children's safety scissors have blunt tips so little hands can practice cutting paper more safely.
🧷 Stickers: Modern peel-and-stick stickers became common after pressure-sensitive adhesives were developed in the 20th century.
How do you make DIY star stickers with DIY Star @Uniiii?
What materials do I need to make star stickers?
What ages is making DIY star stickers suitable for?
What safety tips should I follow when making star stickers?
