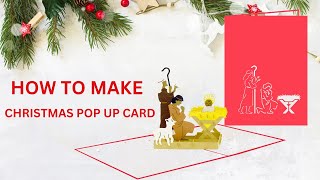
Make DIY Pop Up Christmas Cards
Make DIY pop-up Christmas cards using paper, scissors, glue, and decorations; learn folding, cutting techniques, and simple mechanisms to create festive 3D surprises.


Step-by-step guide to make DIY pop-up Christmas cards
DIY Christmas pop-up card // Christmas greeting card making easy // Merry Christmas card
Step 1
Gather all your materials and put them on a clear table so you can reach everything easily.
Step 2
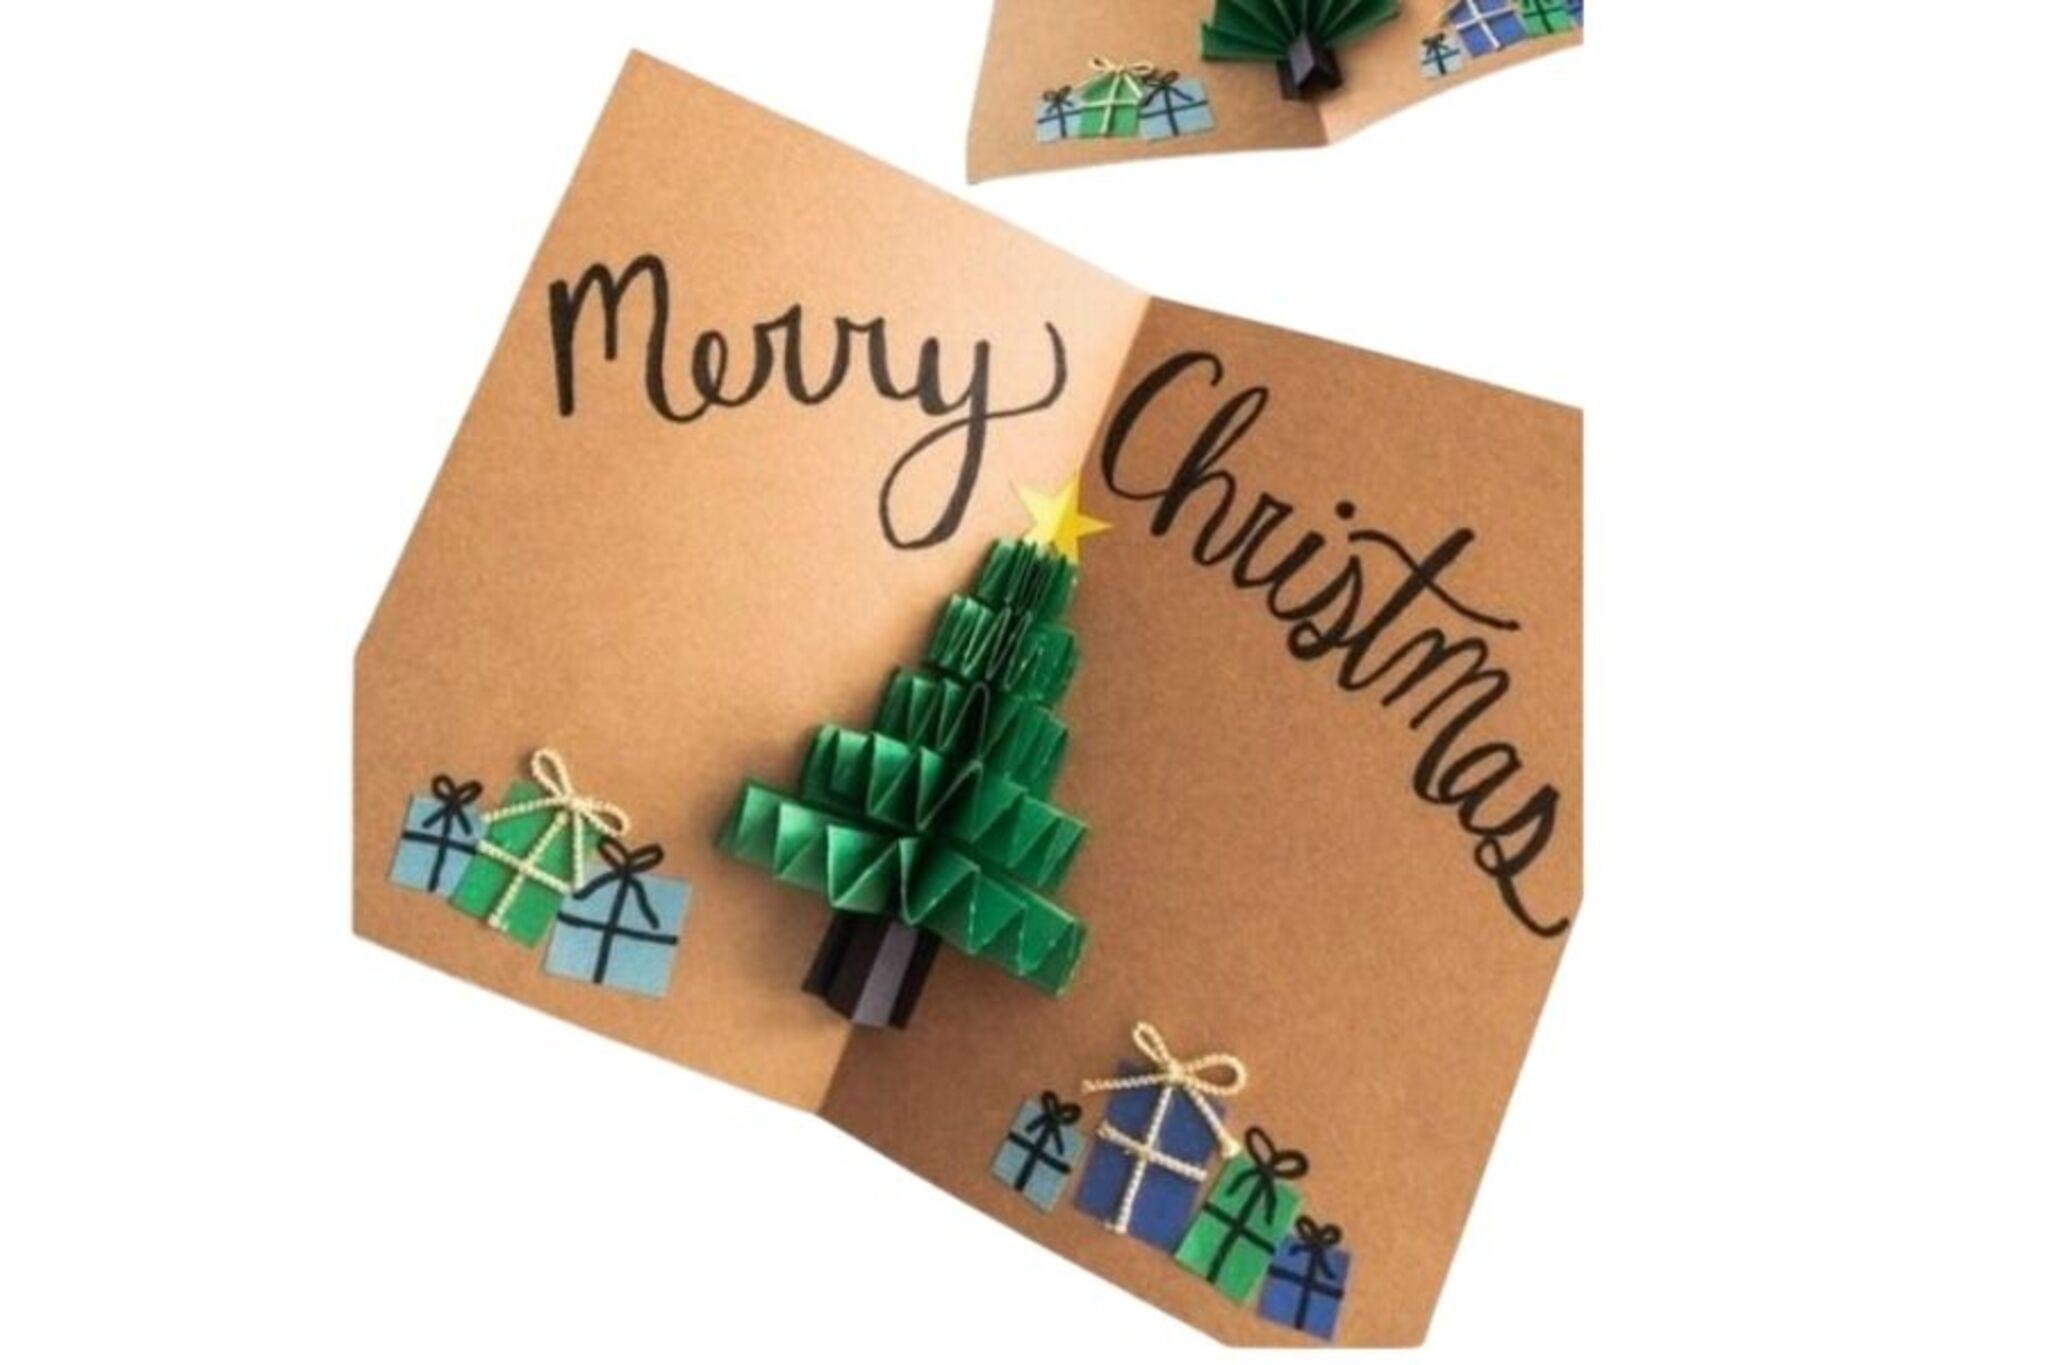
Choose one piece of card stock as your card base and fold it in half neatly along the short side to make a card.
Step 3
On the folded edge of the card base use your pencil and ruler to mark two short parallel lines about 1 inch apart and 1 inch from the top of the fold.
Step 4
Carefully cut along the two marked lines with scissors through both layers of the folded card to make a little rectangular tab.
Step 5
Fold the rectangular tab inward toward the center of the card to form a pop-up ledge and crease the fold well.
Step 6
Open the card slowly to check that the tab pops out into a little step when the card is opened.
Step 7
Draw a Christmas shape like a tree present stocking or snowman on colored scrap paper using your pencil or coloring materials.
Step 8
Cut out the Christmas shape carefully with scissors.
Step 9
Decorate the cut-out with markers stickers glitter or other small decorations until it looks festive.
Step 10
Apply glue to the back of the decorated cut-out using a thin even layer.
Step 11
Stick the decorated cut-out onto the front of the pop-up tab inside the card and press gently to secure it.
Step 12
Write a short holiday message inside the card with your coloring materials.
Step 13
Decorate the outside of the card with stickers glitter or drawings to make it bright and merry.
Step 14
Let the glue and decorations dry completely before closing the card.
Step 15
Take a photo of your finished pop-up Christmas card and share your creation on DIY.org
Help!?
What can we use if we don't have card stock or craft glue?
If you don't have card stock for the card base, use a flattened cereal box or poster board trimmed to size, and if you lack white glue use a glue stick or double-sided tape to stick the decorated cut-out onto the pop-up tab.
Why won't my pop-up tab fold or pop correctly and how do I fix it?
If the rectangular tab you cut along the folded edge (the two short parallel lines) doesn't pop out, make sure the cuts are about 1 inch apart and 1 inch from the top of the fold, re-crease the inward fold firmly, and keep heavy decorations or excess glue off the pop-up ledge.
How can I adapt this activity for younger kids or older kids?
For younger kids, pre-fold the card base and pre-cut the rectangular tab and give them stickers or pre-cut colored shapes to glue, while older kids can draw, cut detailed Christmas shapes themselves and add multiple pop-up tabs inside the card.
How can we make the pop-up card more creative or personal?
To enhance the card, cut extra rectangular tabs to create layered pop-up ledges and stick multiple decorated cut-outs onto each pop-up tab (as in the step where you stick the decorated cut-out onto the front of the pop-up tab), and personalize the outside with photos, glitter, and a handwritten holiday message.
Watch videos on how to make DIY pop-up Christmas cards
Make Easy Christmas Pop-Up Cards With This Kit
4 Videos
Make Easy Christmas Pop-Up Cards With This Kit
How to Make a Snowman Pop Up Card | Easy Christmas DIY Tutorial (Beginner-Friendly)
Handmade POP UP Christmas Card in Minutes!
How to Make a Christmas Pop-Up Card | Free SVG Template Tutorial
Facts about card making and paper crafts
🎄 Movable books with pop-up-like mechanisms go back centuries—medieval volvelles and movable diagrams date to the 13th century.
✂️ Kirigami comes from Japanese: 'kiru' (to cut) + 'kami' (paper) — it adds cutting to folding to make 3D designs.
📐 Paper engineering is the behind-the-scenes craft that plans tabs, hinges, and folds so pop-ups spring to life reliably.
📚 Modern pop-up art was popularized by designers like Robert Sabuda, who build layered paper scenes that unfold as you open the page.
🎁 The first commercial Christmas card was commissioned in 1843 by Sir Henry Cole and illustrated by John Callcott Horsley.
How do you make DIY pop-up Christmas cards?
What materials do I need to make DIY pop-up Christmas cards?
What ages are DIY pop-up Christmas cards suitable for?
What are the benefits of making pop-up Christmas cards and easy variations?
