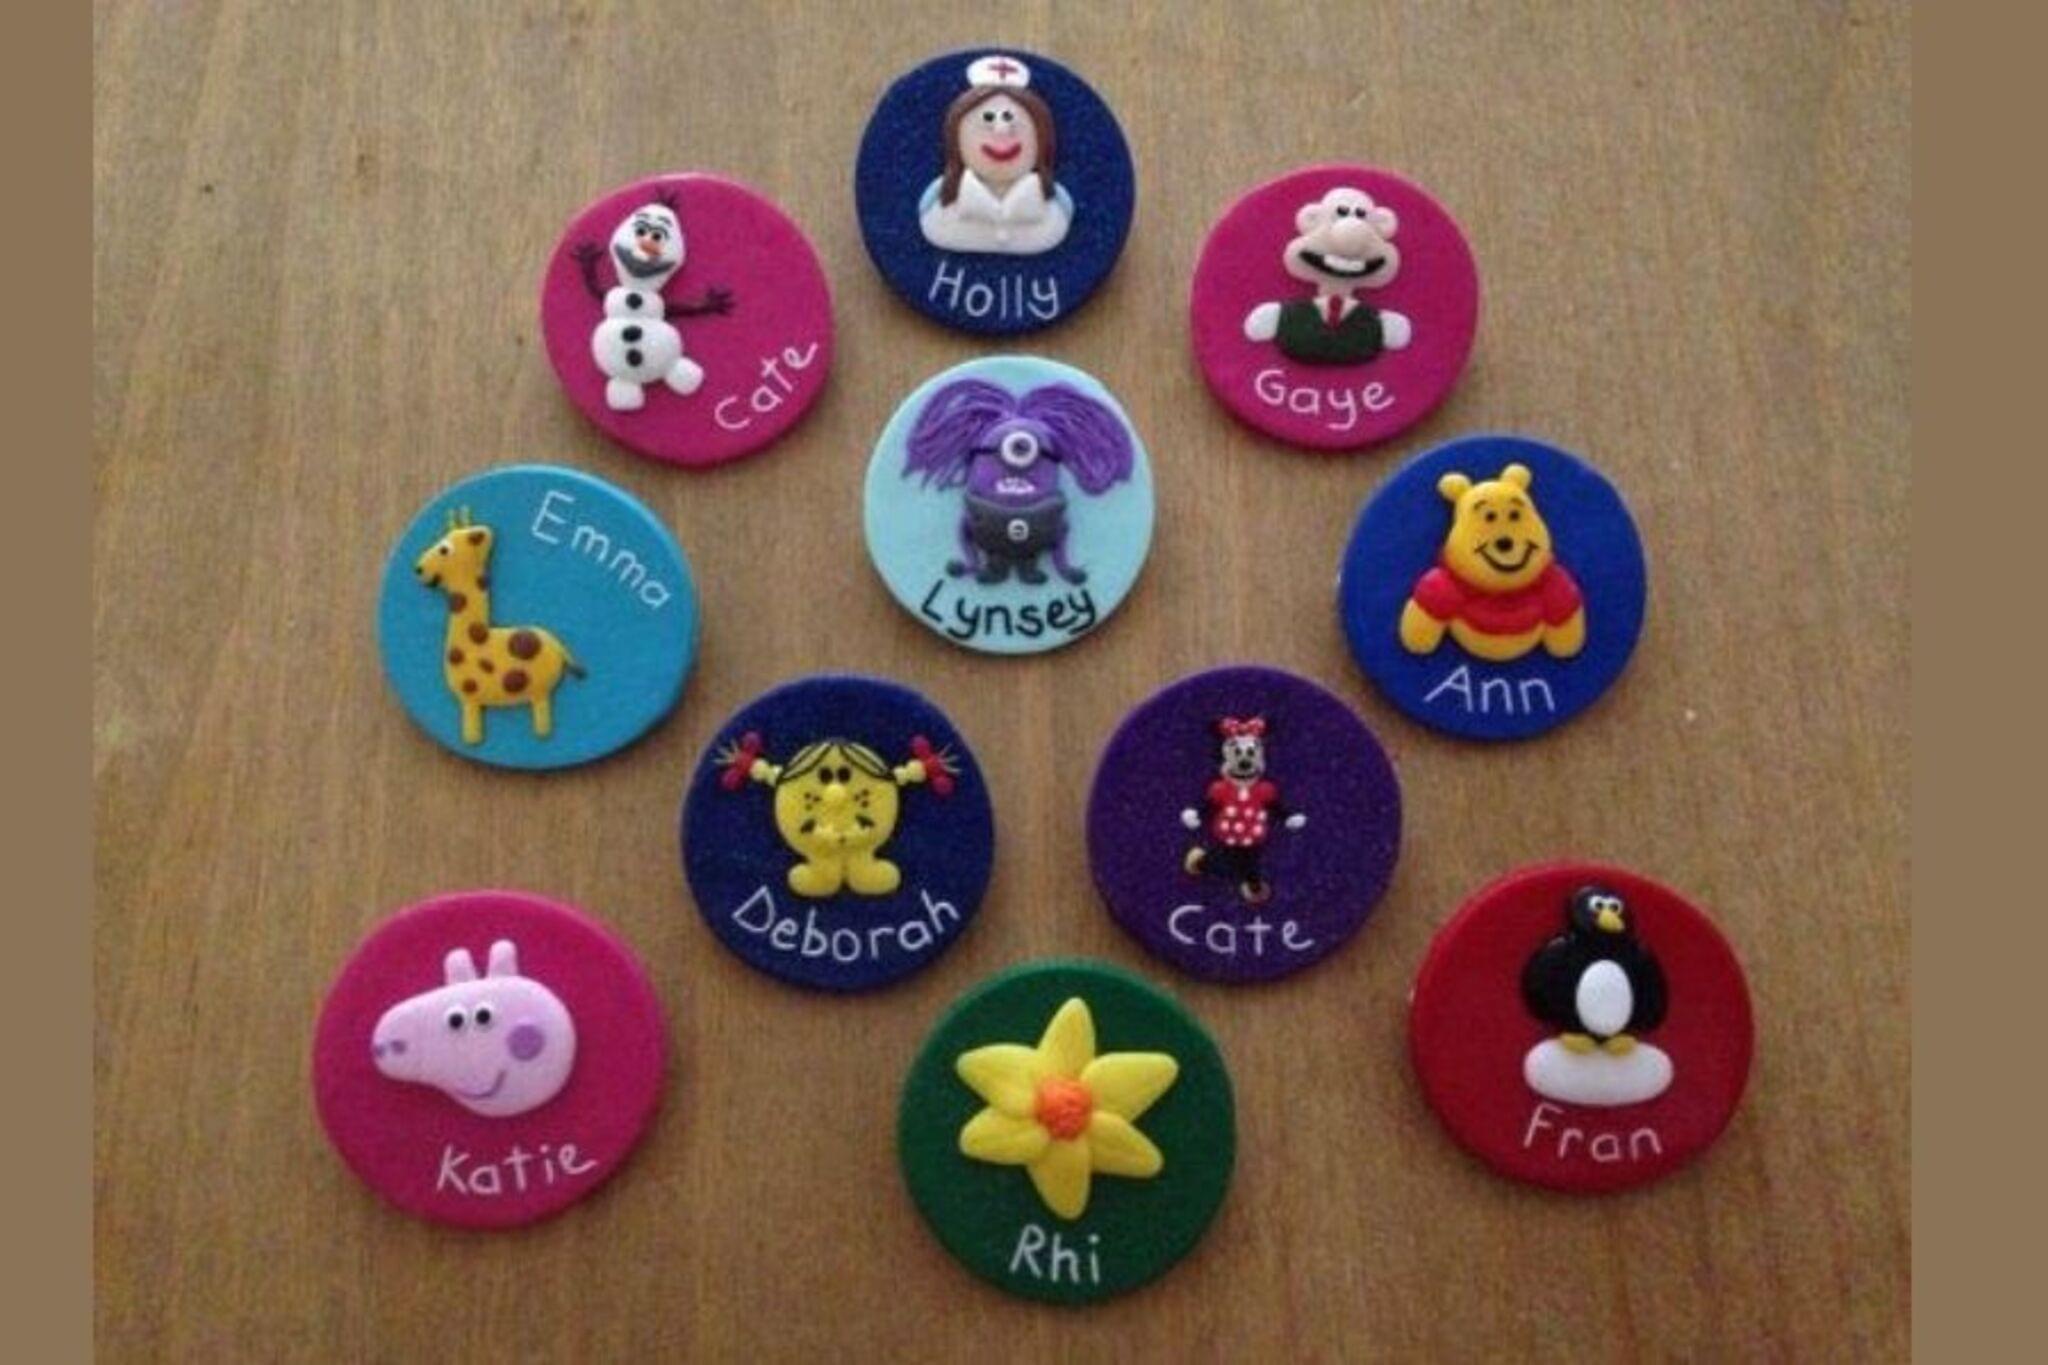
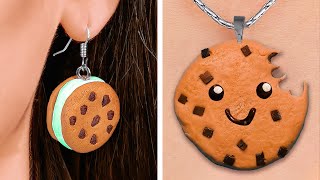
Make DIY Clay Badges
Make DIY clay badges with air-dry clay, cookie cutters, paint, and safety pins, shaping, decorating, and sealing personal wearable creations while learning basic crafting techniques.


Step-by-step guide to make DIY clay badges
Art and Craft: DIY Clay Ideas
Step 1
Spread wax paper on your table to make a clean, protected work surface.
Step 2
Knead a piece of air-dry clay until it is soft and easy to shape.
Step 3
Roll the clay flat to about 1/4 inch thickness using the rolling pin or bottle.
Step 4
Press a cookie cutter into the clay to cut out a badge shape and lift away the extra clay.
Step 5
Smooth the badge edges with your finger or a damp paper towel.
Step 6
Flip the badge and press a shallow flat spot on the back where the safety pin will sit.
Step 7
Use a toothpick to add designs or patterns to the front of the badge.
Step 8
Let the badge dry flat on the wax paper for 24 hours or until completely hard.
Step 9
Lightly sand any rough spots with fine sandpaper so the surface feels smooth.
Step 10
Paint the front of the badge with your chosen colors and let the paint dry.
Step 11
Apply a thin coat of clear acrylic sealer to protect the paint and let it dry.
Step 12
With adult help, put a small dab of strong craft glue into the indentation on the back.
Step 13
With adult help, press a safety pin into the glue so it sits flat and hold until it sets.
Step 14
Let the glue fully dry according to the glue instructions before wearing your badge.
Step 15
Share your finished clay badge on DIY.org.
Help!?
What can we use if we don't have a rolling pin, wax paper, or air-dry clay?
Use a clean glass bottle to roll the clay, replace wax paper with parchment paper or a silicone baking mat for a protected surface, and substitute oven‑bake clay for air‑dry clay but bake it per the package instructions instead of letting it dry for 24 hours.
My badge cracked or warped while drying—what should I do?
Keep the clay rolled to the instructed 1/4 inch thickness, dry the badge flat on the wax/parchment paper away from direct sun or drafts, and repair small cracks by smoothing a little damp clay into them or sanding and re‑smoothing before painting.
How can I adapt this activity for younger kids or make it more challenging for older kids?
For toddlers, pre‑roll the clay, use large cookie cutters and washable non‑toxic paint while an adult handles the glue and safety pin, and for older kids add fine toothpick patterns, sanding, layered clay pieces, or more detailed painting before sealing.
What are easy ways to personalize or extend the clay badge project?
Press beads or alphabet stamps into the badge before drying, paint names or tiny scenes after sanding, swap the safety pin for a glued magnet to make fridge badges, and share finished designs on DIY.org.
Watch videos on how to make DIY clay badges
Easy Air Drying Clay Projetcs - Easy Mother's Day Gift for Kids
4 Videos
Easy Air Drying Clay Projetcs - Easy Mother's Day Gift for Kids
Mastering Clay Crafts: Creative and Easy DIY Projects for Beginners 🫖✨
Easy Clay Ornament DIY - Make Cookie Cutter Christmas Ornaments!
Cute Mini Crafts With Polymer Clay You Can Make Yourself || DIY Jewelry And Accessories
Facts about air-dry clay crafts for kids
🎨 Air-dry clay hardens without a kiln — it dries in the air in about 24–72 hours depending on thickness.
🍪 Cookie cutters come in hundreds of fun shapes and are perfect for cutting neat clay badges fast.
🖌️ Acrylic paint bonds well to air-dry clay and dries quickly, so kids can layer colors in one afternoon.
🧷 The safety pin was invented in 1849 by Walter Hunt and is a simple, safe way to attach wearable badges.
📣 Pinback buttons and wearable badges became popular in the late 1800s as tiny ways to share messages and designs.
How do you make DIY clay badges?
What materials do I need for DIY clay badges?
What ages is this activity suitable for?
What are the benefits and safety tips for making clay badges?
