Make Bookmarks!
Design and make personalized bookmarks using paper, scissors, markers, and ribbon; practice measuring, cutting, and decorating to create unique, functional keepsakes.


Step-by-step guide to make bookmarks
Step 1
Clear a flat workspace and put all your materials within reach.
Step 2
Use the ruler to measure and mark a rectangle about 6 inches by 2 inches on the paper.
Step 3
Cut out the rectangle carefully along the marks with scissors.
Step 4
Fold the top corner slightly and snip a small curve to round the corners.
Step 5
Draw and color a fun design on one side of your bookmark using markers.
Step 6
Turn the bookmark over and decorate the other side with a different design or your name.
Step 7
Place the hole punch near the top center and punch one hole through the bookmark.
Step 8
Thread a short length of ribbon through the hole and tie a knot to make a tassel.
Step 9
Smooth clear tape over both sides of the bookmark to protect your artwork.
Step 10
Take a photo or write a short note about your bookmark and share your finished creation on DIY.org
Help!?
What can we use if we don't have a hole punch, ribbon, or clear tape?
If you don't have a hole punch, push a sharpened pencil through the top center; use yarn, string, or a shoelace instead of ribbon, and cover both sides with clear contact paper or packing tape if you don't have clear tape.
My paper keeps tearing when I punch the hole or when I tie the ribbon—what should I do?
Reinforce the top center by placing a small piece of clear tape over it before you punch the hole and knot the ribbon so the knot sits over the taped area to prevent tearing.
How can I adapt this activity for different ages?
For preschoolers, have an adult pre-measure and cut 6×2 inch rectangles and let them color and snip the corners, while older kids can measure with a ruler, draw precise designs with markers, and add layered decorations before taping.
How can we make the bookmarks more special or extend the activity?
Add stickers, write a favorite quote or a short note on the back, attach beads to the ribbon tassel before knotting, and then take a photo of the finished bookmark to share on DIY.org.
Watch videos on how to make bookmarks
Easy DIY Woven Bookmark Anyone Can Make!
4 Videos
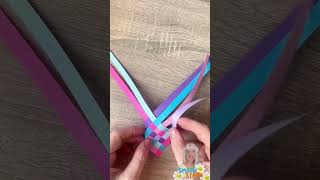
Easy DIY Woven Bookmark Anyone Can Make!
7 Best Bookmark Apps to Organize Your Digital Life (2024)
How to Add Bookmarks on Safari to Organize Your Favorites Like a Pro

How to Organize Your Bookmarks - Google Chrome Tutorial 2021
Facts about paper crafts
📚 Bookmarks have been used for centuries — people have used scraps of leather, ribbon, or paper to save their place in books.
✂️ Scissors-like tools go back thousands of years, and the modern pivoted scissor design was used by the Romans.
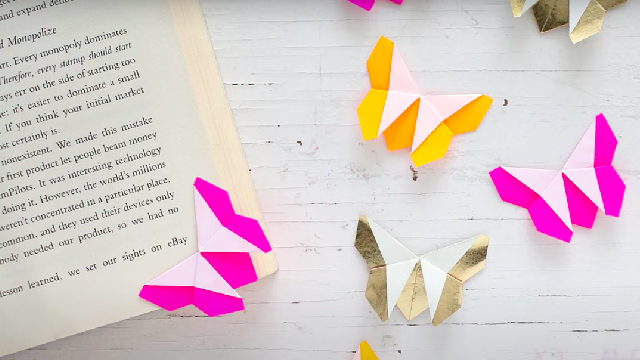
🎨 Papercrafting can turn a single sheet into a colorful bookmark using folding, cutting, and decorating — sometimes with no glue!
📏 Making bookmarks is a great way to practice measuring — many bookmarks are about 5–6 inches (12–15 cm) long.
🎀 Adding a ribbon or tassel makes a bookmark easier to spot and gives it a fun, finished look loved by readers.
How do you make bookmarks with paper, scissors, markers, and ribbon?
What materials do I need to make personalized bookmarks?
What ages is this bookmark-making activity suitable for?
What are the benefits of making bookmarks with kids?
