Make bead jewellery w/ Narwahlgirl12
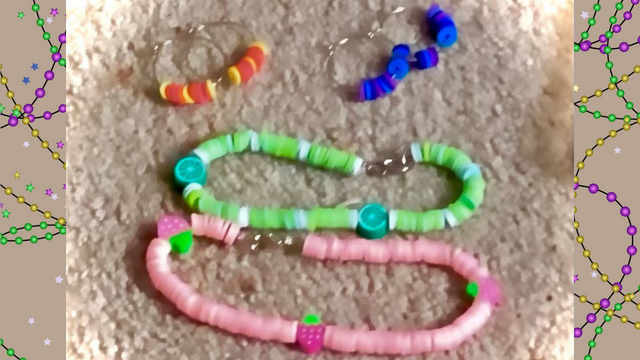
Make colorful beaded bracelets and necklaces with Narwahlgirl12, following step-by-step instructions to string beads, add clasps, and practice pattern design.


Step-by-step guide to make bead jewellery with Narwahlgirl12
Step 1
Decide whether you will make a bracelet or a necklace and ask Narwahlgirl12 which color theme you want to use.
Step 2
Use the beading wire to measure around your wrist or neck and add about 5 cm extra for clasps and finishing.
Step 3
Cut the beading wire to the measured length using scissors.
Step 4
Tape one end of the wire to the table so the beads will not slide off while you work.
Step 5
Arrange your beads on the dish or tray in the order you want to string them to practice your pattern design.
Step 6
String the beads onto the wire following the pattern until you leave about 5 cm free at the end for the clasp.
Step 7
Slide one crimp bead onto the wire and then add one half of the clasp onto the same end.
Step 8
Loop the wire back through the crimp bead to form a small loop around the clasp.
Step 9
Use pliers to squeeze the crimp bead closed to hold the loop tight.
Step 10
Slide the other half of the clasp and a second crimp bead onto the free end of the wire.
Step 11
Pull the wire so the beads sit snug and leave a small loop for the second clasp.
Step 12
Loop the wire back through the second crimp bead to form the loop for the clasp.
Step 13
Use pliers to squeeze the second crimp bead closed to secure the clasp.
Step 14
Trim any extra wire close to the crimp bead with scissors for a neat finish.
Step 15
Share your finished bracelet or necklace on DIY.org.
Help!?
What can we use if we don't have beading wire, crimp beads, or clasps?
If you don't have beading wire or crimp beads, use strong elastic cord and skip the crimp/clasp steps by tying a secure surgeon's knot after stringing beads and tape one end to the table as in the instructions.
My crimp bead won't stay closed or the beads keep sliding off—how do I fix that?
If the crimp slips or beads slide, follow the tape-to-table step so beads don't move, pull the wire snug before looping back through the crimp bead, and firmly squeeze the crimp with pliers or add a second crimp bead for extra hold.
How can I adapt this activity for different ages?
For younger children use larger beads, elastic cord, and safety scissors and skip the pliers/crimp steps, while older kids can use beading wire, practice complex patterns on the dish, and use pliers to squeeze crimp beads as instructed.
How can we enhance or personalize the bracelet or necklace beyond the basic instructions?
Personalize your piece by arranging mixed-size and letter beads on the dish to spell a name, sliding on a charm before crimping, making a matching set, and then share the finished bracelet or necklace on DIY.org as the final step.
Watch videos on how to make bead jewellery with Narwahlgirl12
Amazing! Very EASY Beaded Necklace Tutorial for Beginners: Beads Jewelry Making
4 Videos

Amazing! Very EASY Beaded Necklace Tutorial for Beginners: Beads Jewelry Making
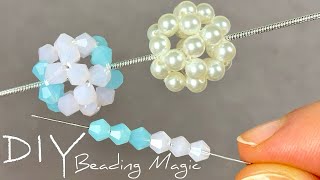
EASY Beaded Ball Tutorial: Beading Tutorials for Beginners | Beads Jewelry Making
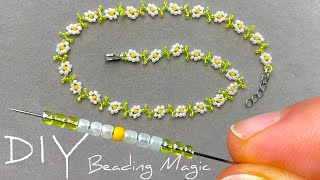
Easy Tutorial: Beaded Flower Necklace | How to Make a Seed Bead Necklace
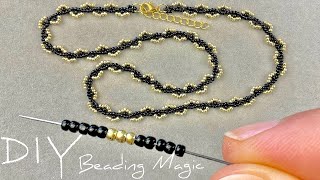
DIY Seed Bead Necklace Tutorial: Easy Beads Jewelry Making
Facts about bead crafts for kids
🧶 Beadwork is ancient — archaeologists have found beads worn by people tens of thousands of years ago.
🌈 With just 5 colors of beads you can make dozens of different patterns by changing the order and repeats.
🔗 Common clasps include lobster, toggle, and magnetic, and each one makes putting on jewelry easier in different ways.
🏭 Seed beads became widely available after 19th-century advances in glassmaking, letting people make very detailed designs.
🦄 Narwhals (the unicorns of the sea) are a favorite charm idea — adding one tiny charm can make a bracelet feel extra-special.
How do you make bead jewellery with Narwahlgirl12?
What materials do I need to make bead jewellery with Narwahlgirl12?
What ages is making bead jewellery with Narwahlgirl12 suitable for?
What are the benefits of making bead jewellery with Narwahlgirl12?
