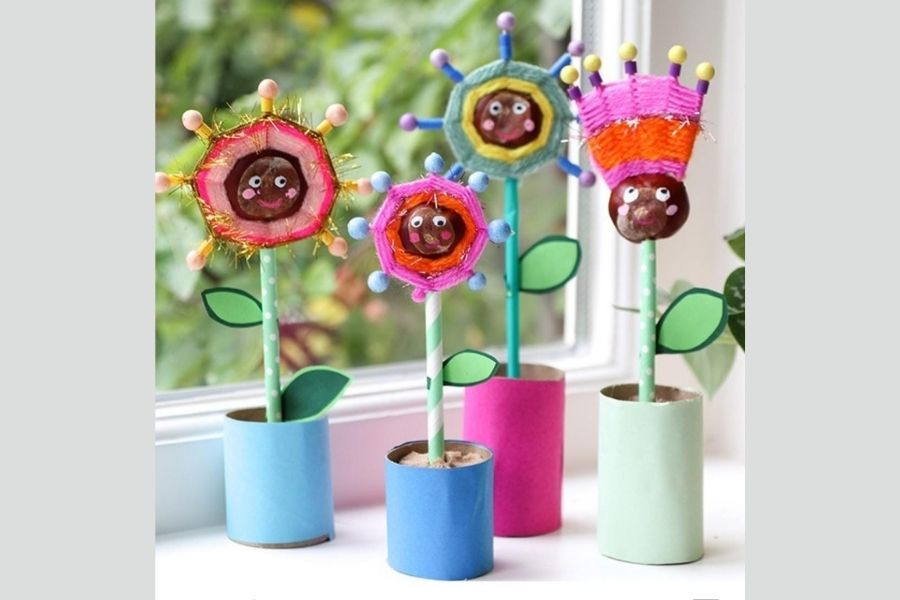
Make an Eco Friendly Paper Flower Pot
Make an eco friendly flower pot from recycled newspaper and natural glue, plant a seedling, learn about recycling, soil, and caring for plants.


Step-by-step guide to make an eco-friendly paper flower pot
Step 1
Gather all materials and place them on a clean tray so your workspace is tidy and ready.
Step 2
Make the natural glue by mixing 2 tablespoons of flour with 4 tablespoons of water in the bowl or saucepan until smooth.
Step 3
With adult supervision heat the flour mixture gently while stirring until it becomes thick like glue then let it cool.
Step 4
Tear several newspaper sheets into long strips about 2–3 inches wide for rolling.
Step 5
Roll a newspaper strip tightly around the pencil to make a thin paper tube and slide it off the pencil.
Step 6
Seal the end of each paper tube with a small dab of your natural glue so the tube stays rolled.
Step 7
Coil one tube flat into a tight circle to form the center of the pot base and glue the joint.
Step 8
Add more tubes around the center by gluing their edges to grow the round base until it is big enough for soil.
Step 9
Stand more tubes upright along the base edge and glue them to begin forming the pot walls.
Step 10
Continue gluing more tubes layer by layer and press them together until the pot reaches the height you want.
Step 11
Trim the top edge of the paper pot with scissors so the rim is even and neat.
Step 12
Let the pot dry completely for several hours or overnight then place it on a tray fill it with potting soil and plant your seedling or seeds then water gently.
Step 13
Share a photo and story of your eco friendly paper flower pot on DIY.org.
Help!?
Can I substitute any materials if I don't have newspaper, flour, or a pencil?
If you don't have newspaper, use scrap paper or old wrapping paper for strips, substitute cornstarch or ready-made white PVA glue for the heated flour-and-water glue (steps 2–3), and use a dowel or chopstick instead of the pencil for rolling (step 5).
My paper tubes keep unrolling or the pot collapses while building; what should I do?
Seal each tube end with an extra dab of your natural glue (step 5), let glued layers firm up a little between additions (steps 8–9), and press or clip coils in place while the base sets (step 6) to stop unrolling or collapse.
How can I adapt this project for younger or older kids?
For younger children, focus on tearing strips (step 4) and rolling tubes around a pencil (step 5) while an adult heats the glue (step 3) and trims the rim (step 11); older kids can build taller walls (steps 7–9), add drainage, and decorate before drying (steps 11–12).
How can we improve durability or personalize the finished paper pot?
After the pot dries completely (step 12), seal it with a coat of diluted PVA or natural oil for durability, add a drainage hole before filling with soil (step 13), and glue on paint, labels, or decorations to the rim (step 11) to personalize it.
Watch videos on how to make an eco-friendly paper flower pot
Origami Pot | Origami Plant Pot | Origami tutorial | Paper craft
4 Videos

Origami Pot | Origami Plant Pot | Origami tutorial | Paper craft
Square Paper Seedling Pots - Quick, Easy, and Biodegradable
How to make a paper flower pot 💐/ origami flower pot/ DIY / Pasu Bunga Kertus / Maceta de papel
How to Make Mini Flower Pot with Paper 🌸 | Easy Origami DIY Flower Pot | Cute Paper Craft Ideas
Facts about eco-friendly gardening for kids
🌳 Recycling one ton of paper can save about 17 mature trees — small projects add up!
🧾 Papermaking was refined in China around 105 AD and spread across the world over centuries.
🌱 A seedling's first leaves (cotyledons) are often different from its later true leaves and store food for early growth.
♻️ Newspaper pots are biodegradable — you can plant them directly in the soil and they'll break down.
💧 Overwatering is the most common cause of seedling failure; moist but well-draining soil helps roots grow strong.
How do you make an eco friendly paper flower pot?
What materials do I need for an eco friendly paper flower pot?
What ages is this craft suitable for?
What are the benefits, safety tips, and variations for this activity?
