Make a Thankful' Tree
Make a thankful tree using paper leaves and a branch or drawing; write things you appreciate on each leaf and display it at home.
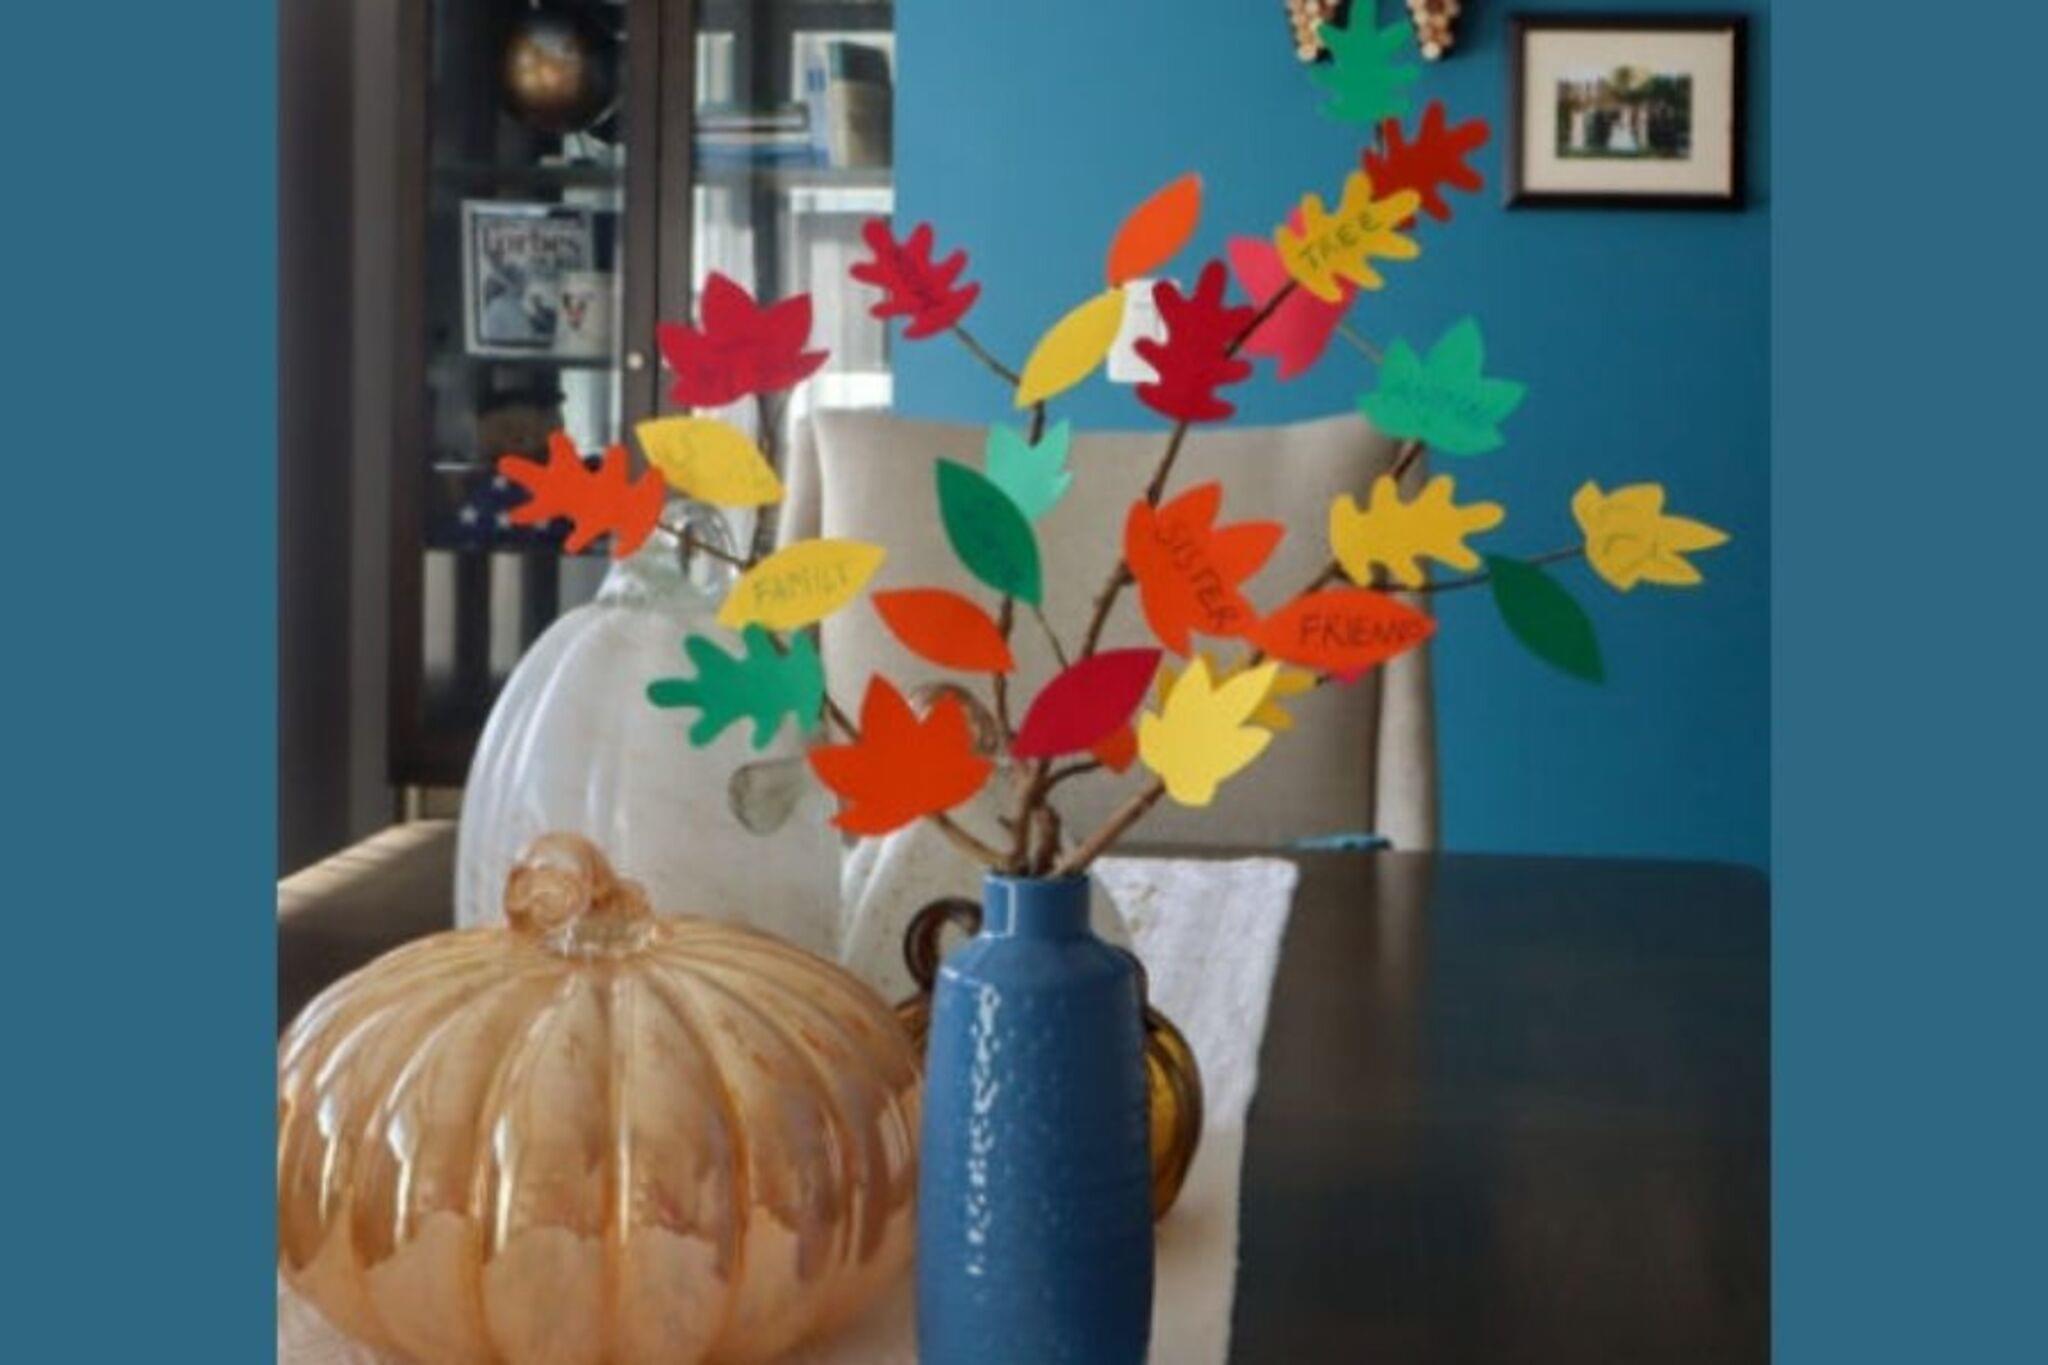
About this activity
Make a thankful tree using paper leaves and a branch or drawing; write things you appreciate on each leaf and display it at home.
What you need
Step by step
- 1
Step 1
Gather all your materials and bring them to a clear workspace.
- 2
Step 2
Decide if you will use a real branch or draw a tree on a large sheet of paper.
- 3
Step 3
If you chose a real branch place it in a jar or tape it to the wall so it stands up safely.
- 4
Step 4
If you chose a drawing use the brown marker to draw a tree trunk and branches on the large paper.
- 5
Step 5
Fold a sheet of colored paper and cut out 10 to 20 leaf shapes from it.
- 6
Step 6
Use your pen to write one thing you are thankful for on each leaf.
- 7
Step 7
Decorate each leaf with colors or little drawings using your colouring materials.
- 8
Step 8
Make a way to attach each leaf by punching a hole near the top or folding a small flap to tape.
- 9
Step 9
Tie or tape each finished leaf onto the real branch or tape each leaf onto the drawn branches.
- 10
Step 10
Arrange and adjust the leaves so your thankful tree looks full and colorful.
- 11
Step 11
Share a photo of your finished thankful tree on DIY.org
Fun facts
How do I make a thankful tree with paper leaves and a branch?
To make a thankful tree, choose a real branch or draw and attach a trunk on poster board or kraft paper. Cut leaf shapes from colored paper—one per family member or more. Have children write something they appreciate on each leaf, then glue, tape, or clip the leaves to the branch. Display the tree in a common area and add new leaves weekly or during family moments to keep the practice active.
What materials do I need to make a thankful tree craft?
You will need colored or construction paper for leaves, scissors, markers or pens for writing, and a branch, poster board, or kraft paper to make the trunk. Also gather glue, tape, clothespins, or a hole punch and string for hanging leaves. Optional supplies include stickers, washi tape, laminator sheets, sticky tack, and a small basket to hold finished leaves while the family adds to the tree.
What ages is a thankful tree activity suitable for?
This activity suits toddlers through teens with small adjustments: toddlers (2–4) can stick pre-cut leaves and say one-word thanks; preschoolers (4–6) can draw or write simple items; school-age kids (7–11) can write sentences and cut shapes; tweens and teens (12+) can design themed trees or lead family reflections. Supervise scissors and adapt prompts to match each child’s skill level and attention span.
What are the benefits of making a thankful tree with my child?
Making a thankful tree promotes gratitude, emotional expression, and family bonding. It strengthens writing and fine-motor skills, sparks positive conversation, and creates a visible reminder of what your family appreciates. Regularly adding leaves can boost mood, encourage reflection, and become a calming ritual during stressful times. The activity is low-cost, adaptable, and supports social-emotional learning across ages.
Watch & Learn
Need help?
What can we use if we can't find a real branch or a hole punch?
If you don't have a real branch, draw the tree on a large sheet of paper or stick a sturdy twig into a weighted jar or taped shoebox base, and if you lack a hole punch fold a small flap on each leaf or snip a notch to tape it as the instructions suggest.
The leaves keep falling off—how can we make them stay attached to the branch or paper tree?
Reinforce each leaf by folding a small flap to tape it or by punching a hole and tying with string, and make sure a real branch is secured in a jar with rocks or taped to the wall as the instructions recommend.
How can we adapt the activity for younger or older children?
For younger kids, pre-cut fewer leaves from the coloured paper and let them use stickers and crayons to write single words, while older kids can cut 10–20 detailed leaves, write full sentences with the pen, and use the colouring materials for complex decorations.
How can we enhance or personalize our Thankful Tree after it's finished?
Personalize the project by assigning leaf colours to categories of gratitude, laminating or reinforcing favourite leaves, adding small photos or mementos to the branch, stringing lights around a real branch, and then share a photo on DIY.org as the final step.