Make a Seal!
Make a paper plate seal puppet using paint, scissors, and googly eyes. Practice cutting, decorating, and simple puppet movement with a straw.
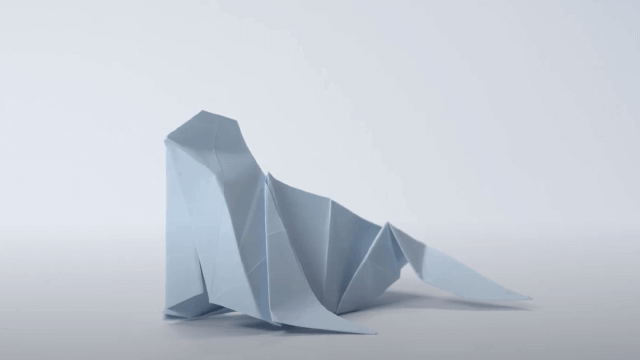
About this activity
Make a paper plate seal puppet using paint, scissors, and googly eyes. Practice cutting, decorating, and simple puppet movement with a straw.
What you need
Step by step
- 1
Step 1
Gather all Materials Needed.
- 2
Step 2
Paint the top of the paper plate with a seal color using the paintbrush.
- 3
Step 3
Let the paint dry completely before you touch the plate.
- 4
Step 4
Fold the paper plate in half gently so the painted side is outside and a mouth shape forms at the front.
- 5
Step 5
Cut a small V-shaped notch at the front fold with scissors to make the seal’s mouth.
- 6
Step 6
Cut two flipper shapes from construction paper with scissors.
- 7
Step 7
Glue one flipper to each side of the folded plate.
- 8
Step 8
Glue the googly eyes above the mouth on the folded plate.
- 9
Step 9
Draw a nose and whiskers above the mouth with the black marker.
- 10
Step 10
Make a small slit in the back fold of the plate about 2 cm from the bottom using scissors.
- 11
Step 11
Slide the straw into the slit between the folded layers until it fits snugly.
- 12
Step 12
Push the straw to open and close the mouth and practice simple puppet movements.
- 13
Step 13
Share your finished seal puppet on DIY.org.
Fun facts
How do I make a paper plate seal puppet?
Start by painting a paper plate gray or brown and let it dry. Cut a small semicircle or flap for the seal’s face and two side flippers from the plate or extra paper. Glue on googly eyes and draw whiskers with a black marker. Tape or glue a drinking straw to the back as a handle so kids can push and wiggle the straw to make the seal “swim.” Supervise cutting and glueing.
What materials do I need for a paper plate seal puppet?
You’ll need a paper plate, washable paints and a brush, child-safe scissors, a glue stick or white glue, googly eyes, a black marker for whiskers, and a drinking straw for movement. Optional items include construction paper for flippers, tape for attaching the straw, a smock, and newspaper to protect the work surface. Use non-toxic supplies suitable for children.
What ages is this paper plate seal puppet suitable for?
This craft suits preschoolers to early elementary: roughly ages 3–8. Three- and four-year-olds will enjoy painting and gluing with close adult help for cutting and small parts. Ages 5–8 can do more cutting and assembly independently, building fine motor skills. Always supervise younger children, especially when using scissors, glue, and googly eyes that can be a choking hazard.
What are the benefits of making a paper plate seal puppet and any safety tips?
Making a seal puppet boosts creativity, scissor skills, hand-eye coordination, and imaginative play—perfect for storytelling and role-play. It also teaches following steps and patience while paint dries. Safety tips: use child-safe scissors, non-toxic glue and paint, and supervise small parts like googly eyes. For younger kids, pre-cut flippers and use large stickers instead of loose eyes to reduce choking risk.
Watch & Learn
Need help?
If I can't find googly eyes or a straw, what can I use instead?
Glue on small buttons or cut circles from construction paper and draw pupils with the black marker for the eyes (step 9), and roll a scrap of paper or use a thin wooden craft stick instead of the straw when sliding it into the slit in step 11 to open the mouth.
Why won't the mouth open and close smoothly after I insert the straw?
If the straw sticks, carefully widen the slit from step 11 a little with scissors and trim or sand the straw tip so it fits snugly but can slide between the folded layers without tearing the painted plate.
How can I adapt this activity for younger or older kids?
For younger children, pre-paint the plates, pre-cut the flippers, and use stickers for eyes and glue, while older kids can add painted details in step 2, attach jointed flippers with brads, or sew fabric onto the plate for texture.
How can we personalize or extend the seal puppet activity?
Personalize the seal by painting unique colors and patterns in step 2, glue a pom-pom or shell for the nose at step 9, decorate the flippers with markers, and create a cardboard ocean backdrop to perform puppet shows to share on DIY.org.