Make a Lion!
Make a lion mask using paper plates, paint, yarn, and glue; decorate its mane, practice cutting and painting, and roar safely.


Step-by-step guide to make a lion mask
Step 1
Lay out all your materials on a clean table so everything is easy to reach.
Step 2
Place the paper plate face up and use the pencil to draw two big eye holes a nose and a mouth on the plate.
Step 3
Carefully cut out the eye holes from the plate using scissors while an adult watches.
Step 4
Paint the front of the plate with the yellow or orange paint to make the lion’s face.
Step 5
Let the paint dry completely before you touch it.
Step 6
Wind the yarn into equal lengths and cut many pieces to make the mane.
Step 7
Apply glue around the outer rim of the plate and press the yarn pieces onto the glue to create a fluffy mane.
Step 8
Use paint or colouring materials to add details like a nose whiskers and eyebrows on the face.
Step 9
Trim any long yarn pieces so the mane looks even around the plate.
Step 10
Attach the elastic string to both sides of the plate with tape or by tying so the mask fits your head.
Step 11
Put on your lion mask and practice a soft safe roar by taking a deep breath and roaring gently into the open air.
Step 12
Share a photo of your finished lion mask on DIY.org so everyone can see your roaring creation.
Help!?
What can we use instead of yarn or elastic string if they're hard to find?
If you don't have yarn, use fringed construction paper or tissue-paper strips for the mane and swap the elastic string (used to fit the mask) for a ribbon, hair elastic, or shoelace.
The mane glue isn't holding and the paint keeps smudging—what should I check or do?
Make sure the painted plate is completely dry as directed in step 4, use a stronger craft glue when you 'apply glue around the outer rim of the plate,' press and hold each yarn piece until it sets, and then trim only after it has fully dried.
How can I adapt this lion mask activity for different age groups?
For toddlers, have an adult pre-cut the eye holes and pre-cut yarn pieces so the child can press yarn and stickers onto glue, while older children can cut the plate themselves, paint more detailed facial features, and experiment with layered manes.
How can we enhance or personalize the lion mask beyond the basic instructions?
Add texture by combining yarn with paper strips, glue on sequins or googly eyes, twist pipe cleaners into 3D whiskers, and follow the final step to share a photo of your customized mask on DIY.org.
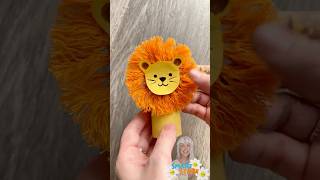
Watch videos on how to make a lion mask
Simple Handmade | Make a Cute Little Lion in 20 Seconds | Parent Child Handicraft
4 Videos
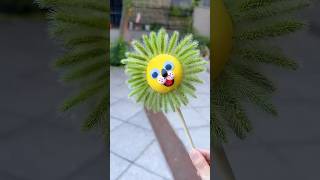
Simple Handmade | Make a Cute Little Lion in 20 Seconds | Parent Child Handicraft
Toilet Paper Roll Lion Craft | Jungle Animal Craft for Kids
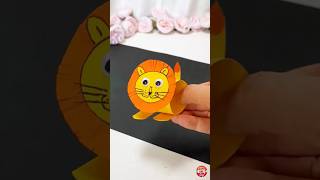
DIY Cute Lion with Colored Papers | Easy & Simple Paper Crafts | KidiesTime7 #artandcraft #diy
How to Make a Lion with Origami (EASY STEP BY STEP)
Facts about mask making and paper crafts for kids
🦁 Lions are the only big cats that live in social groups called prides — perfect inspiration for a team roar!
🔊 A lion's roar can travel up to about 8 kilometers, but loud noises can hurt ears, so practice gentle roars indoors and big roars outside.
✂️ Practicing cutting with safety scissors builds fine motor skills and hand-eye coordination — great for little craft paws.
🎨 Many children's paints are water-based (like acrylics) and dry quickly, making them ideal for fast, colorful paper-plate masks.
🧶 Yarn comes in lots of fibers and fun textures (wool, cotton, acrylic), so you can make a mane that's fluffy, shiny, or wacky!
How do I make a lion mask with a paper plate?
What materials do I need to make a paper plate lion mask?
What ages is a paper plate lion mask suitable for?
What are the benefits and safety tips for making a lion mask?
