Make a laminated board
Make a small laminated drawing board using cardboard, clear laminating sheets or contact film, and dry-erase markers to practice drawing, writing, and erasing.


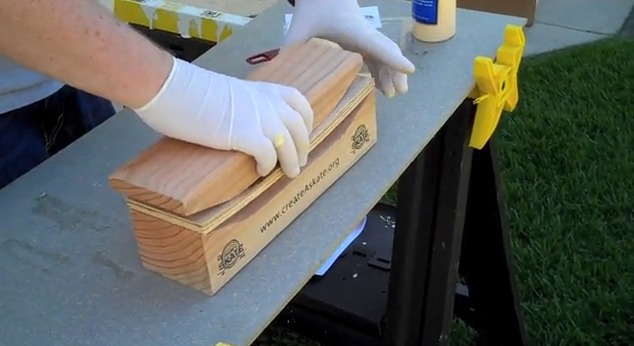

Step-by-step guide to make a laminated drawing board
LAMINATED Bulletin Board letters using my CRICUT!
Step 1
Gather all the materials on a clean table so everything is handy.
Step 2
Measure and mark the cardboard to the size you want using the ruler and pencil.
Step 3
Cut the cardboard along your pencil lines with the scissors to make your board shape.
Step 4
Decorate the front of the cardboard with colouring materials to make a fun border or picture.
Step 5
Lay one laminating sheet or a piece of contact film sticky-side-up on the flat surface.
Step 6
Place the decorated cardboard face-down onto the laminating sheet so the decorated side will be sealed.
Step 7
Smooth the laminating sheet over the cardboard from the center out to remove bubbles and wrinkles.
Step 8
Place a second laminating sheet or the top layer of contact film over the cardboard and press firmly to seal both sides.
Step 9
Run clear tape around the outside edges to make sure the laminating layers stay sealed.
Step 10
Trim any extra film or sheet edges with scissors leaving a small sealed border around the cardboard.
Step 11
Draw a practice picture or write letters on the laminated board using dry-erase markers.
Step 12
Wipe your marks off with the soft cloth to check the board erases cleanly.
Step 13
Take a photo or write about your finished laminated drawing board and share your creation on DIY.org
Help!?
What can we use if we don't have laminating sheets or contact film?
If you don't have laminating sheets, place the decorated cardboard inside a clear sheet protector or cover both sides with clear contact paper and seal the edges with clear tape as described in the instructions.
Why are there bubbles under the laminating sheet and how can we fix them?
Lift and reposition the laminating sheet, then smooth it over the cardboard from the center out using a ruler or soft cloth to push out bubbles and wrinkles as the instructions recommend.
How can this activity be adapted for younger or older children?
For preschoolers pre-measure and pre-cut the cardboard and let them decorate with chunky markers or stickers, while older children can do the measuring, cutting, and add written letters or detailed pictures before laminating.
How can we personalize or extend the finished laminated drawing board?
After sealing and taping the edges you can stick adhesive magnetic strips to the back to make a fridge board, attach Velcro-backed shapes for reuse, or add a taped pocket for extra practice cards.
Watch videos on how to make a laminated drawing board
Teaching Kids How to Write The Alphabet Letters A-Z | Learning the Uppercase Letters Handwriting
4 Videos
Teaching Kids How to Write The Alphabet Letters A-Z | Learning the Uppercase Letters Handwriting

ABC Writing for Children (How to write alphabet lower case small letters)
Learn to Write the ABCs | How to Write Letters | Handwriting Practice for Kids

Writing letters A to Z with the Blocks | Learn to write | @Alphablocks
Facts about reusable drawing boards for kids
📦 Corrugated cardboard was first used for packaging in the 19th century and is one of the most recycled materials worldwide.
🖊️ Dry-erase markers were created to write on smooth, non-porous surfaces so ink sits on top and wipes away cleanly—no chalk dust!
🛡️ Laminating sheets protect paper from spills, fingerprints, and tears, helping artwork and practice sheets last much longer.
🎒 A small DIY laminated board is lightweight and portable—perfect for drawing practice or quick worksheets on trips and in backpacks.
♻️ You can make this project greener by reusing scrap cardboard and turning laminated pages into long-lasting flashcards or practice sheets.
How do I make a small laminated drawing board for my child?
What materials do I need to make a laminated drawing board?
What ages is a laminated drawing board suitable for?
What are the benefits, safety tips, and variations for a laminated drawing board?
