Make A Family Photo Album!
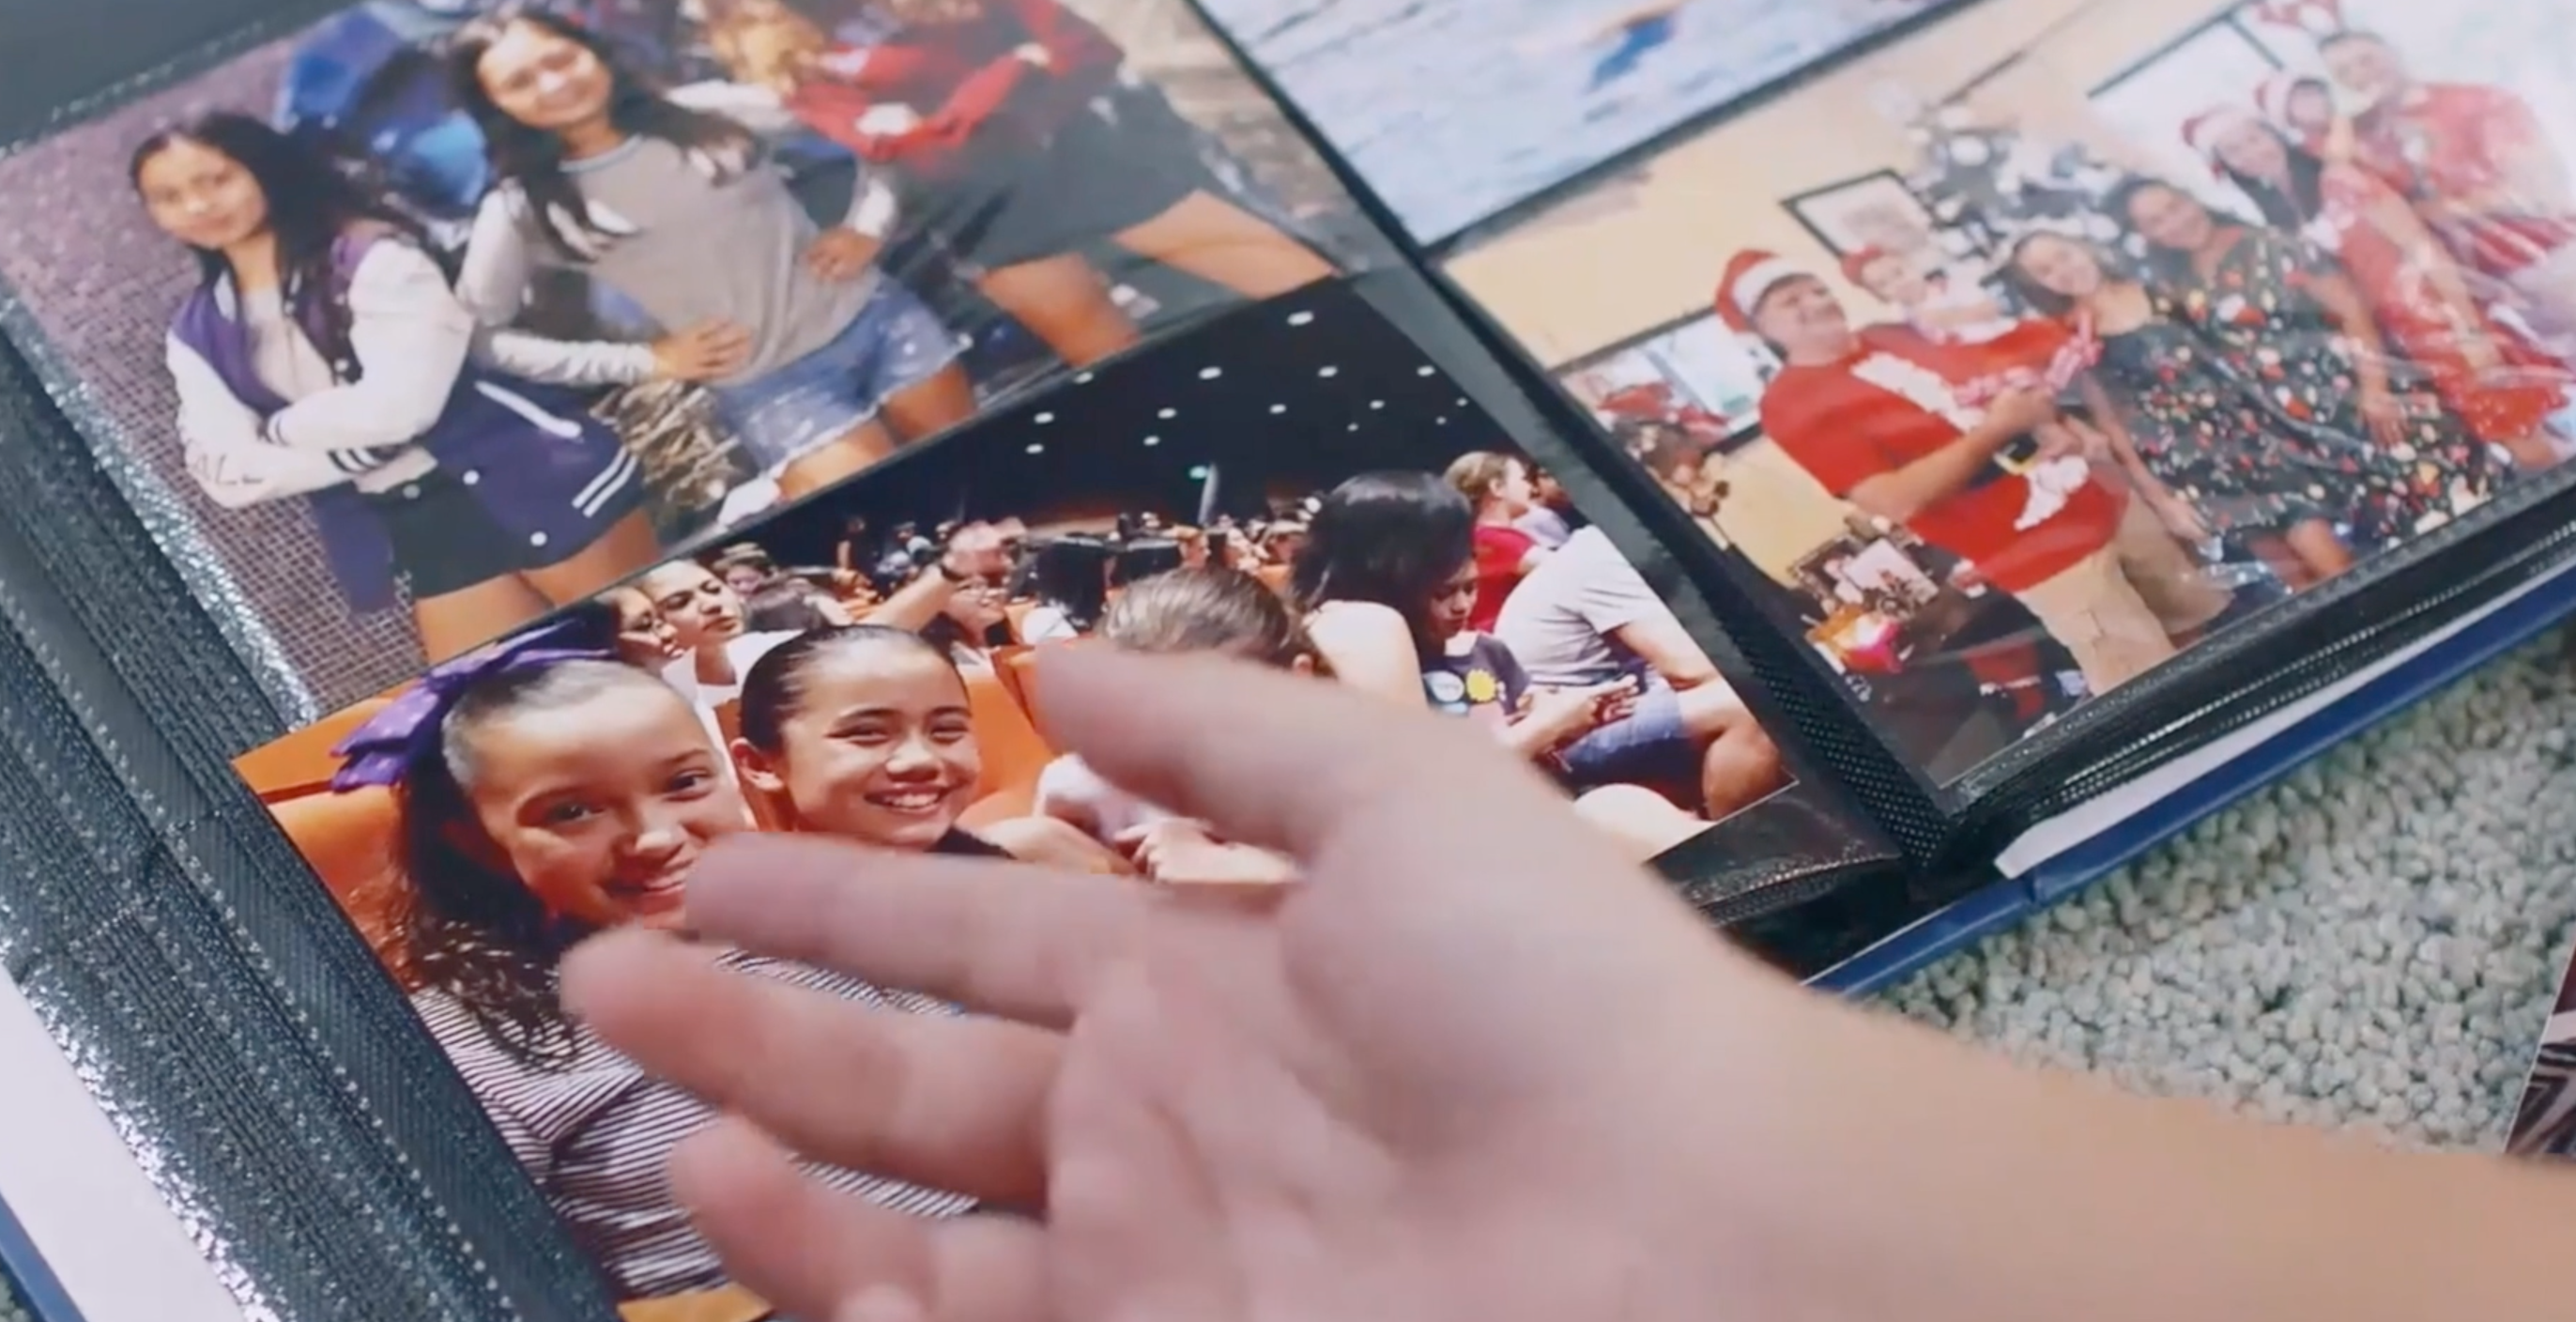
Create a family photo album using printed photos, paper, glue, and captions. Arrange, decorate, and learn storytelling while preserving memories safely.
About this activity
Create a family photo album using printed photos, paper, glue, and captions. Arrange, decorate, and learn storytelling while preserving memories safely.
What you need
Step by step
- 1
Step 1
Gather all the materials and spread them out on a clear table or floor.
- 2
Step 2
Pick a theme for your album such as holidays birthdays pets or family adventures.
- 3
Step 3
Sort your printed photos into small piles for each page in the order you want them to appear.
- 4
Step 4
Choose a sheet of paper or cardstock for the first page or cover.
- 5
Step 5
Arrange the photos on that page without gluing so you can try different layouts.
- 6
Step 6
Glue the photos onto the page once you like the layout.
- 7
Step 7
Cut small strips of paper to use as caption tags.
- 8
Step 8
Write one short sentence or a few words on each caption strip explaining the photo.
- 9
Step 9
Glue each caption strip beneath its matching photo.
- 10
Step 10
Decorate the page with coloring materials and stickers to make it special.
- 11
Step 11
Stack all finished pages in order and bind them with a stapler or by punching holes and tying ribbon.
- 12
Step 12
Share your finished family photo album on DIY.org.
Fun facts
How do you make a family photo album with your child?
Start by sorting printed photos into themes or chronology. Let your child choose favorites, trim edges, and arrange layouts on paper pages. Use photo-safe glue or corner mounts to attach pictures, then write short captions together that tell each photo’s story. Add stickers, patterned paper, and simple decorations. Finish by assembling pages into a binder or bound album and label the cover. Encourage your child to narrate memories as you work to boost storytelling and retention.
What materials do I need to create a family photo album?
Gather printed photos, acid-free cardstock or scrapbook paper, photo-safe glue sticks or corner mounts, scissors, and pens for captions. Optional supplies: stickers, washi tape, stamps, labels, page protectors, a three-ring binder or prebound album, and archival storage boxes. Consider a scanner or phone for a digital backup of images. Choose photo-safe adhesives and acid-free paper to help preserve pictures long-term.
What ages is making a family photo album suitable for?
This activity suits a wide range: preschoolers (3–5) can sort photos, stick pictures, and add stickers with supervision. School-age kids (6–10) can trim photos, write captions, and plan layouts. Tweens and teens can design pages, assemble albums, and handle archival choices. Always supervise scissors, small decorations, and adhesives for younger children, and adapt tasks to skill level so everyone can contribute meaningfully.
What are the benefits of making a family photo album?
Creating a photo album strengthens family bonds, improves storytelling and language skills, and supports memory and emotional development. It builds fine motor skills through trimming and gluing, and teaches organization and sequencing. Using archival materials preserves memories safely, while making a digital backup protects against loss. The shared activity encourages conversation about family history and traditions, fostering connection and a sense of identity for children.
Watch & Learn
Need help?
What can I use if I don't have printed photos, cardstock, or a stapler?
If you don't have printed photos use phone screenshots or magazine cutouts, replace the 'Choose a sheet of paper or cardstock' base with cereal-box cardboard or construction paper, and bind the stacked pages with binder clips or a hole punch and yarn instead of a stapler.
How do I stop photos from sliding or the glue from wrinkling the page?
During the 'Arrange the photos' and 'Glue the photos onto the page' steps, use a glue stick or double-sided tape to prevent wet wrinkles, tack each photo with a tiny dot of glue first, and flatten the page under a heavy book until it dries.
How can I adapt the activity for different ages?
For preschoolers pre-sort and pre-cut the photo piles and let them glue and decorate with big stickers, for elementary kids have them write the 'one short sentence' captions themselves, and for teens ask them to design themed layouts, add small memorabilia, and bind a polished album to upload to DIY.org.
What are some ways to personalize or extend the album after it's finished?
Personalize pages by adding dated caption strips, gluing small mementos like ticket stubs into little pockets, using decorative-edge punches on the paper, or scanning the finished pages to create a digital slideshow to share on DIY.org.