Make a DIY Fidget Toy with DIY Star @Imachan
Make a handheld star-shaped fidget toy using cardboard, beads, brads, and paint. Learn fine motor skills, decoration, and safe assembly.


Step-by-step guide to make a DIY star-shaped fidget toy
Step 1
Draw a palm-sized star on one piece of cardboard with your pencil and ruler so it’s easy to hold.
Step 2
Place the first star on another piece of cardboard and trace around it to make a matching star.
Step 3
Cut out both star shapes carefully with scissors while an adult watches.
Step 4
Paint or color the front of both stars with fun colors and designs.
Step 5
Set the painted stars aside and wait for the paint or ink to dry completely.
Step 6
Use your pencil to mark three evenly spaced spots near the center of each star for the bead pivots.
Step 7
Make small holes at each pencil mark using a hole punch or safety awl with adult help.
Step 8
Stack the two stars so their edges and holes line up exactly.
Step 9
Slide one bead onto a brad (paper fastener).
Step 10
Push the beaded brad through the aligned hole from the front of the top star until the prongs stick out the back.
Step 11
Fold the brad prongs flat on the back of the bottom star but leave a tiny gap so the bead can move.
Step 12
Repeat Steps 9 to 11 for the other two holes so each spot has a bead-on-brad pivot.
Step 13
Gently test each bead to make sure it spins or slides; if any bead is too tight open the prongs a little more.
Step 14
Share a photo and story of your finished DIY Star fidget toy on DIY.org
Help!?
What can we use instead of brads or a hole punch if they're hard to find?
If you can't find brads or a hole punch, use craft split pins or short screws with washers and nuts for the bead pivots in Steps 9–11 and make holes with an awl or small nail under adult supervision.
Why won't my beads spin freely or the stars line up, and how do I fix it?
If beads don't spin or stars misalign, restack the two stars so edges and holes line up exactly (Step 7), slightly widen the holes with the awl or carefully open the brad prongs as suggested in Step 13 until each bead moves smoothly.
How can I adapt the activity for younger or older kids?
For younger children have an adult draw and pre-cut the palm-sized stars and use a hole punch and larger beads for Steps 1–3 and 9–11, while older kids can design more detailed paintwork and add extra layers or sturdier pivots in Steps 4 and 9–11.
How can we enhance or personalize our DIY Star fidget toy?
Personalize the toy by painting unique designs (Step 4), adding glitter or stickers, using different bead sizes, or stacking extra painted star layers before fastening the pivots in Steps 9–11 to change the look and movement.
Watch videos on how to make a DIY star-shaped fidget toy
Make a Fidget Star in Tinkercad in 5 Easy Steps
4 Videos
Make a Fidget Star in Tinkercad in 5 Easy Steps
DIY Amazing Transforming Ninja Star | Easy Origami Fidget Toy (Paper Craft) #craft #diy #usa

DIY Origami Infinity Star🌟 | How to make a Star Fidget Toy paper craft #diycraft #paper #papercraft
Infinity star origami tutorial | how to make a transforming paper toy
Facts about DIY crafts and fine motor skill development for kids
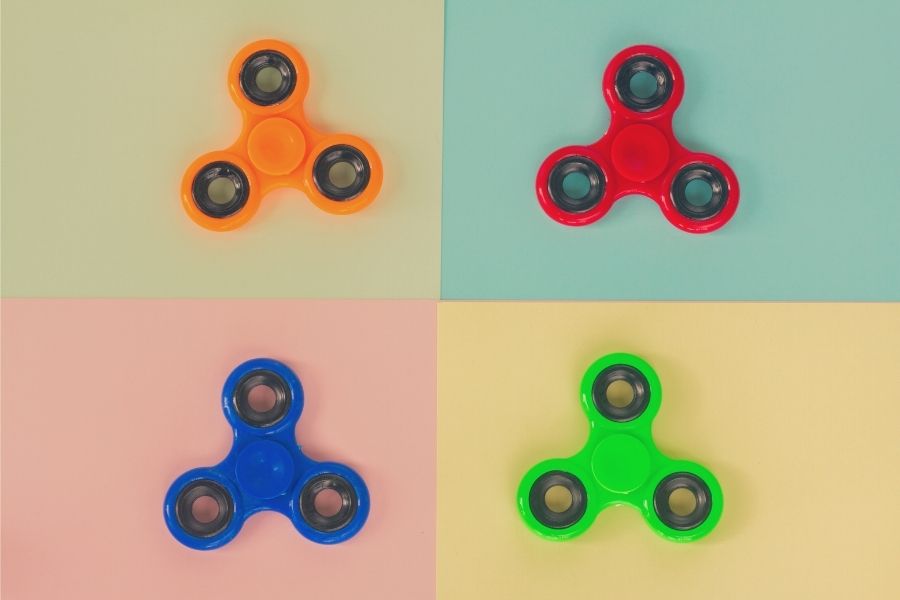
🎉 Fidget spinners exploded into a global craze in 2017, with millions sold and many DIY versions made at home.
📦 Modern corrugated cardboard was invented in the 19th century and is lightweight yet strong—perfect for kid-safe toys.
🎨 Acrylic and tempera paints are kid-friendly because they dry quickly and are easy to clean from skin and fabrics.
🔩 Brads (split pins) let two pieces rotate around a single point, making moving parts for fidget toys simple and safe.
✋ Making small DIY toys helps children develop fine motor skills, hand-eye coordination, and focused attention.
How do I make a handheld star-shaped fidget toy like DIY Star @Imachan?
What materials do I need to make the DIY star fidget toy?
What ages is the DIY star fidget toy suitable for?
What are the benefits, safety tips, and variations for the star fidget toy?
