Make a Camel!
Build a small model camel using cardboard, paper, glue, and markers; shape humps, legs, and face to learn about animal structure.


Step-by-step guide to make a model camel
Step 1
Gather all materials and clear a workspace so you have room to draw and cut.
Step 2
Use your pencil and ruler to draw all camel parts on the cardboard or paper: one body two humps four legs one neck one head and one tail.
Step 3
Cut out every piece you drew so all camel parts are ready.
Step 4
Gently fold or curl each hump piece so it becomes rounded and looks like a little bump.
Step 5
Glue the two rounded humps onto the top center of the cardboard body.
Step 6
Fold or roll each leg piece to make it thicker so the camel can stand.
Step 7
Glue the four legs to the bottom of the body in the right spots for balance.
Step 8
Fold the neck piece into a sturdy strip so it will hold the head up.
Step 9
Glue the neck to the front of the body and then glue the head to the top of the neck.
Step 10
Glue the tail to the back of the body.
Step 11
Use markers to draw eyes nostrils a mouth and any fur details on the head and body.
Step 12
Color and decorate the camel body humps and legs any way you like.
Step 13
Let the glue and marker colors dry completely before moving your camel.
Step 14
Take a photo of your finished camel and share it on DIY.org
Help!?
What can I use instead of cardboard or markers if I can't find them?
If you don't have cardboard, use a flattened cereal or shipping box and follow the same drawing and cutting steps, and swap markers for crayons or colored pencils to do the coloring and details.
My camel won't stand—how do I fix it?
If the camel won't stand after gluing the four legs to the bottom of the body, roll each leg piece more tightly, glue a small extra cardboard tab to the leg bottoms for wider feet, and reposition legs slightly toward the center for balance.
How can I change this activity for younger or older kids?
For preschoolers have an adult draw and pre-cut the body, humps, legs, neck, head, and tail so the child can focus on folding, gluing, and coloring, while older kids can add folded tabs for sturdier joints, paint details, or design a desert diorama to display the finished camel.
How can we personalize or make the camel more advanced?
Personalize and enhance your camel by adding googly eyes or drawing eyes with markers, gluing yarn for fur, creating a saddle from fabric scraps, or making movable legs and neck by attaching parts with brass brads before letting the glue and marker colors dry.
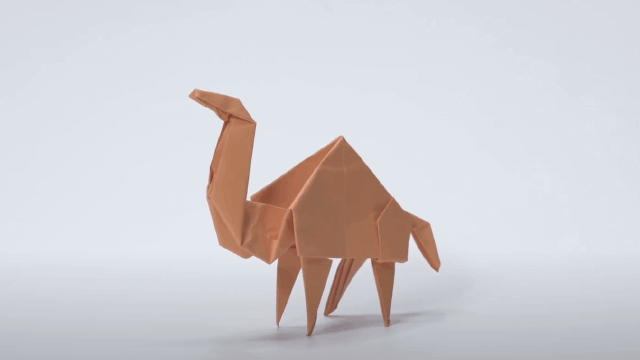
Watch videos on how to make a model camel
How to Make Origami Camel Step by Step Easy Tutorial for Beginners Learn Paper Folding Art of Camel
4 Videos
How to Make Origami Camel Step by Step Easy Tutorial for Beginners Learn Paper Folding Art of Camel
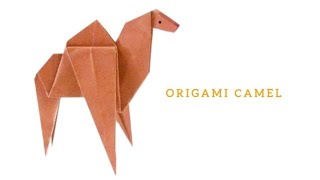
How to Make an Origami CAMEL | DIY.org
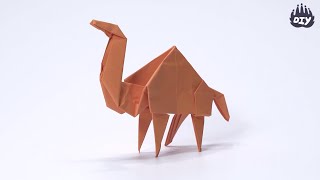
How to make a paper camel - Origami animals
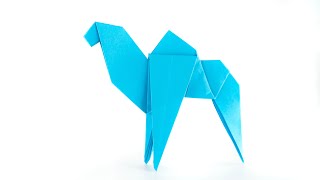
🐪 Camel Origami | Easy Step-by-Step Paper Camel Tutorial | Plyzzle
Facts about animal structure for kids
🐪 Camels store fat — not water — in their humps, which helps them survive long trips across deserts.
🐫 Bactrian camels have two humps while dromedaries have one, adapted to different habitats.
💧 A very thirsty camel can drink about 40 gallons (around 150 liters) in one go to replenish after a dry spell.
🌬️ Camels can close their nostrils and have double eyelashes to block sand during storms.
📦 Cardboard and papercraft are ideal for making 3D animal models because they're sturdy, lightweight, and easy to shape.
How do I make a small cardboard camel model?
What materials do I need to make a camel craft?
What ages is building a cardboard camel suitable for?
What are the benefits of making a cardboard camel and variations to try?
