Make a Bracelet w/ Saturnastronaut
Make a space themed bracelet with beads and a Saturnastronaut charm, practicing measuring, pattern design, and safe bead threading using child safe tools.

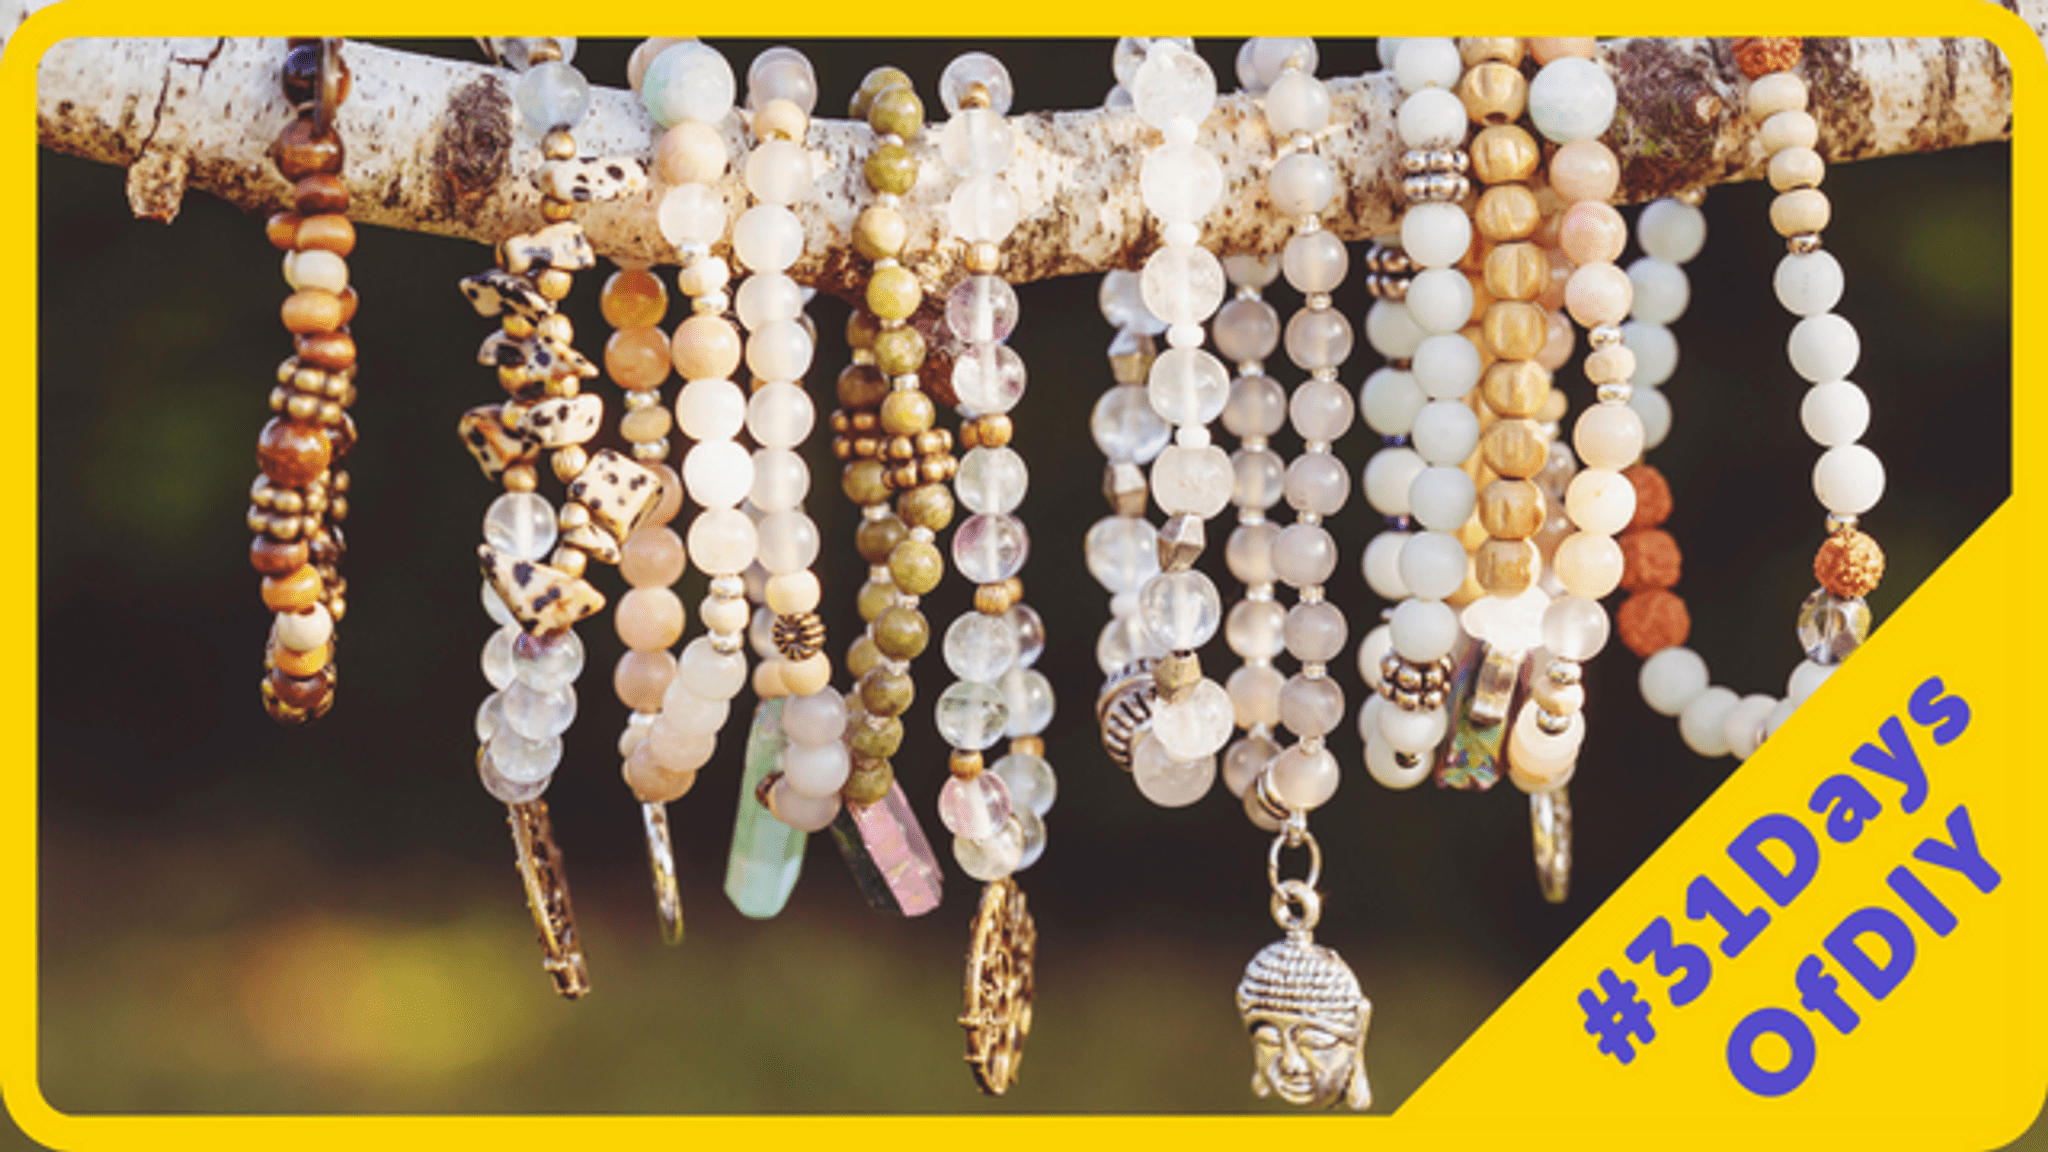

Step-by-step guide to make a bracelet with Saturnastronaut
Rainbow Loom Saturn Link Chain Easy Bracelet
Step 1
Gather all your materials and bring them to a clean flat workspace.
Step 2
Wrap the measuring tape around your wrist to find your wrist size.
Step 3
Add 1 inch to that wrist measurement and remember this new length.
Step 4
Cut a piece of elastic cord the length you measured plus about 3 extra inches for tying.
Step 5
Tape one end of the cord to the table or tray so the beads won’t fall off while you work.
Step 6
Lay out your beads and the Saturnastronaut charm on the tray to create a space-themed pattern.
Step 7
Thread the beads and the Saturnastronaut charm onto the cord following your pattern until you reach the measured length.
Step 8
Wrap the beaded cord around your wrist to check the fit.
Step 9
Slide beads to adjust the spacing so the bracelet looks balanced and fits comfortably.
Step 10
Tie a secure double knot close to the beads to hold everything in place.
Step 11
Trim the excess cord close to the knot with child-safe scissors.
Step 12
Tuck the knot into the nearest bead hole to hide it and make the bracelet neat.
Step 13
Share a photo of your finished Saturnastronaut bracelet on DIY.org.
Help!?
What can I use if elastic cord is sold out or hard to find?
If elastic cord is unavailable, use clear stretch beading cord or a thin ribbon and after tying the double knot in Step 9 add a tiny drop of clear glue so the bracelet stays secure.
My beads keep slipping off while I thread or the knot comes undone—what should I try?
If beads slip despite taping the cord in Step 4, clamp the taped end with a small binder clip or bead stopper, and if the double knot from Step 9 slips, retie a surgeon’s knot and add a drop of clear glue before trimming in Step 12.
How can I adapt this bracelet activity for younger or older children?
For preschoolers, pre-cut the elastic per Step 3, tape it to the tray in Step 4, and use large pony beads to make threading and the Step 9 double knot easier, while older kids can use smaller seed beads and create more detailed space patterns in Step 5 and hide the knot as in Step 11.
How can we personalize or upgrade the Saturnastronaut bracelet once it's finished?
Personalize by adding glow-in-the-dark beads into the space-themed layout in Step 5, attach the Saturnastronaut charm with a small jump ring before threading, or make it adjustable by replacing the Step 9 knot with a sliding knot and then tuck the ends next to the nearest bead as in Step 11 before sharing on DIY.org in Step 13.
Watch videos on how to make a bracelet with Saturnastronaut
How To Make The Beginning Loop Of A Friendship Bracelet | How To Start A Friendship Bracelet
4 Videos
How To Make The Beginning Loop Of A Friendship Bracelet | How To Start A Friendship Bracelet

How to Make Friendship Bracelets
Easy and Beautiful Bracelet Making: Jewelry Making Tutorials with Beads and Crystals
Bracelet Making Ideas with Beads: How to Make a Cute Bracelet with Beads and Crystals
Facts about jewelry making for kids
🪐 Saturn's rings are made of ice and rock pieces that range from tiny grains to house-sized chunks — like a giant space bead necklace.
🚀 Astronauts use tape and tethering to keep tools (and tiny objects) from floating away in microgravity — beads would drift too!
🎨 Repeating a sequence of 3–4 bead colors or shapes creates a pattern that's easy to plan and fun to personalize.
📏 Most kids' bracelets measure about 5½–6½ inches (14–16.5 cm) around — measuring first helps get the fit right.
🧵 Child-safe blunt needles and supervised threading reduce pokes and make bead stringing safer for young makers.
How do you make a space-themed bracelet with beads and a Saturnastronaut charm?
What materials do I need to make a Saturnastronaut bracelet?
What ages is making a Saturnastronaut bracelet suitable for?
What are the benefits, safety tips, or fun variations for this bracelet activity?
