Make a barometer
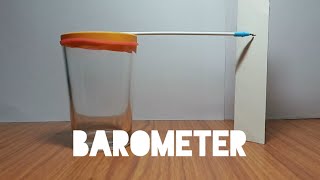
Build a simple barometer using a jar, balloon, straw, and tape to observe air pressure changes and predict weather over several days.

Step-by-step guide to make a barometer
How to make a Barometer | DIY Science Time | #DIYST1
Step 1
Gather all materials and place them on a flat table.
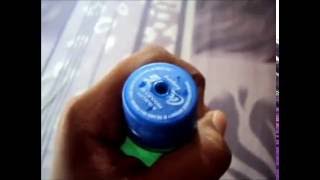
Step 2
With an adult's help cut off the narrow neck of the balloon so you have a round flat sheet.
Step 3
Stretch the balloon sheet tightly over the jar opening so it looks like a drumhead.
Step 4
Wrap a strip of clear tape around the jar rim to hold the balloon tightly in place.
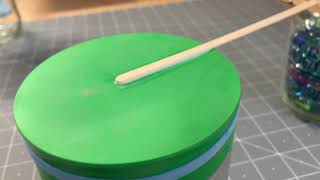
Step 5
Lay the straw flat across the center of the stretched balloon so one end points out past the jar edge.
Step 6
Secure the middle of the straw to the balloon with a small piece of tape so the straw can move like a pointer.
Step 7
Tape the small piece of paper or index card vertically to the side of the jar so the straw tip points along it.
Step 8
Use the marker to draw a straight baseline on the paper where the straw tip sits now and write today’s date next to it.
Step 9
Put the jar barometer on a steady shelf away from windows heaters and vents.
Step 10
Each day at the same time look at the straw tip without touching the jar.
Step 11
Mark the new straw tip position on the paper and write that day’s date next to it.
Step 12
Compare the marks over several days and write a short prediction about whether the weather will be clearer or stormier based on the straw moving up or down.
Step 13
Share a photo and what you learned about your barometer on DIY.org.
Help!?
What can we use if we don't have a balloon or a jar?
If you don't have a balloon, stretch sturdy plastic wrap over the jar opening and secure it with a rubber band instead of step 2's balloon sheet, and if you lack a glass jar use a clean wide‑mouthed plastic container like a yogurt tub in place of the jar.
Why doesn't the straw move or why does it slip out of place and how do we fix it?
If the straw doesn't move or slips, re‑stretch the balloon sheet tightly over the jar (step 3), add another strip of clear tape around the rim (step 4) and secure the straw's middle with a slightly larger piece of tape so it pivots without sliding.
How can I adapt this activity for different age groups?
For younger children have an adult do the balloon neck cutting and the tape steps and let the child place stickers on the paper instead of writing dates, while older kids can measure the straw's movement in millimeters from the baseline (step: draw a straight baseline) and graph the changes to make precise predictions.
How can we extend or personalize the barometer project?
To enhance the barometer, tape a numbered scale on the index card next to the baseline (step: tape the small piece of paper), add a small paperclip weight to the straw end to increase sensitivity, decorate the jar, and chart daily movements to compare with local weather forecasts before sharing a photo on DIY.org.
Watch videos on how to make a barometer
HOMEMADE BAROMETER | How to make a barometer at Home
4 Videos
HOMEMADE BAROMETER | How to make a barometer at Home
Episode 14: Homemade Barometer
How to Build Your Own Barometer! Easy project to track weather changes.
Barometer | Easy Experiment to do at home
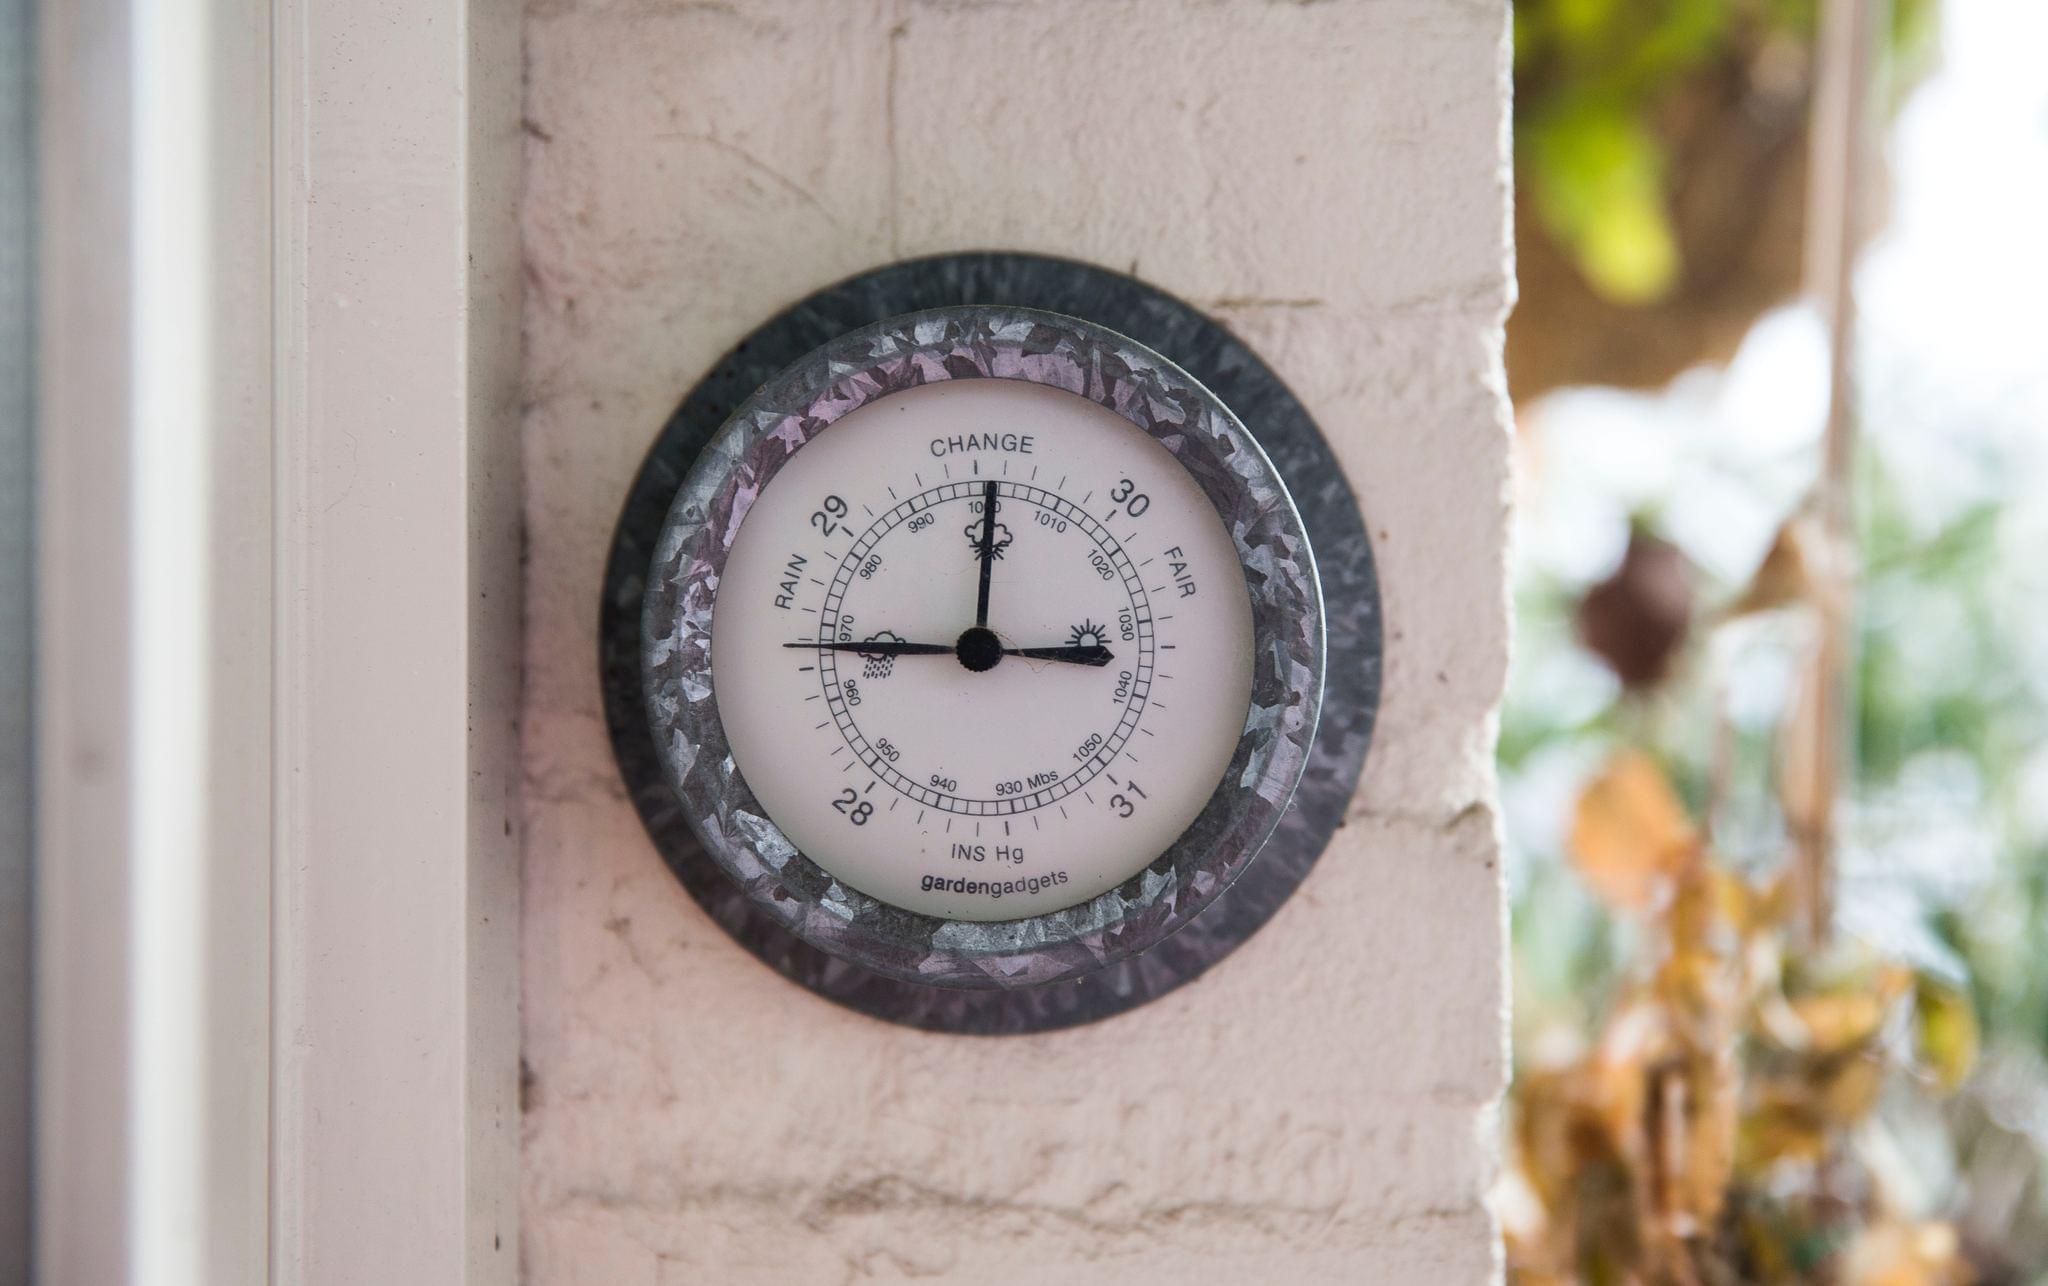
Facts about meteorology and air pressure
🌦️ A barometer measures air pressure — when pressure falls quickly, storms and rain are often on the way!
🧪 Evangelista Torricelli invented the first mercury barometer in 1643, starting modern weather measurement.
🎈 A jar-and-balloon barometer works because air pressure pushes on the balloon and makes the straw move like a tiny weather needle.
📉 Air pressure can drop several millibars before a storm — meteorologists watch those drops to predict bad weather.
🌍 Thousands of barometers around the world help scientists map pressure patterns that steer weather systems.
How do I make a simple barometer at home to observe air pressure changes?
What materials do I need to make a DIY barometer with my child?
What ages is making a jar-and-balloon barometer suitable for?
What are the benefits, safety tips, and easy variations for a homemade barometer?
