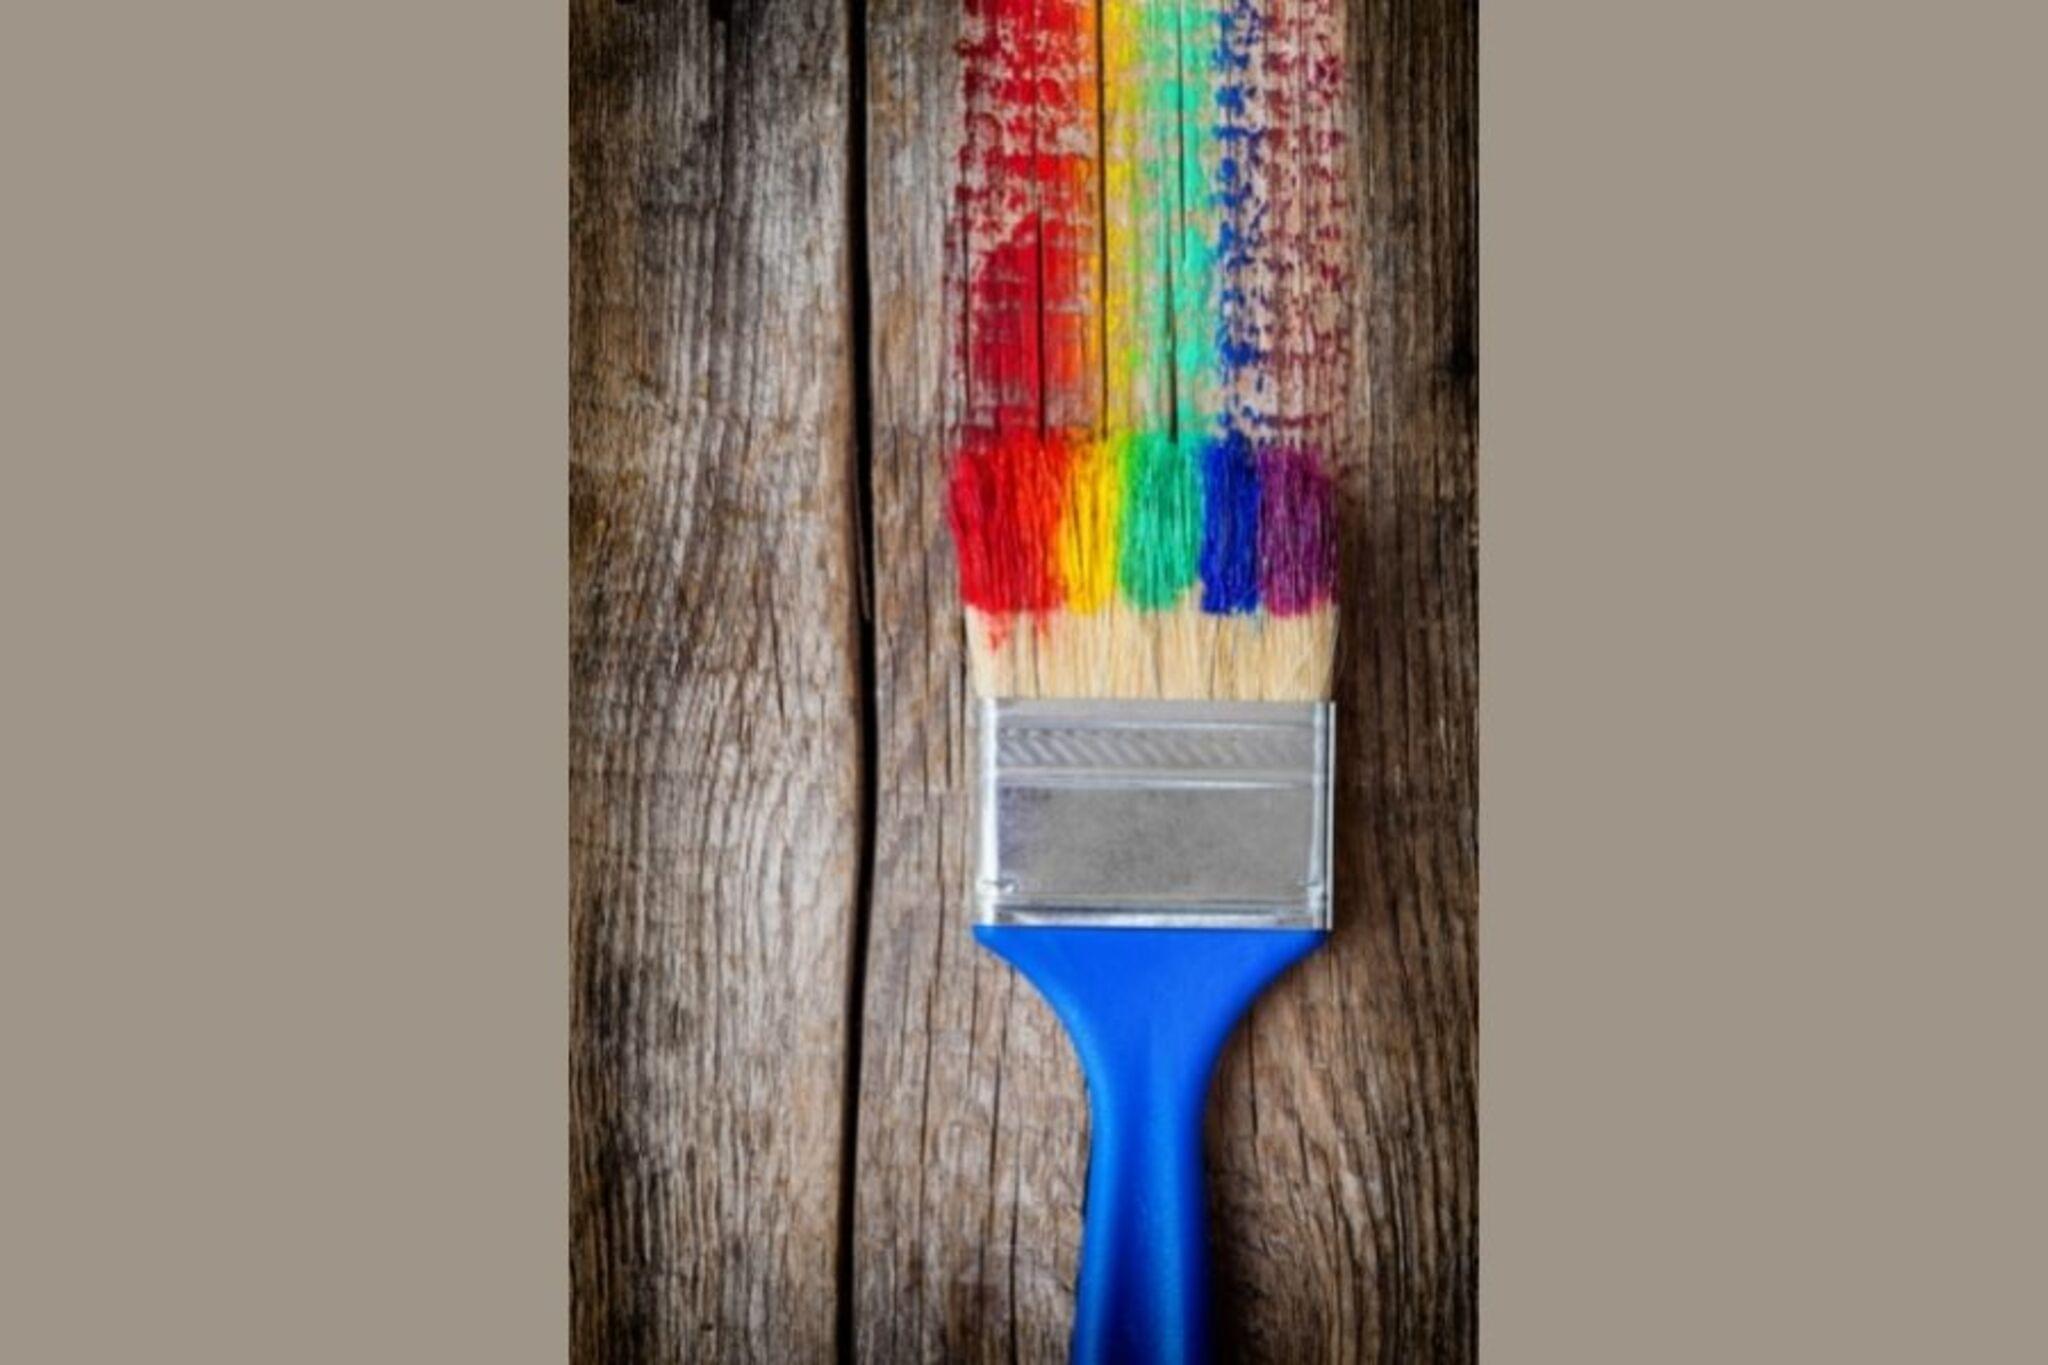
Magical Rainbow Brush: Stop Motion Animation
Create a short stop motion animation showing a magical rainbow brush painting colors. Use paper, markers, camera, and simple frame by frame techniques.


Step-by-step guide to Magical Rainbow Brush: Stop Motion Animation
How to Make a Stop-Motion Animation | Tate Kids
Step 1
Clear a flat table and place the cardboard or book there to make a steady stage.
Step 2
Lay one sheet of plain paper on the stage and tape the corners down so it won't move.
Step 3
Use markers to draw a magical brush shape on a piece of scrap paper.
Step 4
Cut out the brush shape from the scrap paper with scissors.
Step 5
Tape the paper brush onto the craft stick or small brush to make a sturdy brush prop.
Step 6
Put the brush prop at the left edge of the paper and secure the bottom with a small piece of sticky putty or tape.
Step 7
Use markers to draw several small paint blobs in rainbow colors on scrap colored paper.
Step 8
Cut out the little colored paint blobs with scissors.
Step 9
Set your camera or phone on a steady surface above the stage and check that the whole paper is inside the picture.
Step 10
Take a first photo with the brush resting at the left edge and no paint on the paper yet.
Step 11
Slide the brush a tiny bit to the right so it looks like it moved a little.
Step 12
Place the next colored paint blob where the brush tip touches the paper.
Step 13
Take a photo of this new position.
Step 14
Repeat Step 11 to Step 13 until all the rainbow colors are placed and photographed in order.
Step 15
Upload and share your finished magical rainbow brush stop motion animation on DIY.org.
Help!?
What can we use instead of cardboard, a craft stick, or sticky putty if we don't have them?
Use a sturdy cereal box or hardcover book for the stage (Step 1), a wooden pencil or straw instead of a craft stick (Step 5), and replace sticky putty in Step 6 with a small piece of tape or a paperclip weight.
My photos look jumpy or the paper moves — how can I fix that?
Prevent jumpiness by firmly taping the paper corners as instructed in Step 2, keeping your camera steady on a solid surface per Step 8 (use a stack of books), and making only tiny brush slides each time in Step 11.
How can I change this activity for a 4-year-old, 8-year-old, or 12-year-old?
For a 4-year-old pre-cut the paint blobs from Step 9 and let them place blobs and make bigger Step 11 movements with help, an 8-year-old can cut and place blobs themselves and move the brush smaller increments, and a 12-year-old can add finer frame-by-frame moves, drawn backgrounds on the paper in Step 2, and edit timing before uploading in Step 14.
How can we make the stop motion more creative or longer-lasting before uploading?
Decorate the drawn brush from Step 3 and the craft stick in Step 5 with stickers or glitter, create extra cutout characters or layered backgrounds on the staged paper from Step 2, and add music or speed edits in a stop-motion app before uploading in Step 14.
Watch videos on how to make a Magical Rainbow Brush stop motion animation
How to start your first Stop Motion Animation | Beginners Guide To Stop Motion | Stop-Motion Fight
4 Videos
How to start your first Stop Motion Animation | Beginners Guide To Stop Motion | Stop-Motion Fight
How to Make Stop Motion Animations: Essential Tools & Tips for Beginners
How to make stop motion videos, for kids, easy, get you started!!!

Make a Stop Motion Animation I Activities for Children
Facts about stop motion animation for kids
🎬 Many stop-motion animators use 12 frames per second — that means 12 photos make one second of animation!
🌈 A rainbow is sunlight split into colors by water droplets, and each person sees their own special rainbow.
🖌️ Norman McLaren sometimes painted directly onto film frames — you can try painting one paper frame at a time for your animation.
📷 A smartphone can easily take hundreds of photos — 120 pictures will give you 10 seconds of animation at 12 fps.
🐉 Ray Harryhausen moved tiny models a little between photos to make legendary movie monsters come to life — you can do the same with paper props.
How do I make a Magical Rainbow Brush stop motion animation?
What materials do I need for the Magical Rainbow Brush activity?
What ages is the Magical Rainbow Brush stop motion suitable for?
What are the benefits of doing a Magical Rainbow Brush stop motion?
