Let's Make a Kaleidoscope!
Build a simple kaleidoscope using a cardboard tube, three mirrored strips, and colorful beads to explore reflection, symmetry, and changing patterns.


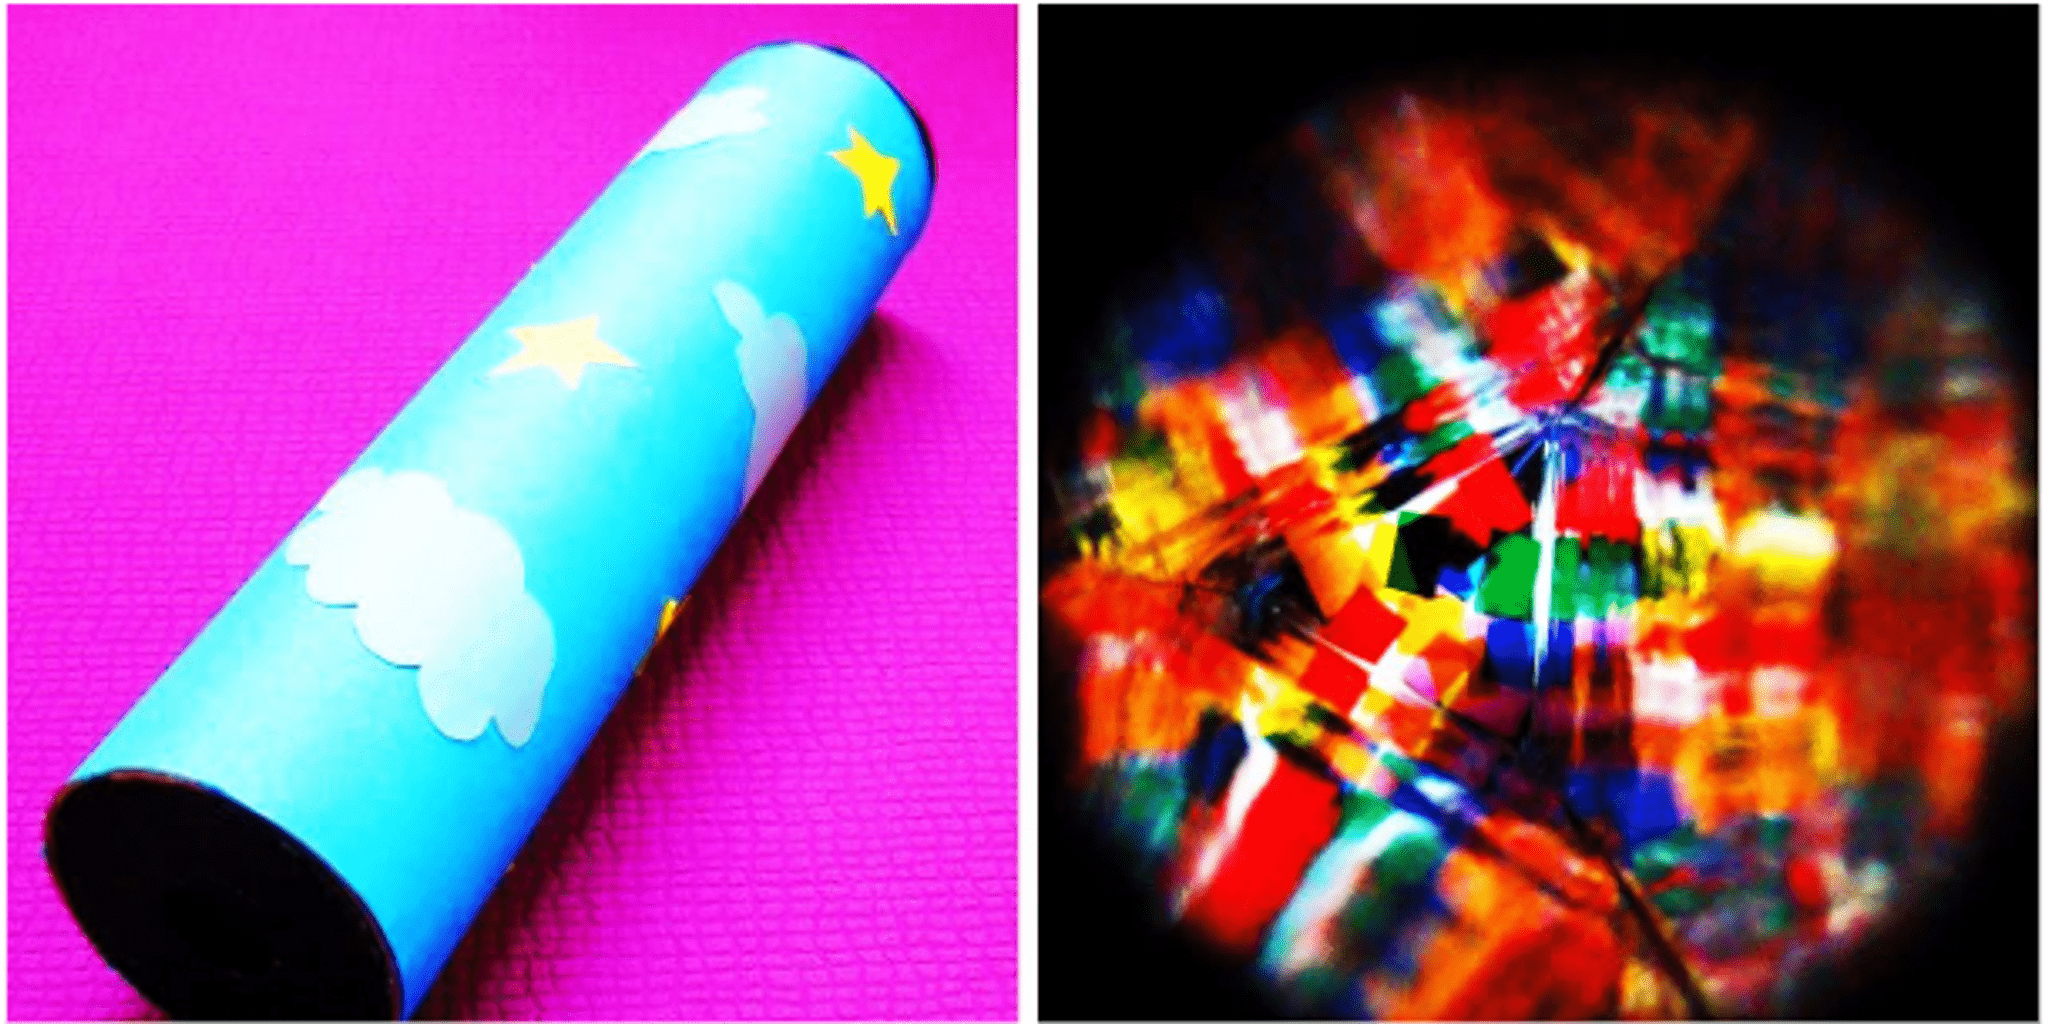

Step-by-step guide to make a kaleidoscope
DIY | How to Make a REAL Kaleidoscope (So Easy!)
Step 1
Gather all the Materials Needed listed above and bring them to a clear workspace.
Step 2
Use the ruler to measure the inside length of the cardboard tube and mark that length on each mirrored strip.
Step 3
Cut each mirrored strip along your marks so they match the tube length.
Step 4
Tape the mirrored strips together along their long edges with the reflective sides facing inward to make a triangular mirror prism.
Step 5
Slide the triangular mirror prism carefully into the cardboard tube until it fits snugly.
Step 6
Place the tube opening on the clear plastic and trace a circle the size of the tube opening.
Step 7
Cut two clear plastic circles from the traced outlines.
Step 8
Put a small handful of colorful beads or sequins in the center of one plastic circle.
Step 9
Place the second plastic circle on top of the beads to cover them.
Step 10
Tape all around the edge of the two plastic circles to seal the beads inside and make a bead window.
Step 11
Tape the sealed bead window to one end of the cardboard tube so the beads sit at that end.
Step 12
Cut a cardboard circle the same size as the other tube opening and cut a small center hole to make an eyepiece.
Step 13
Tape the cardboard eyepiece to the open end of the tube.
Step 14
Look through the eyepiece and slowly rotate the tube to watch the colorful symmetrical patterns change.
Step 15
Share your finished kaleidoscope on DIY.org
Help!?
What can we use if mirrored strips are hard to find?
Substitute reflective mylar sheets or smooth aluminum foil carefully taped onto cardstock cut to the tube length to form the mirrored strips for the triangular mirror prism.
Why does my kaleidoscope show dim or blurry patterns and how can I fix it?
Make sure each mirrored strip matches the tube length, tape the long edges securely with the reflective sides facing inward so the triangular mirror prism fits snugly in the cardboard tube, and check the bead window is sealed flat against the tube end so beads can move freely without gaps.
How can I adapt this project for younger or older kids?
For younger children, have an adult pre-measure and cut the mirrored strips and plastic circles and let them add beads and tape the bead window, while older kids can measure and cut themselves, experiment with exact mirror angles, and design more complex bead combinations for intricate patterns.
What are some ways to personalize or improve the finished kaleidoscope?
Decorate or wrap the cardboard tube, make several interchangeable sealed bead windows with different beads or sequins to swap at the tube end, or upgrade the mirrored strips to three thin real mirrors for brighter, sharper symmetrical patterns.
Watch videos on how to make a kaleidoscope
Kaleidescope making at home/how to make a kaleidoscope/make a kaleidoscope for science project
4 Videos
Kaleidescope making at home/how to make a kaleidoscope/make a kaleidoscope for science project

How to make a Kaleidoscope at home without mirror | DIY Kaleidoscope | Fun designs | Science project
How to Make DIY Kaleidoscope | Easy Science Project for Class 5 to 8
DIY STEM Project For Kids: How To Make A Kaleidoscope
Facts about optics and mirror experiments
🧪 Sir David Brewster invented the kaleidoscope in 1816 and it became an instant Victorian sensation.
🪞 Most DIY kaleidoscopes use three mirrors arranged as a triangular tube — that setup creates multiple repeating reflections (often giving 6-fold symmetry when the mirrors form an equilateral triangle).
🌈 Loose beads, glass, or bits of colored paper at the end of the tube make patterns that change whenever the pieces tumble and reflect.
🎨 Kaleidoscope patterns inspired 19th-century textile and decorative designers — they were used as a source of new motifs and color combinations.
🔍 Building a simple kaleidoscope is a hands-on way to see how angles and mirror reflections produce symmetry and complex-looking patterns from a few objects.
How do you build a simple kaleidoscope?
What materials do I need to make a kaleidoscope?
What ages is this kaleidoscope activity suitable for?
What are the benefits, safety tips, and fun variations for a kaleidoscope?
