Invent your own awesome vehicle
Design and build a model of your own awesome vehicle using recycled materials, sketches, and simple tests to explore motion, balance, and creativity.



Step-by-step guide to invent your own awesome vehicle
DIY TOY CAR! How to make Speedy CAR! SUPER EASY and FUN!
Step 1
Gather all the materials listed and place them on a clear table so you can see everything.
Step 2
Draw a quick sketch of your vehicle on paper showing where the wheels and cabin will go.
Step 3
Choose how your vehicle will move such as push-and-roll wheel power rubber-band launch or a glider style.
Step 4
Use the ruler to trace a rectangle on the cardboard for the chassis following your sketch.
Step 5
Cut out the cardboard chassis carefully with scissors.
Step 6
Make two holes across from each other near the front and back edges of the chassis where the axles will go.
Step 7
Make two axle-wheel assemblies by pushing a skewer or straw through two bottle caps for each axle so each assembly has two wheels.
Step 8
Slide each axle assembly through the holes so the wheels sit outside the chassis.
Step 9
Tape the axles under the chassis so the wheels can still spin freely.
Step 10
Add small weights in the center of the chassis with tape to improve balance.
Step 11
Build a cabin or body using a plastic bottle or extra cardboard and attach it to the chassis with glue or tape.
Step 12
Decorate your vehicle with markers and add any fun extras like fins flags or headlights.
Step 13
Test your vehicle on a flat surface and change one thing such as moving the weight adjusting wheel position or tightening a rubber band to improve its motion.
Step 14
Share your finished awesome vehicle on DIY.org
Help!?
What can I use if I don't have bottle caps, skewers, or a plastic bottle?
Use punched cardboard circles, toy wheels, or CD lids instead of bottle caps, straight pencils or wooden dowels in place of skewers (or sturdy straws for lightweight axles) and build the cabin from extra cardboard or a small cereal box, then follow the step to push the axle through your chosen wheels and attach the cabin with glue or tape.
My wheels won't spin or the vehicle wobbles — what should I check and fix?
If wheels don't spin or wobble, reopen the tape under the chassis to ensure axles sit free, add small cardboard washers between axle and chassis if rubbing, widen or re-center the holes near the front and back with scissors or a pencil if they're misaligned, and retest on a flat surface as the instructions suggest.
How can I adapt the build for younger children or make it more challenging for older kids?
For younger kids, pre-cut the cardboard chassis and pre-make the axle-wheel assemblies so they can assemble and decorate safely, while older kids can precisely trace and cut the chassis with the ruler, design a rubber-band launch or glider style, and experiment with moving the weight for performance tuning.
How can we extend or personalize the vehicle after the basic test and tuning?
After testing and changing one thing as instructed, personalize and enhance your vehicle by adding fins, flags, headlights or battery LEDs taped to the cabin, mounting adjustable wings from cardboard for a glider mode, or shifting taped weights to optimize balance and speed.
Watch videos on how to invent your own awesome vehicle
How to Build a Toy Car - Science Project
4 Videos
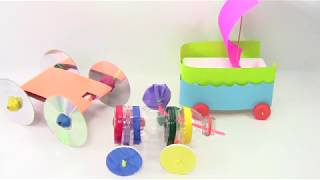
How to Build a Toy Car - Science Project
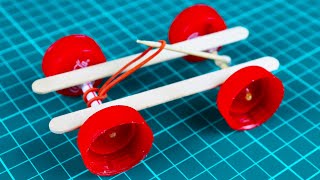
How To Make a Mini Rubber Band Car (SIMPLE CAR TOY)
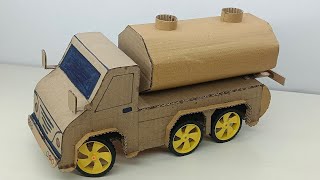
How to Make A Cardboard Water Tanker Truck | DIY Toy Truck for School Projects
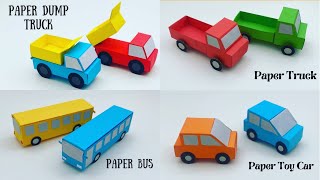
How To Make Paper Toy Vehicles ( CAR , TRUCK , BUS ) For Kids / Nursery Craft Ideas / KIDS crafts
Facts about vehicle design and basic engineering for kids
🚗 The first practical automobile was built by Karl Benz in 1885 — kids today are designing vehicles on ideas over 130 years old!
♻️ Turning old boxes, bottles, and caps into toys is called upcycling and often uses much less energy than making new plastic parts.
⚖️ Putting heavy parts low and centered between the wheels lowers the center of mass, helping models stay upright and roll straighter.
🧪 Newton's first law means a tiny push can send a light model car far — it keeps moving until friction, bumps, or a crash stop it.
🛠️ Simple wheels like bottle caps or cardboard discs with straws for axles can make surprisingly fast and fun model vehicles.
How do I design and build an awesome vehicle with my child?
What materials do I need to invent a model vehicle from recycled materials?
What ages is inventing your own vehicle suitable for?
What are the benefits of inventing a vehicle from recycled materials?
