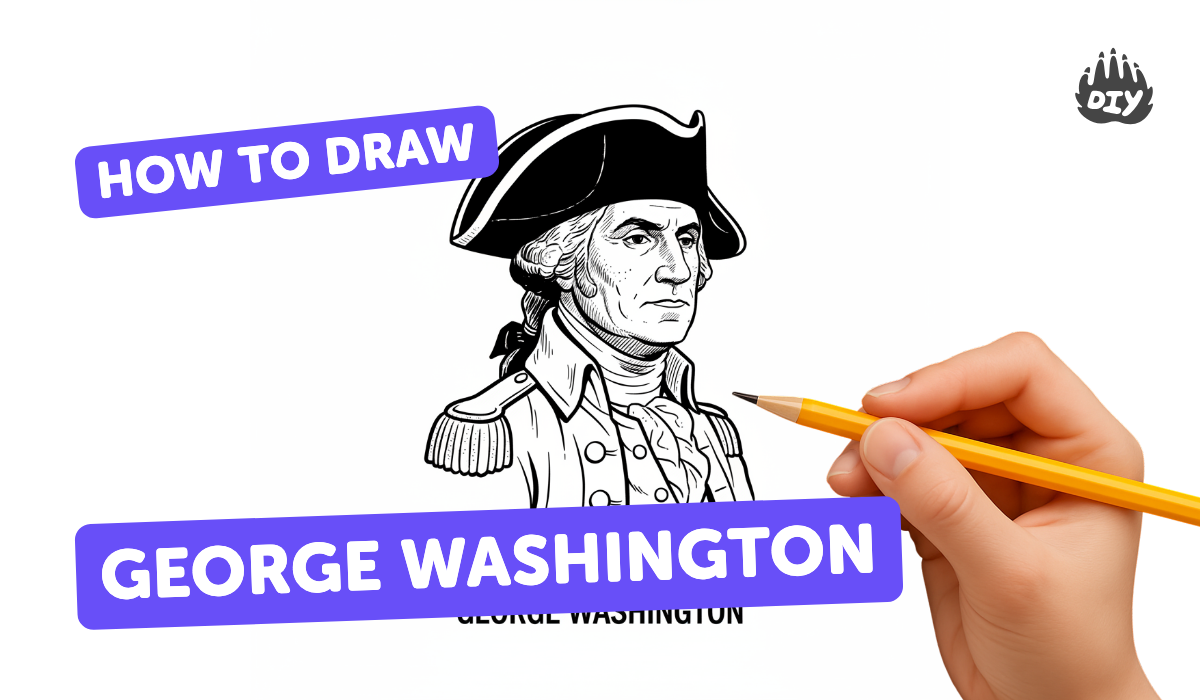
How to draw george washington - a free george washington drawing guide
Draw a portrait of George Washington with pencil by building basic shapes, adding facial features, hair, and colonial clothing. Develop proportion and shading skills.

Drawing Apps
Get inspired with these


Instructions
How to Draw George Washington | Step by Step Art Lesson for Beginners
Step 1
Gather all your materials and sit at a clean flat table so you are ready to draw.
Step 2
Place your reference picture of George Washington beside your paper where you can easily see it.
Step 3
Lightly draw a vertical oval in the middle of the paper to make the head shape.
Step 4
Draw one light vertical center line and one horizontal eye line across the oval to help place features.
Step 5
Add a jawline and chin shape under the oval to make the face look more like a real head.
Step 6
Sketch a short neck and broad shoulders so the coat will sit in the right place.
Step 7
Draw two almond-shaped eyes on the eye line to set the face’s expression.
Step 8
Draw the nose along the center line using simple straight and curved lines to match your reference.
Step 9
Draw the mouth between the nose and chin with a small curved line that matches the expression.
Step 10
Draw the ears level with the eyes and the bottom aligned with the nose.
Step 11
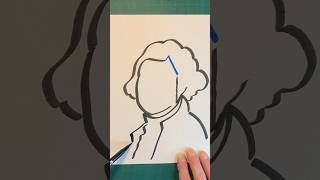
Sketch George Washington’s hairstyle/wig outline around the head following the reference shape.
Step 12
Draw the colonial clothing details like the cravat collar and the top of the coat as simple shapes.
Step 13
Gently erase the extra construction lines so only the main drawing remains.
Step 14
Add soft shading to the face hair and clothing with light pencil strokes and blend gently with a tissue to create form.
Step 15
Take a photo of your finished portrait and share your creation on DIY.org
Help!?
What can we use if we don't have a tissue for blending or a printed reference picture?
If you don't have a tissue for soft shading (step 13), use a clean fingertip or a cotton pad to blend, and if you can't print the reference picture, place it on a phone or tablet beside your paper as the instructions recommend.
My portrait looks off-center or the features are uneven—how can I fix the proportions?
Use the light vertical center line and horizontal eye line from step 4 to recheck positions, lightly adjust the almond-shaped eyes, nose, and mouth to those guides, and then gently erase extra construction lines as in step 11.
How can I change the activity for younger or older children?
For younger kids give a pre-drawn oval and labeled guideline lines to trace (steps 3–5) while older kids can add finer wig and coat details and more layered shading and blending (steps 9, 10, 12, 13) for a challenge.
How can we extend or personalize the finished George Washington drawing?
After erasing construction lines (step 11), personalize the portrait by adding color to the cravat and coat with markers or watercolor, sketch a simple background like a colonial flag, and then photograph the final piece to share on DIY.org as suggested.
Related videos
How to Draw GEORGE WASHINGTON | Step by step
4 Videos
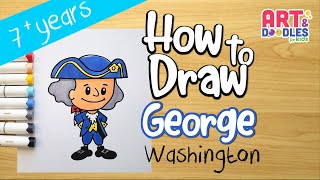
How to Draw GEORGE WASHINGTON | Step by step
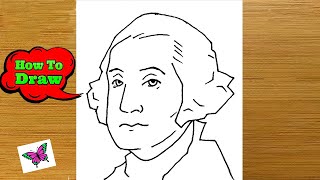
The Easiest Way To Draw George Washington
Let's Draw George Washington!
How to Draw George Washington (using the Number 1) For Kids!
Fun Facts
🇺🇸 George Washington was the first President of the United States and never lived in the White House.
🎨 Gilbert Stuart painted the most famous portrait of Washington — the unfinished Athenaeum portrait used on the U.S. one-dollar bill.
✏️ Pencil "lead" is actually graphite; artists use grades like HB, 2B and 6B to make lighter or darker marks for shading.
🔷 Portrait artists often begin by drawing simple shapes (ovals, lines, rectangles) to map proportions before adding details.
👔 Colonial men's hair was often powdered, tied back, or worn as a wig, and layered coats and waistcoats make great costume details to sketch.
How do you draw a pencil portrait of George Washington step-by-step?
What materials do I need to draw a pencil portrait of George Washington?
What ages is drawing a George Washington portrait suitable for?
What are the benefits of drawing a George Washington portrait for kids?
