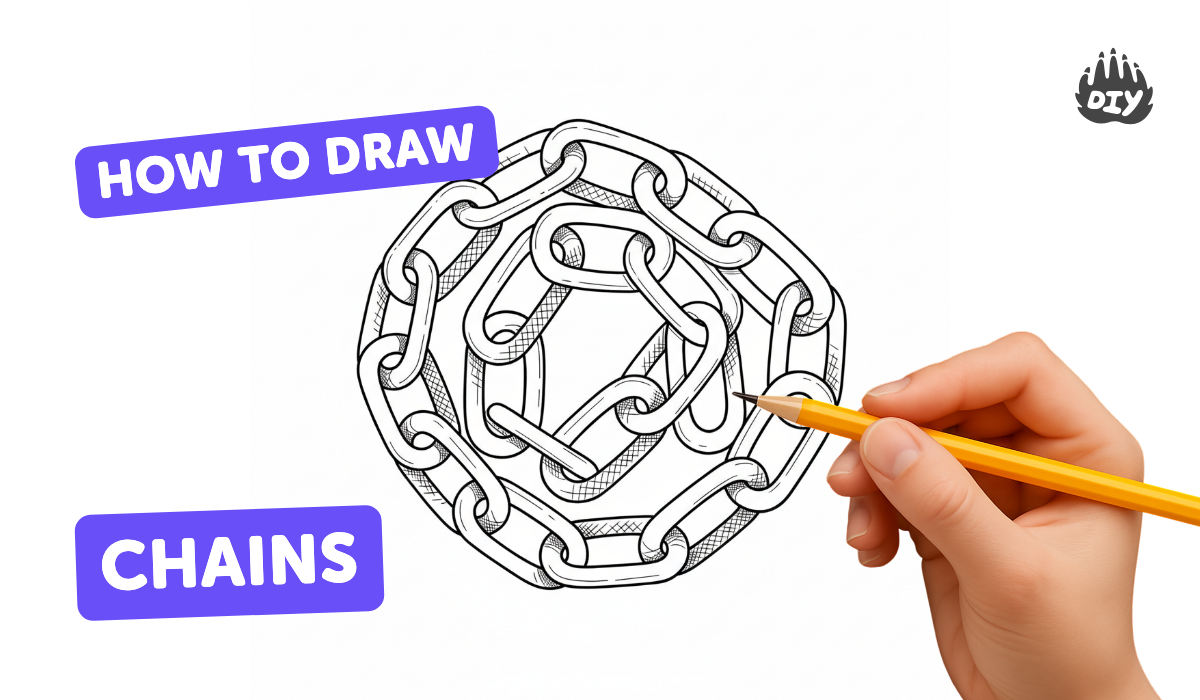
How to draw chains - a free chains drawing guide
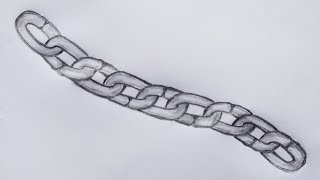
Draw realistic chain links by sketching interlocking ovals, adding overlaps and simple shading. Create a finished chain drawing showing depth and perspective.

Drawing Apps
Get inspired with these


Instructions
How to Draw a Chain Step by Step Beginner Tutorial Easy Art Lesson
Step 1
Gather your drawing materials and a clean flat spot to work.
Step 2
Lightly draw a faint curved or straight centerline across the paper to guide the chain.
Step 3
Sketch a large oval centered on the guide as the first chain link using light pencil strokes.
Step 4
Draw a second oval overlapping the right side of the first oval so the two look linked.
Step 5
Continue adding more overlapping ovals along the guide with each link slightly smaller as they recede to show perspective.
Step 6
Erase the inner line where each link should sit behind the next link so the links clearly interlock.
Step 7
Draw a parallel inner oval inside each link to show the metal thickness of the chain.
Step 8
Shade the inner edges of each link that are away from your chosen light source to show roundness and depth.
Step 9
Use a blending stump or tissue to smooth and soften the pencil shading.
Step 10
Darken the outer edges of the links with a darker pencil or pen to define their shape.
Step 11
Add small cast shadows beneath each link to show they lift off the paper and create depth.
Step 12
Share your finished chain drawing on DIY.org.
Help!?
What can I use if I don't have a blending stump or tissue to smooth the pencil shading?
If you don't have a blending stump or tissue, gently blend the pencil shading from the instruction 'Use a blending stump or tissue to smooth and soften the pencil shading' with a clean cotton swab, a soft fingertip, or a small piece of tissue or paper towel held with tweezers to avoid smudging.
My links don't look properly interlocked after erasing—how do I fix that?
If the links don't look interlocked after erasing the inner lines where each link sits behind the next (instruction 'Erase the inner line...'), lighten your initial ovals while sketching, use a kneaded or precision eraser to remove only the hidden sections, and then redraw any overlapping edges cleanly so the links read as linked.
How can I adapt this chain-drawing activity for different ages?
For younger kids simplify by drawing large, easy circles on bigger paper and skipping the inner ovals and shading, while older kids can follow the instruction to make links smaller for perspective, add inner ovals for metal thickness, and practice shading, blending, and darkening edges for realism.
How can we extend or personalize the finished chain drawing?
To enhance and personalize the drawing, experiment with different link shapes or sizes, add metallic highlights with a white gel pen after shading the inner edges and darkening outer edges, introduce colored pencils or textures on links, deepen the cast shadows so they lift off the paper (instruction 'Add small cast shadows...'), and share your finished chain on DIY.org as suggested.
Related videos
How to draw chains step by step | Easy drawing | Quick draw
3 Videos
How to draw chains step by step | Easy drawing | Quick draw
Draw the chain 3D।How to draw a chain step by step।Easy way to draw a chain।

How to draw a chain
Fun Facts
🔗 The oldest metal chains date back thousands of years — people used them for tools, armor, and jewelry!
🔵 A circle viewed at an angle becomes an ellipse, which is why round links look oval in perspective drawings.
📐 Linear perspective was popularized in the Renaissance and helps artists place links so they recede correctly into space.
🎨 Simple shading — highlight, midtone, and core shadow — can make a flat sketch look like shiny, curved metal.
🖼️ Foreshortening makes parts of a link that point toward the viewer appear larger, which helps sell the interlocking overlap.
How do I draw a realistic chain with interlocking links and perspective?
What materials do I need to draw interlocking chain links?
What ages is drawing realistic chain links suitable for?
What are the benefits of drawing interlocking chain links?
