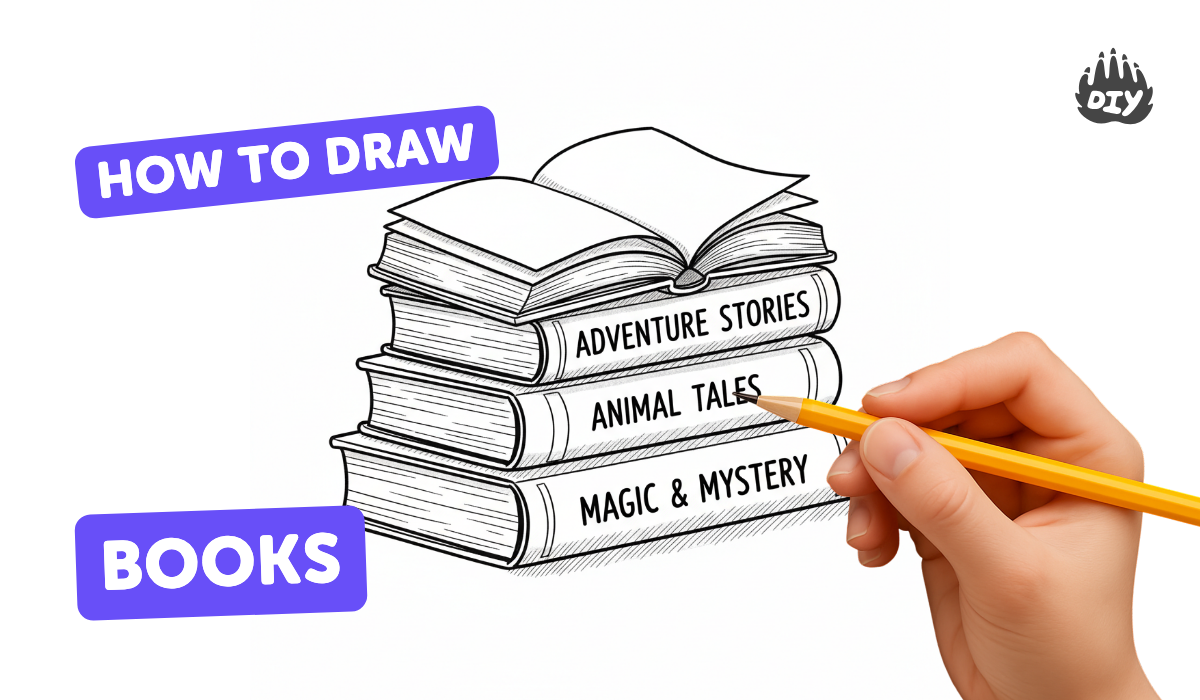
How to draw books - a free books drawing guide
Draw a stack of books and individual book covers using shapes, perspective, and shading. Practice step-by-step sketching to improve observation and drawing skills.

Drawing Apps
Get inspired with these


Instructions
How To Draw A Kid Reading A Book
Step 1
Place all your materials on a clear workspace so you can reach them easily.
Step 2
Lightly mark a vanishing point near the center of your paper with a small dot.
Step 3
Draw a flat rectangle near the bottom of the paper to show the top of the bottom book.
Step 4
Draw light straight lines from each corner of that rectangle toward the vanishing point.
Step 5
Draw a short line across those depth lines to close the far edge of the book's top.
Step 6
Draw vertical front and back edges down from the rectangle to give the book thickness.
Step 7
Use the same rectangle and vanishing lines method to add two or three more books stacked above the first.
Step 8
Draw a straight vertical line on each front face to mark each book's spine.
Step 9
Draw thin horizontal or slightly wavy lines along the exposed sides to show the pages.
Step 10
Pick a light direction and mark it with a small arrow to help with shading.
Step 11
Shade the sides and spines that face away from the arrow using gentle even pencil strokes.
Step 12
Add cover designs and titles using simple shapes letters or bold lines to make each book unique.
Step 13
Erase extra construction lines and darken the final outlines you want to keep.
Step 14
Color your books with crayons markers or colored pencils and blend lightly if you like.
Step 15
Take a photo of your finished stack and share your creation on DIY.org.
Help!?
I don't have crayons, markers, or colored pencils — what can I use instead?
If you don't have crayons, markers, or colored pencils you can glue on colored paper scraps for covers and use a ballpoint pen or felt-tip for darkening final outlines after erasing construction lines.
My books look wonky; how do I fix perspective mistakes with the vanishing point and depth lines?
If the depth lines don't meet properly at the vanishing point, lightly redraw the top rectangle, extend straight lines toward the marked vanishing point with a ruler, then erase extra construction lines and darken the corrected outlines.
How can I change this activity for different ages?
For younger children pre-draw the vanishing point and top rectangle and let them add spines and page lines with crayons, while older kids can stack three or more books, refine shading with colored pencils, and add detailed cover designs using fine-tip markers.
How can we make the finished stack more creative or personal before photographing?
After shading and erasing construction lines, personalize the books by writing favorite real titles on the spines, adding stickers or collage covers, experimenting with cross-hatching for texture, then take the photo to share on DIY.org.
Related videos
Our How To Draw Books
4 Videos

Our How To Draw Books
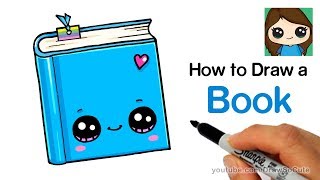
How to Draw a Book Easy | Cute Back to School Supplies
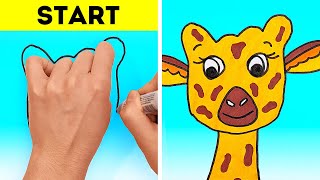
Easy Drawing And Painting Tutorials For Beginners
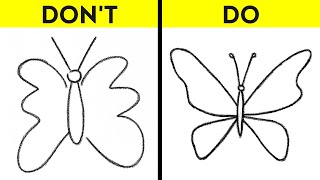
EASY DRAWING TIPS: How to teach someone to draw? 🖌️🎨
Fun Facts
📚 A typical hardcover book with 300 pages is usually about 1.5–2 cm thick — great reference for drawing spine width!
📐 In one-point perspective, all lines that go back in space meet at a single vanishing point on the horizon.
✏️ Artists begin complex drawings by 'blocking in' simple shapes (rectangles for books) and refine details later.
🎨 Chiaroscuro is the art of strong light and shadow — use it to make flat book covers pop into 3D.
🔭 Foreshortening makes parts of a book closer to the viewer appear larger — perfect for drawing a tilted stack.
How do I draw a stack of books and individual book covers step by step?
What materials do I need to draw book stacks and covers?
What ages is drawing books and covers suitable for?
What are the benefits of practicing drawing book stacks and covers?
