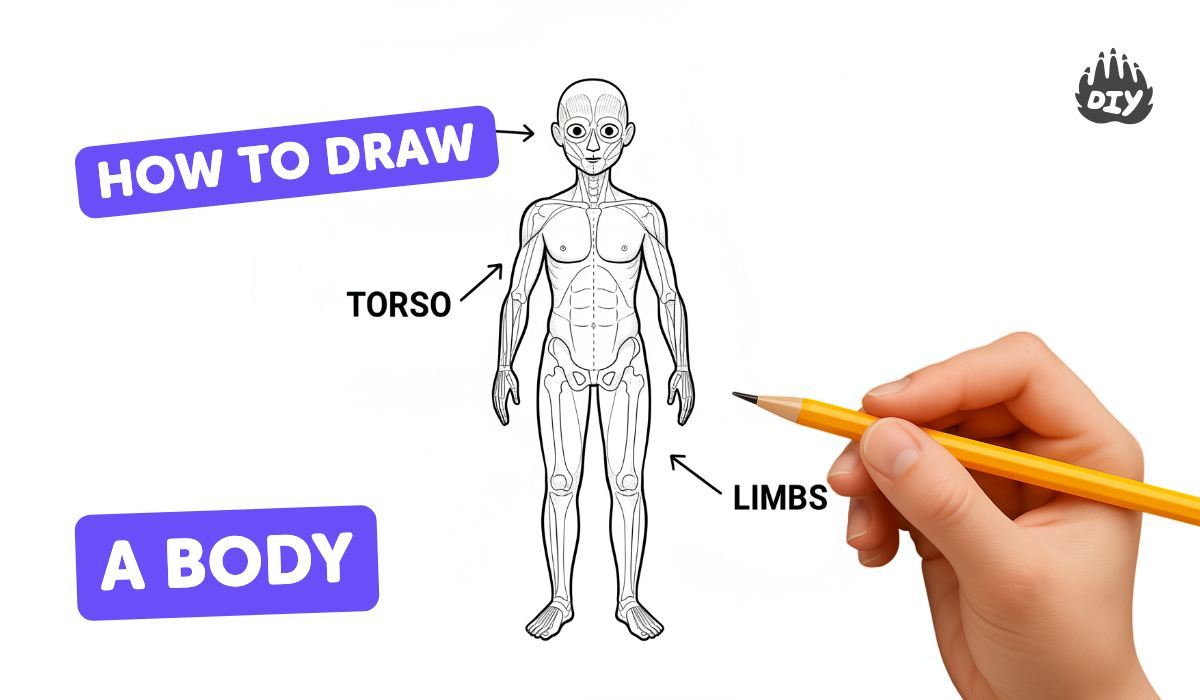
How to draw body - a free body drawing guide
Draw a proportional human body step-by-step using simple shapes, guidelines, and basic shading. Practice posing, proportions, and adding clothing details.

Drawing Apps
Get inspired with these


Instructions
How to Draw the Human Body (for kids)
Step 1
Draw a light vertical center line down your paper to help keep the body balanced or curve it a little to make a simple pose.
Step 2
Sketch a light oval near the top of the center line for the head.
Step 3
Lightly draw a vertical and horizontal guideline inside the oval to find the center of the face.
Step 4
Use the height of the head oval as a unit and mark seven more head-length points down the center line so the figure will be about eight heads tall.
Step 5
Draw a light horizontal shoulder line about one and a half head-lengths down the center line.
Step 6
Draw a light horizontal hip line about four head-lengths down the center line.
Step 7
Sketch a rounded oval below the shoulder line to show the ribcage.
Step 8
Sketch a smaller horizontal oval on the hip line to show the pelvis.
Step 9
Draw light straight guidelines for the arms and legs from the shoulder and hip lines placing the elbows and knees about halfway down each limb.
Step 10
Connect the head ribcage pelvis arms and legs with smooth curved lines to create the outer shape of the body.
Step 11
Darken the final outline by tracing over the lines you want to keep.
Step 12
Add simple clothing shapes on top of the body outline like a t-shirt skirt or pants and add small details such as collars or sleeves.
Step 13
Pick a direction for the light source so you know where shadows should go.
Step 14
Add basic shading by gently darkening the side of the body and clothing away from the light source.
Step 15
Share your finished drawing on DIY.org.
Help!?
What can I use if I don't have a drawing pencil or sketch paper?
Use an HB or 2B pencil, a colored pencil or a mechanical pencil to make light guide lines, and substitute plain printer paper or the back of a notebook page for the paper when drawing the center line, head oval, and guidelines.
My figure's proportions look wrong—how do I fix it?
Lightly re-measure head-lengths along the center line with your pencil as the instructions say, then erase and adjust the shoulder line at about 1.5 heads and the hip line at about 4 heads and reposition elbows and knees halfway down the limb guidelines.
How can I change the activity for younger or older kids?
For younger children simplify to a 3–4 head-tall figure with bold, chunky shapes and crayons, while older kids should keep the eight-head proportion, refine the ribcage and pelvis ovals, and practice the shading step using a chosen light source.
What are simple ways to extend or personalize the finished drawing?
Curve the initial vertical center line for more dynamic poses, add unique clothing shapes and small details like collars or sleeves, try different light-source directions when shading, and then share the finished drawing on DIY.org.
Related videos
The First, EASY Step To Draw Bodies (For Beginners)
4 Videos
The First, EASY Step To Draw Bodies (For Beginners)
How To Draw HUMAN BODY | The Basics | Sketch Tutorial
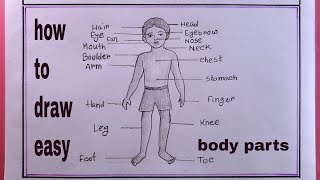
how to draw human body parts step by step/human body parts drawing
How To Draw Human Anatomy for Beginners | Step-by-Step Tutorial
Fun Facts
🧍♂️ The classic adult figure is often drawn about 7.5–8 heads tall — artists use the head as a handy measuring unit.
✍️ Gesture drawings are quick poses usually done in 30–120 seconds to capture movement before adding details.
📏 Shoulder width is roughly two head-widths in many drawing guides, a useful rule for believable proportions.
👗 Clothing changes perceived shape — folds and seams help show the body’s form and how it moves.
🕺 A slight hip shift (contrapposto) makes a pose feel natural because it shows how weight is balanced.
How do you draw a proportional human body step-by-step?
What materials do I need to draw a proportional human body with my child?
What ages is this drawing activity suitable for?
What are the benefits of practicing proportional body drawing with kids?
