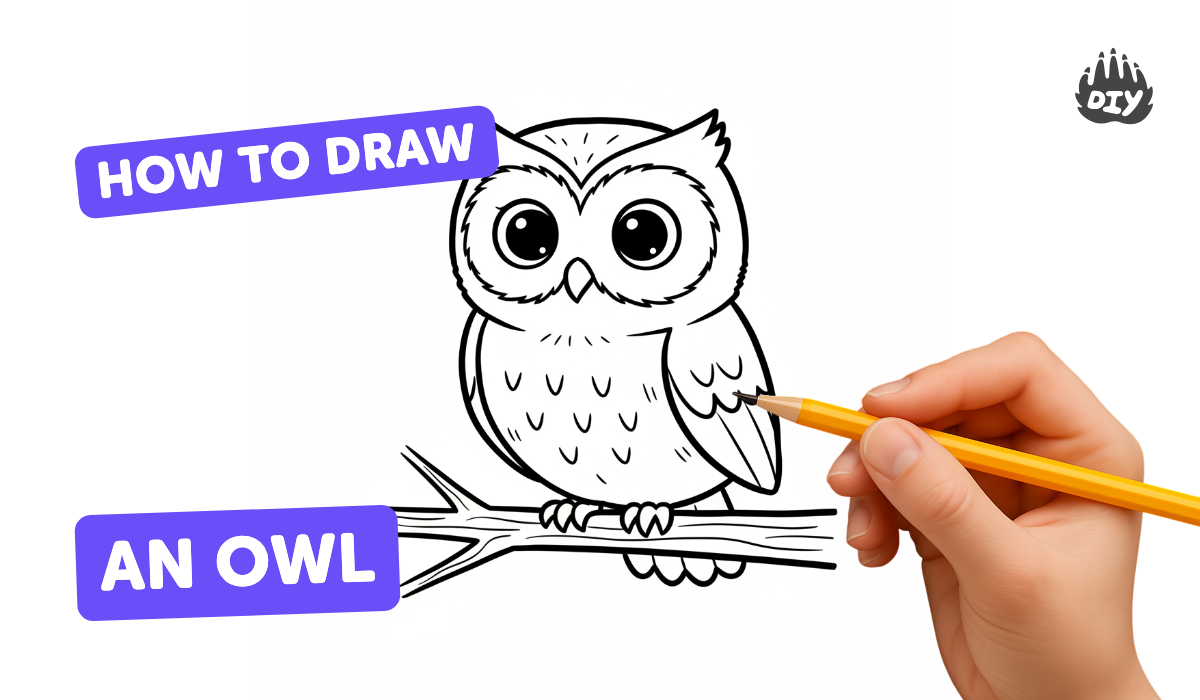
How to draw an owl - a free owl drawing guide
Draw a simple owl step by step using pencil, eraser, and markers. Practice shapes, symmetry, proportional sizing, and basic shading to complete an owl illustration.

Drawing Apps
Photos of owl drawing examples


Step-by-step guide to draw an owl
How to Draw an Owl Step by Step Easy | Easy Draw for Kids
Step 1
Place your paper vertically on a flat surface so you have lots of room to draw.
Step 2
Put your pencil and eraser next to the paper so they are easy to reach.
Step 3
Lightly draw a vertical guideline down the center of the paper to help keep things symmetrical.
Step 4
Draw a large oval centered on the guideline to make the owl's body.
Step 5
Draw a circle overlapping the top of the oval to make the owl's head.
Step 6
Draw two large circles for the eyes on either side of the guideline so they match.
Step 7
Draw small filled pupils inside each eye and leave a tiny white dot for a sparkle.
Step 8
Draw a small triangle beak centered below the eyes on the guideline.
Step 9
Draw two curved wing shapes starting from each side of the body.
Step 10
Draw two simple talon feet under the body with small curved lines.
Step 11
Add simple feather details by drawing scalloped "U" shapes on the belly and two small tufts at the top of the head.
Step 12
Erase the vertical guideline and any extra sketch lines gently with your eraser.
Step 13
Trace the final lines of your owl with the black fine-tip marker and let the ink dry.
Step 14
Add light pencil shading under the wings and below the head and then color your owl with markers using the colors you like.
Step 15
Share your finished owl illustration on DIY.org
Help!?
What can we use if we don't have a black fine-tip marker or the recommended paper?
If you don't have a black fine-tip marker, use a thin black felt-tip, gel pen, or sharpened black colored pencil and if your paper is thin switch to heavier cardstock or construction paper before step 1 to avoid marker bleed.
My owl looks lopsided—how do I fix symmetry and uneven wings?
Keep the vertical guideline from step 3, redraw the large oval (step 4) and eye circles (step 6) lightly, measure equal distances from the guideline for the wings in step 8, then gently erase extra lines (step 11) and retrace with the marker (step 13).
How can I adapt this drawing activity for different ages?
For preschoolers pre-draw the oval, head circle, and eye circles for tracing and coloring, for early elementary follow all steps with help on scalloped belly feathers (step 12) and shading (step 15), and for older kids add realistic feather texture and advanced pencil shading before tracing in step 13.
How can we extend or personalize the finished owl?
After tracing and coloring (steps 13–15), personalize by adding patterned wings with markers, gluing craft feathers or googly eyes, creating a nighttime background with dark markers and white pencil stars, and then share your finished owl on DIY.org (step 16).
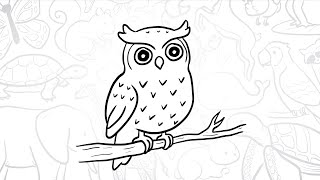
Watch videos on how to draw an owl
Easy Owl Drawing for Kids | Step-by-Step Animal Drawing Tutorial
4 Videos

Easy Owl Drawing for Kids | Step-by-Step Animal Drawing Tutorial

Owl Drawing 🦉🎨How to Draw Easy And Cute Owl,For Kids and Beginners|Step-by-Step Tutorial
🦉How To Draw a Simple Owl | Step-by-Step Lesson 🌙
How to Draw a Cute Owl | Owl Drawing Easy | Tutorial for Kids & Beginner ( owl )
Facts about basic drawing skills for kids
🦉 Owls can rotate their heads about 270°, which helps them look around without moving their bodies.
✏️ A single pencil can draw a line roughly 35 miles long — that's a lot of owl outlines!
🎨 Shading with different pencil pressures creates the illusion of roundness and depth on flat paper.
↔️ Bilateral symmetry (mirror left/right) is a handy trick for drawing animals' faces evenly—perfect for an owl's big eyes.
🖊️ Marker pens come in water-based (washable) and alcohol-based (blendable) types—washable markers are great for kids.
How do I draw a simple owl step by step with pencil and markers?
What materials do I need to draw this owl?
What ages is drawing this owl suitable for?
What are the benefits of drawing an owl for kids?
