How to draw an anime girl - a free anime girl drawing guide
Draw an anime girl: sketch proportions, add eyes, hair, clothes, and ink outlines. Practice shading and facial expressions to create personality.


Instructions
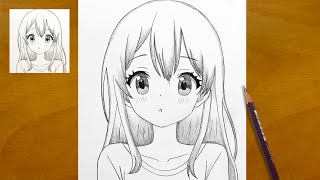
How to Draw a Cute Anime Girl Step by Step | Easy Pencil Drawing Tutorial
Step 1
Draw a light circle to mark the top of the skull.
Step 2
Add a pointed jaw below the circle to make the face shape.
Step 3
Draw a vertical centerline and a horizontal eye guideline to divide the face.
Step 4
Sketch a thin neck and simple shoulder lines and a basic torso shape.
Step 5
Draw two large almond-shaped eyes on the eye guideline spaced one eye-width apart.
Step 6
Add a small nose as a short dash on the centerline and a simple mouth below it.
Step 7
Draw eyebrows and a few eyelashes to start giving your character an expression.
Step 8
Make three tiny thumbnail faces showing different eyebrow and mouth shapes to test expressions and pick the favorite.
Step 9
Sketch the hair outline with big flowing shapes and bangs that match the expression.
Step 10
Draw clothes and a neckline and add a few simple folds to show fabric.
Step 11
Refine the strongest pencil lines so the character looks clean and clear.
Step 12
Carefully ink over your final pencil lines with the black pen and let the ink dry.
Step 13
Use your pencil and a blending tool or tissue to add shading to hair cheeks and clothing for depth.
Step 14
Colour your drawing with your colouring materials and add any final highlights or details.
Step 15
Take a photo of your finished anime girl and share your creation on DIY.org.
Help!?
What can I use instead of a black pen or a blending tool if I don't have them?
If you don't have a black pen, use a fine-tip marker or gel pen for the 'Carefully ink over your final pencil lines' step, and replace a blending tool with a folded tissue or cotton swab when adding shading to hair, cheeks, and clothing.
My eyes look uneven and my ink smudged — how do I fix that?
If the eyes are uneven after you 'Draw two large almond-shaped eyes... spaced one eye-width apart,' lightly erase the eye guideline and re-measure one eye-width with a spare pencil, and to prevent ink smudges while you 'Carefully ink over your final pencil lines,' rest a clean sheet under your hand and wait for the ink to dry.
How can I change this activity for younger or older kids?
For younger kids, simplify by using the circle-plus-jaw face shape, skipping thumbnail expressions and heavy shading, and letting them colour with crayons, while older kids can refine proportions from the centerline, make three thumbnail faces, add detailed hair flows, use a blending tool for shading, and experiment with layered colouring.
How can we make our anime girl more unique or advanced?
Personalize and extend your drawing by designing distinctive clothes and accessories in the 'Draw clothes and a neckline' step, creating a background or telling a short character story, adding highlights after colouring, or taking multiple photos to post a mini-gallery on DIY.org.
Related videos
How to Draw Anime girl | Drawing step by step
4 Videos
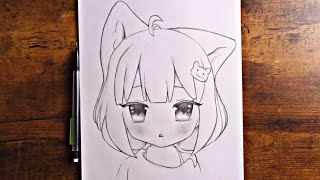
How to Draw Anime girl | Drawing step by step
How to draw anime girl|Draw girl drawing Step - by - Step|Cute & Simple anime drawing for beginners
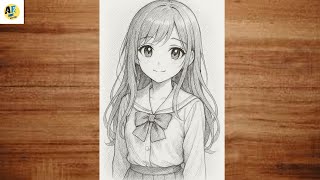
Simple cute picture drawing || Anime drawing girl cute easy for beginners
How to Draw a Beautiful Anime Girl || Easy Sketch for Beginners || Step-by-Step Guide
Get inspired with these


Fun Facts
🎌 The word “anime” is just the Japanese abbreviation for animation, but outside Japan it specifically means Japanese-style animation.
👀 Oversized, expressive eyes became a hallmark of anime after Osamu Tezuka was inspired by Western cartoons like Betty Boop.
📏 Anime figure proportions often use 7–8 heads tall for adults, while chibi (super-cute) characters are usually only 2–3 heads tall.
🧾 Professional character design sheets include turnarounds, outfit variations, and many facial expressions so artists stay consistent.
🎀 The kawaii (cute) aesthetic helped popularize soft faces, big eyes, and playful expressions common in anime girls.
How do I teach my child to draw an anime girl step-by-step?
What materials do I need to draw an anime girl with my child?
What ages are suitable for children to draw anime girls?
What are the benefits, safety tips, and fun variations for kids drawing anime girls?
