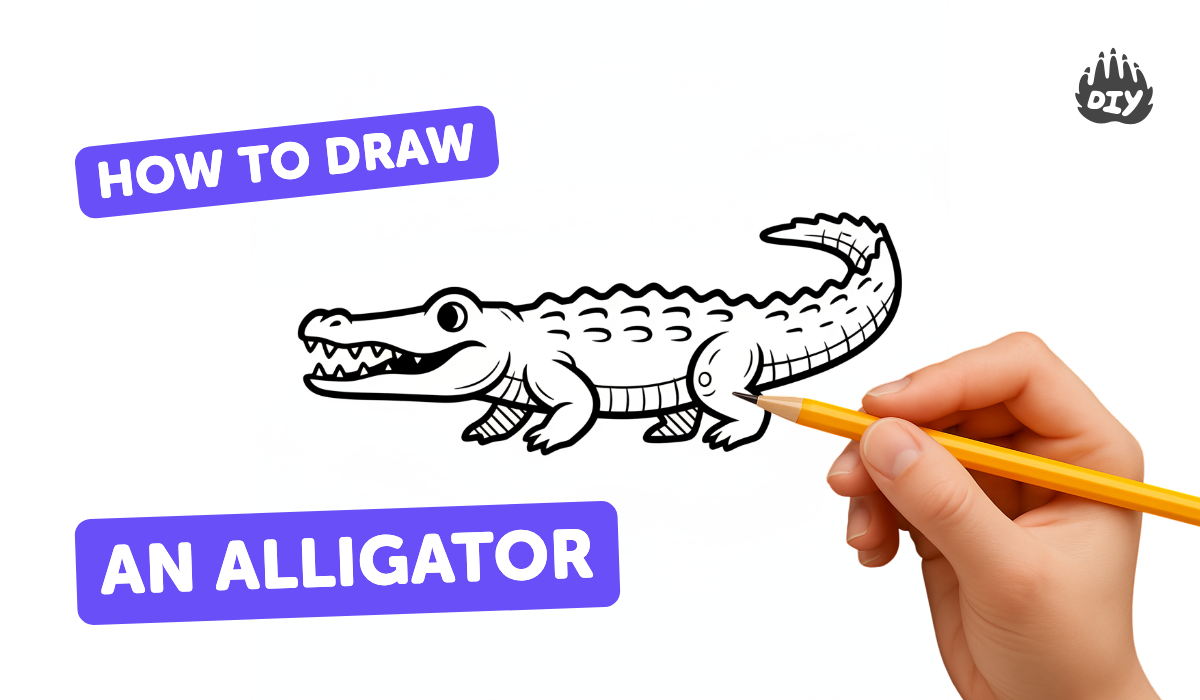
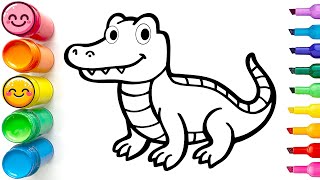
How to draw an alligator - a free alligator drawing guide
Draw an alligator step by step using basic shapes, add teeth, scales, legs, and shading. Practice observation, proportion, and texture skills.

Drawing Apps
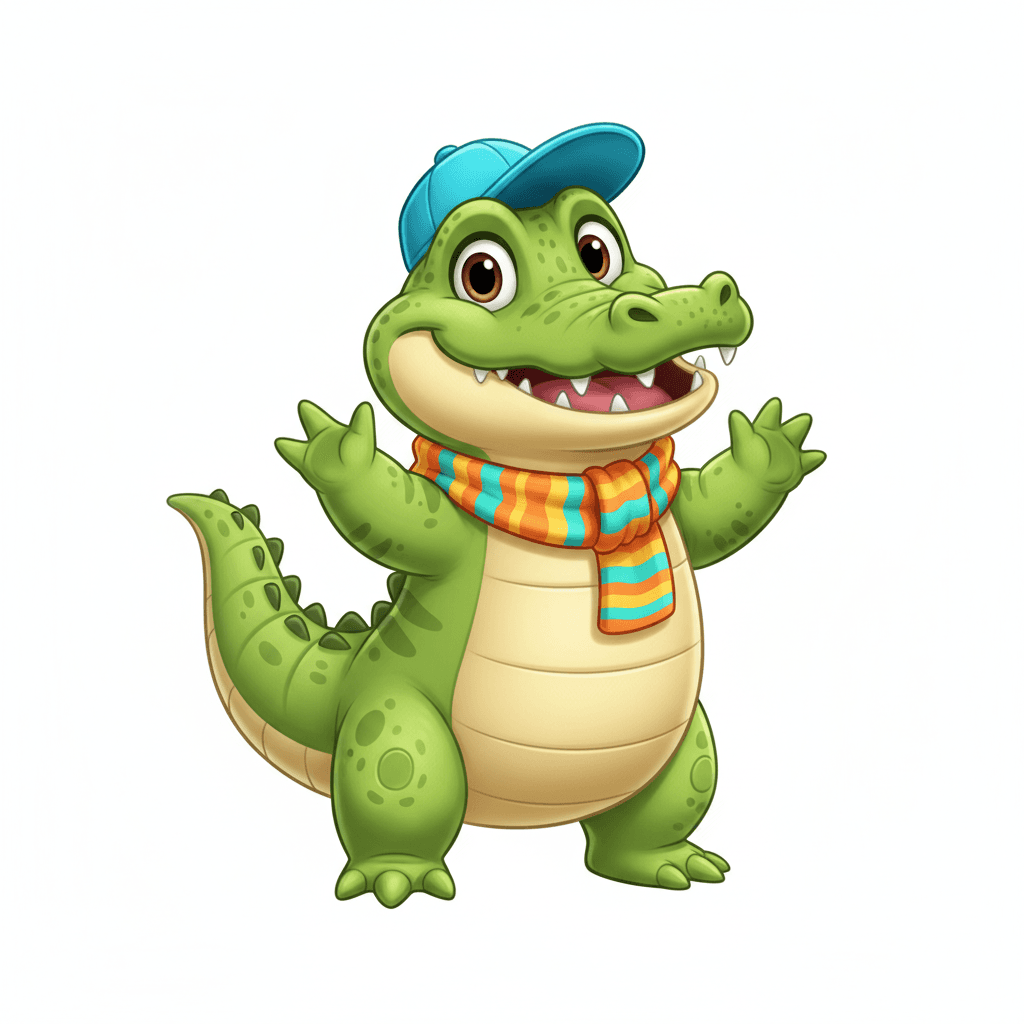
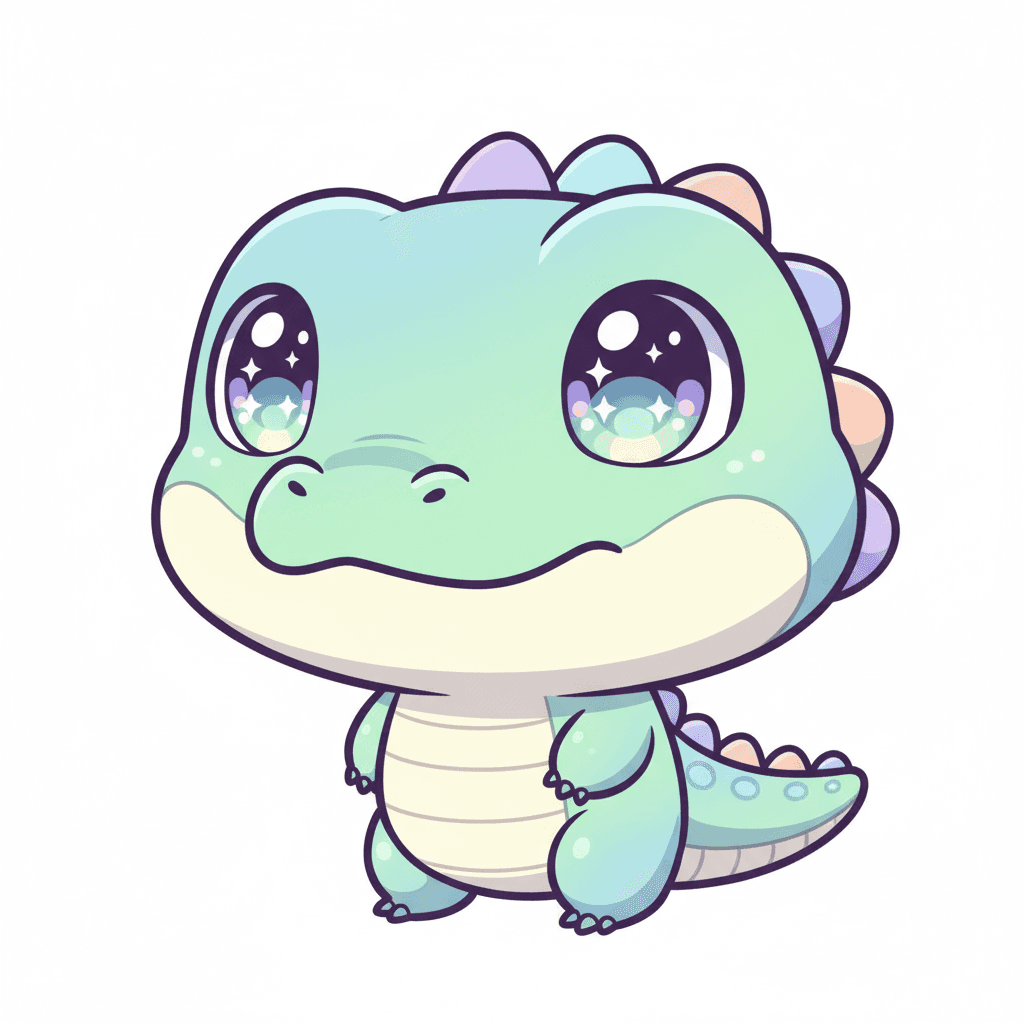
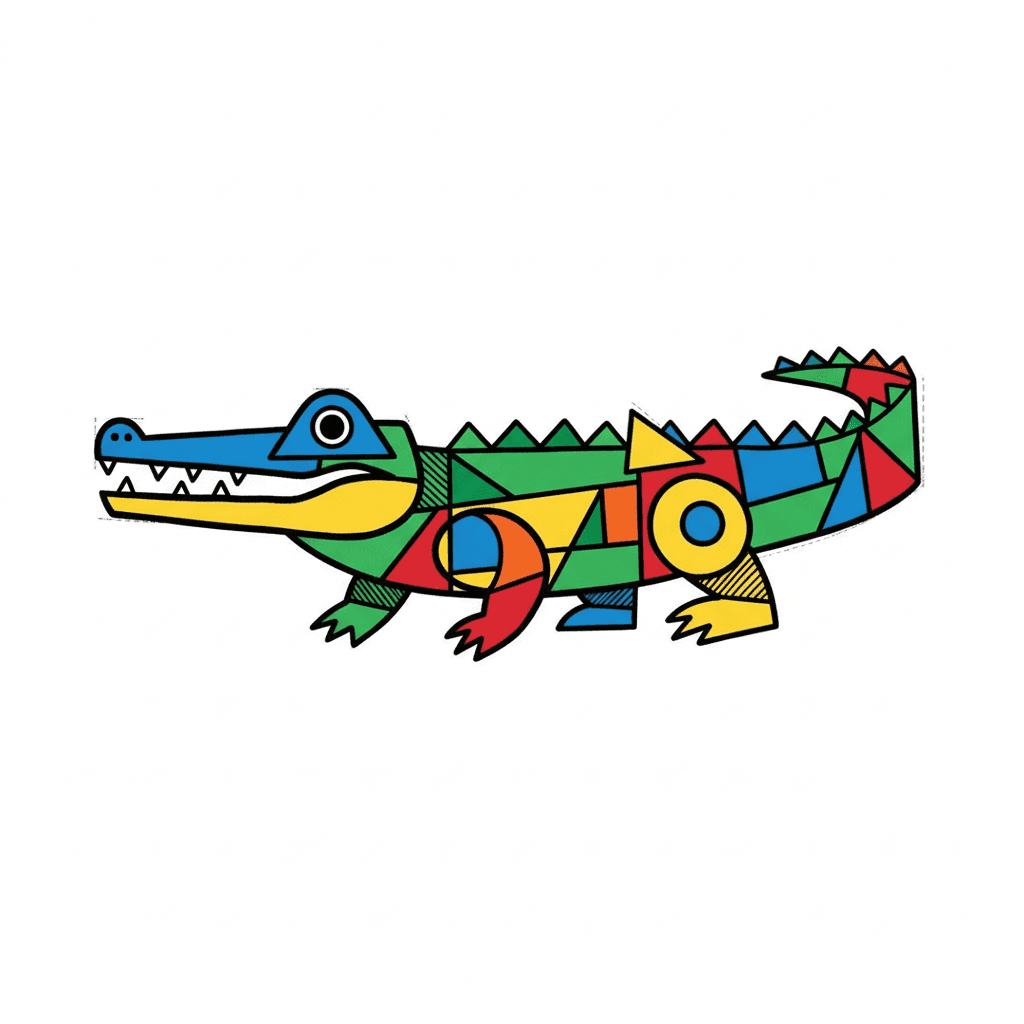
Get inspired with these
Instructions
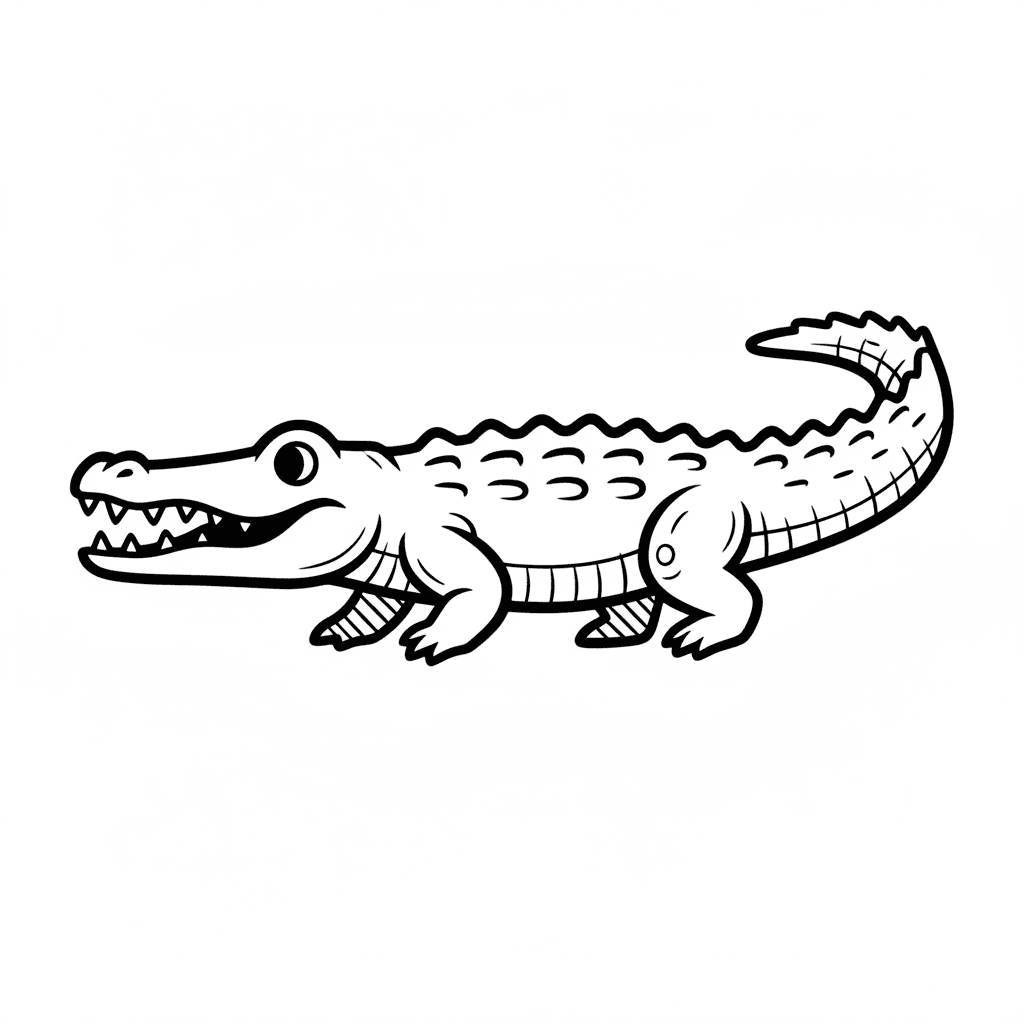
How To Draw A Cartoon Alligator
Step 1
Lay out your paper pencil eraser and coloring materials on a flat table so everything is easy to reach.
Step 2
Lightly draw a long horizontal oval in the middle of the page for the alligator's body.
Step 3
Draw a smaller oval that overlaps the left end of the body to make the head.
Step 4
From the right end of the body draw a long curved tapered shape for the tail.
Step 5
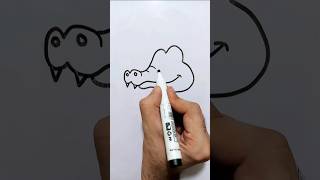
Sketch a rounded snout in front of the head by drawing two short curved lines and joining them.
Step 6
Draw two round eyes on top of the head and add small dots inside them for pupils.
Step 7
Draw two tiny ovals near the tip of the snout for nostrils.
Step 8
Draw a curved line along the side of the snout to show the mouth.
Step 9
Add sharp triangular teeth along the top and bottom edges of the mouth.
Step 10
Draw four short legs under the body and add small toe lines at the ends.
Step 11
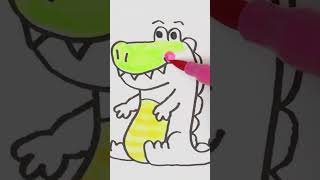
Add scales by drawing a row of diamond or rounded ridge shapes along the alligator's back and tail.
Step 12
Lightly erase extra sketch lines so the alligator shape looks clean.
Step 13
Shade under the belly and behind the scales with gentle pencil strokes to add texture.
Step 14
Color your alligator using your coloring materials to bring it to life.
Step 15
Share your finished alligator on DIY.org.
Help!?
What can we use if we don't have an eraser or coloring materials from the materials list?
If you don't have an eraser, use a kneaded eraser or gently lift pencil marks with a clean soft cloth, and substitute crayons, markers, or watercolor paints for the coloring materials when you color your alligator.
My ovals and tail don't look right — how can we fix the drawing without starting over?
If the small head oval or long body oval are misaligned, lightly redraw the smaller oval to overlap the left end of the body and use the eraser to remove extra sketch lines before drawing the tail and adding eyes, nostrils, and the mouth.
How can we adapt this activity for younger or older kids?
For younger children simplify by drawing one large rounded oval for the body with stick legs and letting them color freely, while older kids can add detailed diamond scales along the back, sharper triangular teeth, and practice shading under the belly with gentle pencil strokes.
What are some ways to extend or personalize the alligator drawing once it's finished?
Extend the activity by adding a swamp background with reeds and water, decorating the scales with patterns or glitter using your coloring materials, and photographing the finished alligator to share on DIY.org.
Related videos
How To Draw An Alligator For Kids in Quick & Easy Steps | Basic Drawing Lessons For Kids
4 Videos
How To Draw An Alligator For Kids in Quick & Easy Steps | Basic Drawing Lessons For Kids
How to Draw a Cute Alligator | Easy Step by Step Tutorial
How to draw an Alligator 🐊 | Baby Crocodile drawing for kids and beginners
How to Draw a Cute Alligator | Easy Drawing Tutorial for Kids | Step By Step | Buddy and Pal
Fun Facts
🐊 Alligators can live over 50 years in the wild — a great reason to practice drawing their wrinkles and texture!
🧭 Crocodilians (alligators and crocodiles) have eyes and nostrils on top of their heads so they can peek above water — a helpful tip for observing head placement and proportion.
✏️ Many artists start with basic shapes (circles, ovals, rectangles) to block in correct animal proportions before adding details.
🦷 Adult alligators usually have between 74 and 80 teeth and constantly replace them, so sketching varied tooth sizes adds realism.
🎨 Simple shading (light and dark tones) can turn a flat outline into a 3D-looking alligator by showing scale texture and form.
How do I draw an alligator step by step?
What materials do I need to draw an alligator?
What ages is drawing an alligator suitable for?
What are the benefits, safety tips, and variations for drawing an alligator?
