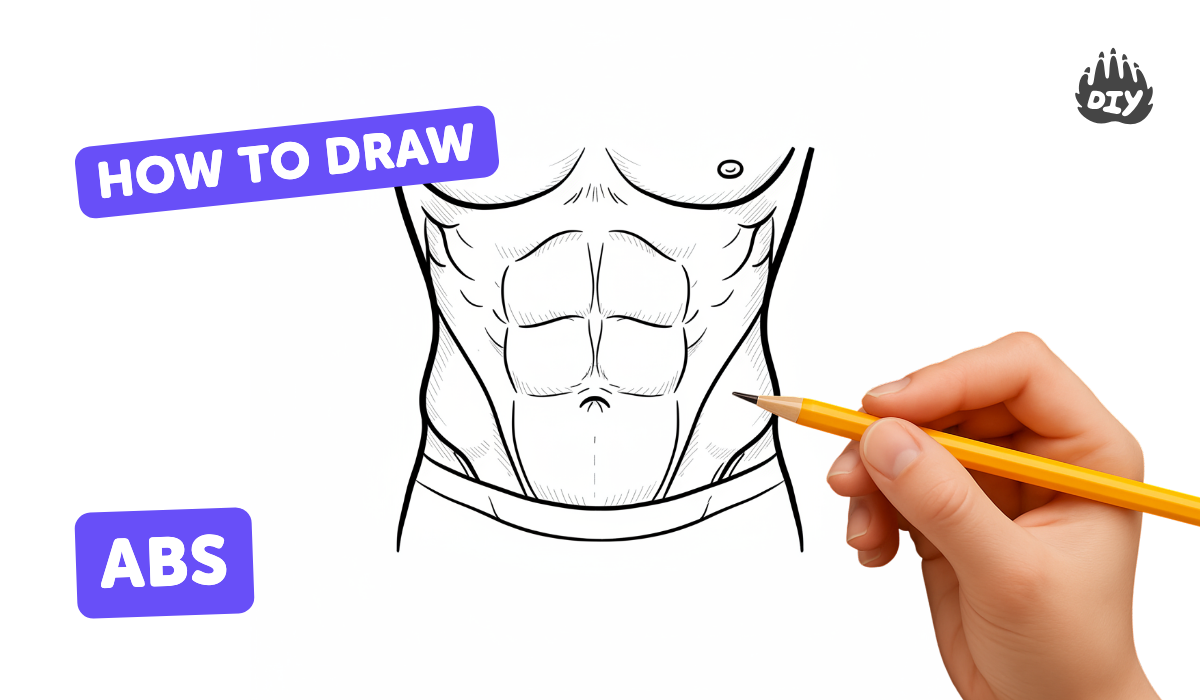
How to draw abs - a free abs drawing guide
Draw a set of abdominal muscles using simple shapes, proportion guidelines, and basic shading. Practice contour lines and light to create three dimensional abs.

Drawing Apps
Get inspired with these


Instructions
How to draw Abs step by step | Drawing Abdominal Muscles for beginners | Anatomy Drawing Tutorial
Step 1
Gather your materials.
Step 2
Position the paper in a vertical rectangle on your desk.
Step 3
Lightly draw a vertical rectangle to mark the torso area.
Step 4
Draw a vertical centerline down the middle of the rectangle.
Step 5
Draw three evenly spaced horizontal guide lines across the rectangle to show the rows of abs.
Step 6
Sketch six rounded blocks using ovals or soft rectangles aligned to the rows and centerline.
Step 7
Draw thin curved lines between the blocks to show separations between the muscles.
Step 8
Erase any guide lines that cross through the muscle shapes so the muscles stand out.
Step 9
Add gentle curved contour lines on each block to show how they bulge outward.
Step 10
Choose a direction for the light and draw a small arrow outside the drawing to mark it.
Step 11
Shade the sides of each muscle opposite the light with a shading pencil using light strokes.
Step 12
Use a tissue or cotton swab to blend the shaded areas so the muscles look smooth.
Step 13
Use the eraser to lift tiny highlights along the muscle centers where the light would hit.
Step 14
Darken the outer edges and final lines you want to emphasize.
Step 15
Share your finished drawing on DIY.org
Help!?
I don't have a tissue or cotton swab for blending—what can I use instead?
Use a clean fingertip, a soft folded paper towel, or a cheap blending stump to smooth the shaded areas where the instructions say to 'Use a tissue or cotton swab to blend the shaded areas so the muscles look smooth'.
My abs look flat or uneven after shading—what should I check or redo?
Check that you drew and marked the light direction arrow, reapply light strokes shading the sides of each muscle opposite the light, blend with your tissue or substitute, lift tiny highlights with the eraser along the muscle centers, and darken the outer edges to restore depth as the steps recommend.
How can I change this activity for younger kids or older kids?
For younger kids, pre-draw the vertical rectangle, centerline, and three horizontal guide lines and have them trace or fill in three simple rows of rounded blocks, while older kids can add extra curved contour lines, refined shading with a dedicated shading pencil and blending stump, and stronger final edge darkening for realism.
How can we personalize or make the drawing more advanced after finishing the basic abs?
Personalize by altering torso proportions or adding clothing, ink the final lines, add skin tones or colored pencils over the shaded muscles, experiment with different light arrows to change highlights, and photograph and share the finished drawing on DIY.org as suggested.
Related videos
How to draw simple drawing of abdominal muscles, learn to draw at no foundation, Drawing tutoria
4 Videos
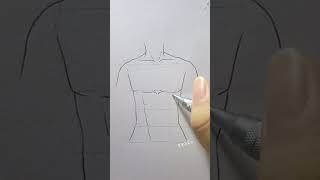
How to draw simple drawing of abdominal muscles, learn to draw at no foundation, Drawing tutoria

How to Draw Abs

How to Draw Abs Easy Step by Step | Drawing Abs
How To Draw The Waist Area Including The Abdominal Muscles? - Drawing and Painting Academy
Fun Facts
🧭 Artists often measure the torso in 'head' units — the torso is roughly three head-heights, which helps place abs proportionally.
💪 The familiar "six-pack" comes from the rectus abdominis being segmented by connective tissue — everyone has the muscles even if they're not visible.
✏️ Breaking abs into simple shapes (rounded rectangles and ovals) makes them much easier to sketch and position accurately.
🎨 Light direction is the biggest trick: consistent highlights and shadows turn flat shapes into three-dimensional muscles.
🧠 Gentle contour lines around the navel and rib edges give instant depth — tiny curves make big 3D effects!
How do you draw abs using simple shapes and shading?
What materials do I need to draw abdominal muscles?
What ages is this drawing activity suitable for?
What are the benefits and safety tips when kids draw abs?
