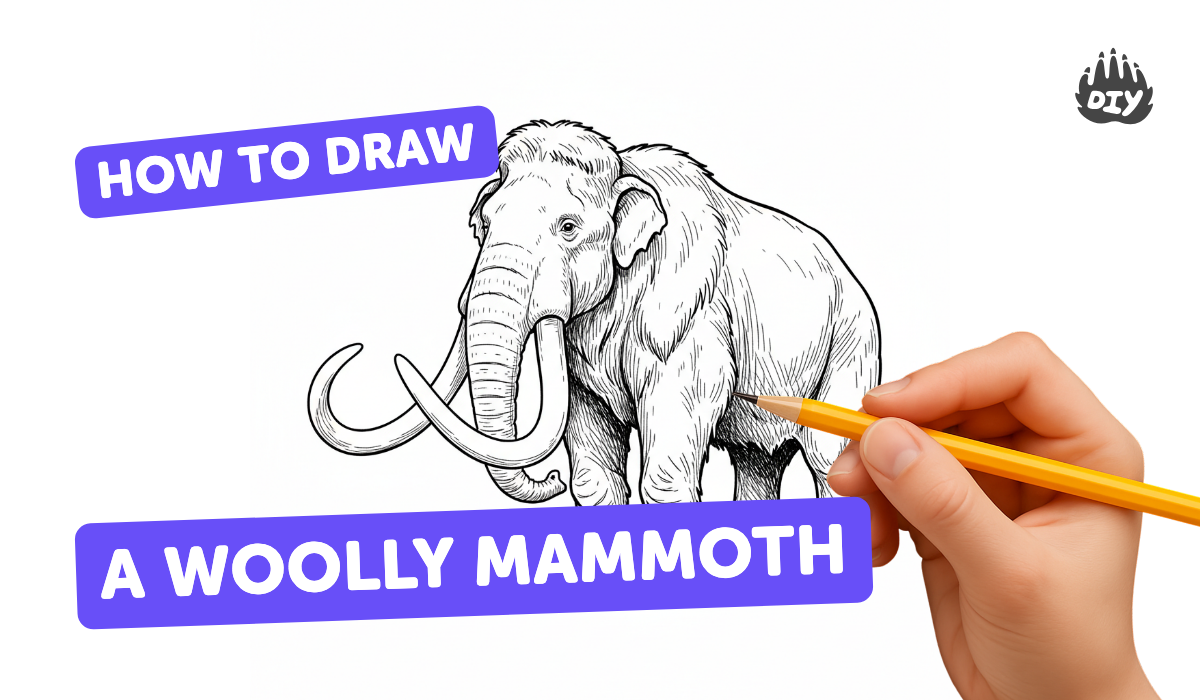
How to draw a woolly mammoth - a free woolly mammoth drawing guide
Draw a detailed woolly mammoth step by step using basic shapes, texture strokes, and shading. Practice observation, proportion, and simple sketching techniques.

Drawing Apps
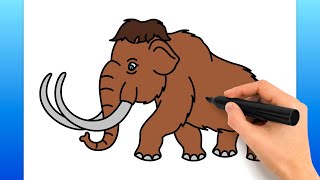
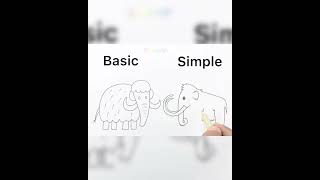
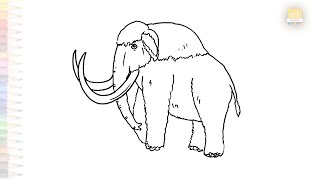
Photos of woolly mammoth drawings


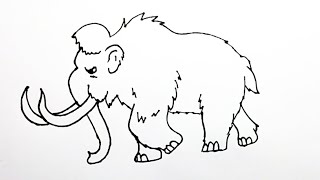
Step-by-step guide to draw a woolly mammoth
How to Draw a WOOLLY MAMMOTH | Easy Step-by-Step for Kids
Step 1
Lightly draw a large horizontal oval in the middle of your paper for the mammoth's body.
Step 2
Draw a smaller circle overlapping the front top of the oval for the mammoth's head.
Step 3
Draw a gentle curved line from the front of the head to mark the center of the trunk.
Step 4
Sketch two long curved tusk shapes starting near the base of the trunk and curving outward.
Step 5
Draw four thick column shapes under the body to make the legs.
Step 6
Draw a large rounded ear on the side of the head.
Step 7
Draw a short tapered tail at the back of the body.
Step 8
Trace the final outer outline of your mammoth with a firmer pencil line.
Step 9
Erase the light construction lines you no longer need.
Step 10
Add short curved fur strokes all over the body and head following the direction of the shapes.
Step 11
Draw short curved rings along the trunk to show its texture.
Step 12
Draw a small round eye near the front of the head.
Step 13
Shade under the belly behind the legs and under the tusks using light hatching and blend gently with a tissue or finger if you like.
Step 14
Add small ovals at the bottom of each foot for toenails and a few texture lines on the tusks.
Step 15
Share your finished woolly mammoth drawing on DIY.org
Help!?
What can I use if I don't have a tissue or blending stump to blend the light hatching under the belly and tusks or a kneaded eraser to clean up construction lines?
If you don't have a tissue to blend the light hatching under the belly and tusks, use a clean cotton ball, Q‑tip, or your fingertip, and if you lack a kneaded eraser use a soft rubber eraser or gently lift light pencil marks with a folded piece of paper.
My mammoth's tusks or trunk look crooked or out of proportion—what step should I redo?
If the tusks or trunk look off, go back to the light construction stage and make sure the large horizontal oval and the smaller overlapping head circle are sized and placed correctly, redraw the gentle curved center line for the trunk, then trace the final outer outline with a firmer pencil before erasing guides.
How can I change the activity for younger kids or make it more challenging for older kids?
For younger kids simplify by tracing or using large stickers for the big oval and head and letting them color with crayons, while older kids can add more short curved fur strokes, detailed trunk rings, and the light hatching shading under the belly to practice texture and value.
What are some ways to improve or personalize the woolly mammoth drawing after finishing the basic steps?
To enhance the drawing, glue cotton or torn paper over the short curved fur strokes for a fluffy coat, add a snowy background and footprints, color the tusks and toenails, give the mammoth a name, and then share your finished woolly mammoth drawing on DIY.org.
Watch videos on how to draw a woolly mammoth
How To Draw A Woolly Mammoth (Easy Drawing Tutorial)
4 Videos
How To Draw A Woolly Mammoth (Easy Drawing Tutorial)
How to Draw a Woolly Mammoth 🦣 | Educational & Fun Drawing Tutoria
Easy Mammoth drawing |Extinct animal drawing tutorial| How to draw A Mammoth step by step #artjanag
How to make a woolly mammoth easy step by step.@drawing-v1t
Facts about drawing and sketching for kids
🐘 Woolly mammoths were roughly the size of modern elephants, reaching up to about 4 meters (13 ft) at the shoulder.
❄️ They lived during the Pleistocene ice ages and had thick fur and a fat hump to stay warm in cold climates.
🧊 Entire mammoth carcasses with fur and tissue have been found frozen in Siberian permafrost, giving great reference details.
🎨 Many artists study elephant anatomy for correct proportions, then add shaggy texture strokes to capture a mammoth's coat.
🦷 Mammoth tusks could spiral and sometimes grew over 4 meters long — excellent inspiration for big curved lines in sketches.
How do you draw a detailed woolly mammoth step by step?
What materials do I need to draw a woolly mammoth?
What ages is this woolly mammoth drawing activity suitable for?
What are the benefits of drawing a woolly mammoth and how can I vary the activity?
