How to draw a woman - a free woman drawing guide
Draw a full body woman using simple shapes and proportion guides. Add facial features, hair, clothing, shading, and color to practice observation and technique.

Drawing Apps
Get inspired with these


Instructions
Girl Drawing For Beginners, How To Draw Girl Step by Step For Kids !
Step 1
Gather all Materials Needed and find a flat workspace with good light.
Step 2
Lightly draw a vertical center line down the middle of your paper with your pencil.
Step 3
Sketch a light oval at the top of the center line to make the head.
Step 4
Use your ruler to measure and mark seven equal head-length units down the center line.
Step 5
Draw a horizontal shoulder line about one head-length down from the top mark.
Step 6
Draw a horizontal hip line about three head-lengths down from the top mark.
Step 7
Sketch a simple torso shape between the shoulder line and hip line using a rectangle or trapezoid.
Step 8
Sketch the arms and legs as simple lines or cylinders and mark elbows and knees at their middle points.
Step 9
Draw a vertical center line on the head and a horizontal eye line to make facial guidelines.
Step 10
Draw the eyes nose and mouth using the facial guidelines to place them correctly.
Step 11
Sketch the hair shape and the clothing outlines over the body shapes.
Step 12
Erase extra construction lines and refine the final outline with your pencil or fine-tip pen.
Step 13
Add shading where shadows fall and gently blend with your blending tool to show form.
Step 14
Color the drawing with your coloring materials to finish the look.
Step 15
Share your finished creation on DIY.org
Help!?
What can we use if we don't have a ruler or blending tool?
If you don't have a ruler, use a straight edge like a book or cereal box to mark the seven head-length units down the center line, and if you don't have a blending tool use a tissue, cotton swab, or your fingertip to softly blend the shading.
My proportions look wrong after marking seven head-length units; how can I fix it?
Erase the construction lines, re-measure the head oval you sketched as one head-length unit along the vertical center line, then lightly re-mark seven equal head-lengths before redrawing the shoulder, hip, torso, and limb guides.
How can I adapt this drawing activity for different ages?
For younger kids skip precise measuring and use simple ovals and stick limbs to place the head, shoulders, and hips, while older kids should follow the facial guidelines, add shading with a blending tool, and refine clothing and hair outlines.
How can we enhance or personalize the finished drawing before sharing on DIY.org?
Personalize the sketch by designing unique clothing outlines and hair shapes in the sketching step, add patterns and richer shading with your coloring materials and blending tool, and include a background or props to make the image more expressive before sharing on DIY.org.
Related videos
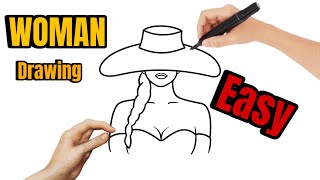
"How to Draw a Woman 👩 | Easy Drawing for Kids"
4 Videos
"How to Draw a Woman 👩 | Easy Drawing for Kids"
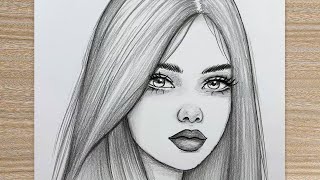
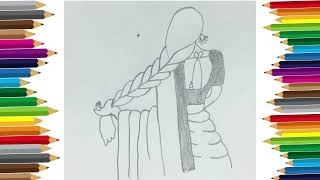
How to Draw a Cute Girl Step by Step | Easy Pencil Sketch Tutorial
How to Draw a Woman Step by Step for Beginners 🎨Easy Drawing Tutorial

How to Draw a Cute Girl
Fun Facts
🎨 Artists often use the “8-head” rule — a typical adult figure is about 7.5–8 head-lengths tall to keep proportions realistic.
📏 Fashion illustrators stretch figures to about 9 heads tall so clothes read as more elegant and dynamic.
🧍♀️ The eyes are usually positioned about halfway down the head, and there’s typically one eye-width between them.
👩🎨 Shading (chiaroscuro) is the trick that turns flat shapes into 3D forms by showing where light hits and where shadows fall.
🌈 Changing hair, clothing, or color choices can instantly shift a character’s age, personality, and mood.
How do I draw a full-body woman using simple shapes and proportion guides?
What materials do I need to draw a full-body woman with my child?
What ages is this drawing activity suitable for?
What are the benefits of practicing full-body figure drawing for children?
