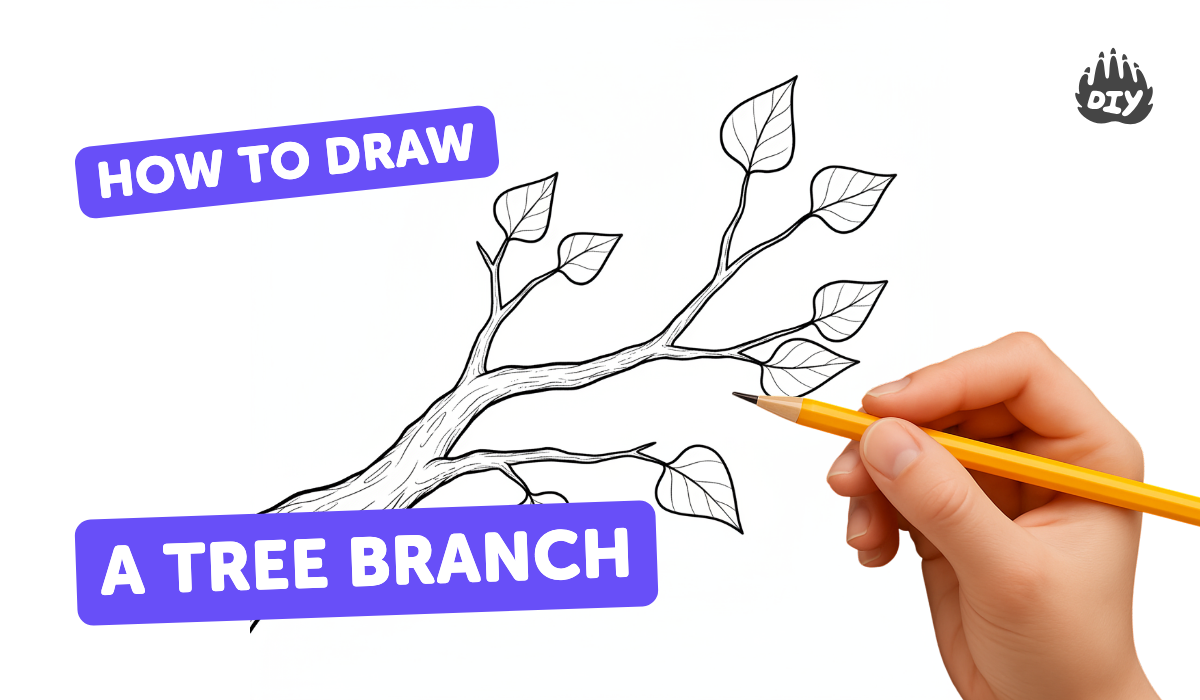
How to draw a tree branch - a free tree branch drawing guide
Draw a detailed tree branch using pencil and shading. Practice observing shapes, bark texture, and leaf placement to improve drawing skills.

Drawing Apps
Photos of detailed tree branch drawings


Step-by-step guide to draw a detailed tree branch
How to Draw a Tree | Simple Drawing Guide for kids and Beginners
Step 1
Pick a real branch or a clear photo of a branch and set it where you can see it easily.
Step 2
Look at the reference for one minute and notice the big curve and main thick parts of the branch.
Step 3
Draw one light curving line to capture the branch’s overall gesture.
Step 4
Add simple shapes like cylinders and circles to map the thick sections and knots of the branch.
Step 5
Mark small ovals or dots where leaf clusters and twigs grow.
Step 6
Refine the outer line of the branch by drawing firmer lines for twigs and splits.
Step 7
Choose which side the light comes from and remember that direction.
Step 8
Lightly shade the side of the branch that is away from the light using soft pencil strokes.
Step 9
Darken the deepest shadow areas where the branch curves and under the leaves with stronger pencil pressure.
Step 10
Smooth the shaded areas by gently blending with a blending stump or soft tissue.
Step 11
Add bark texture by drawing short curved lines and tiny dots that follow the branch’s shape.
Step 12
Shade the leaves with varied tones and tiny vein lines to make them look three dimensional.
Step 13
Use the eraser to lift small highlights and clean any stray pencil marks.
Step 14
Share your finished detailed tree branch drawing on DIY.org
Help!?
What can we use instead of a blending stump or soft tissue if we don't have one?
Use a clean cotton swab, a fingertip, or a folded piece of tissue to gently blend the light pencil shading described in the step "Smooth the shaded areas by gently blending with a blending stump or soft tissue."
My gesture line looks stiff or wrong—how can I fix that?
Erase the light curving line and redraw it more loosely after looking at the branch for another minute, then re-map the thick parts with the simple cylinders and circles step to improve the overall gesture.
How can I adapt this activity for younger or older kids?
Have younger children stick to the first four steps—pick a branch/photo, observe for one minute, draw the light curving gesture, and add simple cylinders/circles—while older kids can concentrate on detailed bark texture, varied shading, blending, and lifting highlights with the eraser.
How can we enhance or personalize the finished branch drawing before sharing it?
Add a soft watercolor wash background, use colored pencils to vary leaf tones and veins, or photograph your finished detailed tree branch drawing and upload it to DIY.org as the final sharing step.
Watch videos on how to draw a detailed tree branch
How to Draw a Tree Easy for Beginners | Step-by-Step Tutorial 🌳
4 Videos
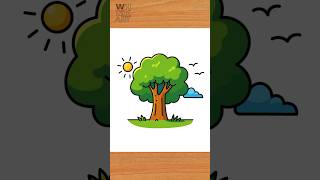
How to Draw a Tree Easy for Beginners | Step-by-Step Tutorial 🌳
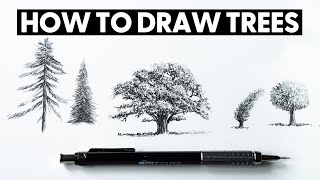
How to Draw Trees for BEGINNERS
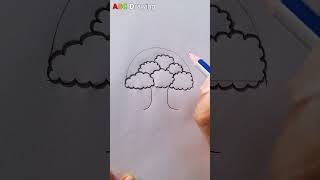
Easy Tree Drawing for Beginners | Simple Tree Sketch Tutorial
how to draw Amazing Trees with Kids: An Exciting Step-by-Step Guide
Facts about pencil drawing and shading
🌳 A single branch can show a tree's history—knots and scars tell where branches grew or healed!
✏️ Graphite pencils have grades (like HB, 2B, 4B) — softer pencils make darker, smoother shading.
🍂 There are thousands of leaf shapes; noticing a leaf's outline and vein pattern makes drawing easier.
🔍 Bark comes in many textures (smooth, flaky, ridged) — try tiny strokes and smudges to copy each type.
🎨 Shading techniques like hatching, cross-hatching, and blending can turn flat lines into a round, realistic twig.
How do I draw a detailed tree branch with pencil and shading?
What materials do I need to draw a tree branch?
What ages is this pencil shading activity suitable for?
What are the benefits of practicing drawing tree branches?
