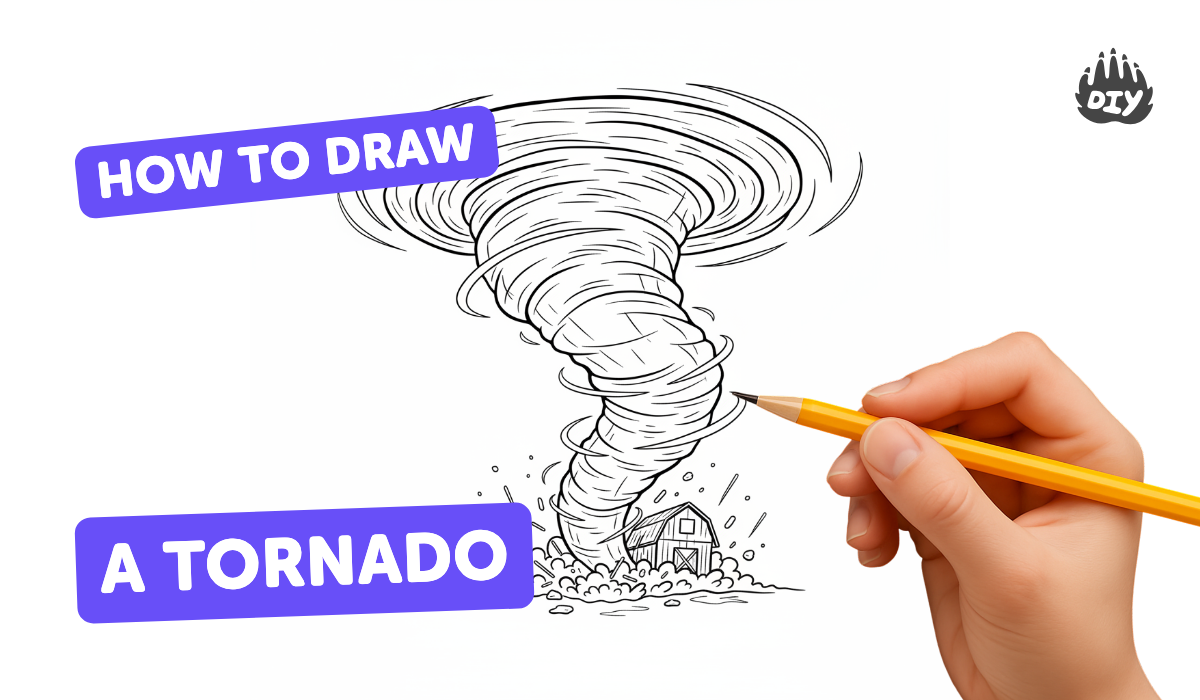
How to draw a tornado - a free tornado drawing guide
Draw a realistic tornado using pencils and shading to capture motion and texture. Practice perspective, contrast, and safe observation of storm images.

Drawing Apps
Get inspired with these


Instructions
Make a Tornado at Home - Fun Experiment to do with kids!
Step 1
Gather all your materials and place them on a clean table.
Step 2
Pick one clear storm photo as your reference.
Step 3
Study the photo for two minutes to learn the funnel shape and where the light comes from.
Step 4
Lightly draw the horizon line across your paper with the ruler.
Step 5
Mark a vanishing point on the horizon where the tornado will meet the ground.
Step 6
Sketch the tornado funnel lightly starting wide at the top and tapering toward the vanishing point.
Step 7
Draw loose spiral guide lines inside the funnel to show the tornado’s rotation.
Step 8
Block in the darkest shadow areas using the softest pencil (4B) with short strokes.
Step 9
Add midtones with the 2B pencil using even pressure to build form.
Step 10
Use the HB pencil for fine texture lines and lighter edges on the funnel.
Step 11
Blend shaded areas gently with a blending stump or tissue using circular motions.
Step 12
Erase thin highlights to make bright streaks where light hits the funnel.
Step 13
Add quick marks for debris and ground motion to show movement around the base.
Step 14
Share your finished tornado drawing on DIY.org
Help!?
Can I substitute any materials if I don't have them?
If you don't have a blending stump or tissue, use a clean folded paper towel to blend the shaded areas after blocking in shadows with the 4B and adding midtones with the 2B pencil.
My tornado looks flat—what should I do?
If the funnel looks flat, reinforce the loose spiral guide lines, deepen the darkest shadow areas with the 4B pencil, add midtones with the 2B, and blend in circular motions to build a rounded form.
How can I adapt this activity for different ages?
For younger children, skip marking a vanishing point and have them draw a simple cone funnel and add quick debris marks with an HB or crayon, while older kids can follow the two-minute photo study, mark a vanishing point, and use 4B/2B shading with a blending stump for realism.
How can we enhance or personalize the tornado drawing?
Enhance the drawing by adding colored storm clouds or a light watercolor wash around the blended funnel, erase thin highlights where light hits, add unique debris at the base, and share the finished piece on DIY.org.
Related videos
Tornado in a Jar | Easy Kids Science
4 Videos

Tornado in a Jar | Easy Kids Science
Tornado Science | National Geographic

Fire Tornado - Cool Science Demo
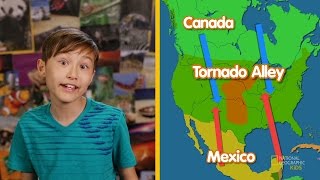
Talk About Tornadoes | Nat Geo Kids Weather Playlist
Fun Facts
🌪️ The strongest tornadoes can have winds exceeding 300 miles per hour—fast enough to uproot trees and flip trains.
⏱️ Most tornadoes last less than 10 minutes, though a few long-lived storms can produce tornadoes that persist for an hour or more.
✏️ Graphite pencils are graded from 9H (very hard, light) to 9B (very soft, dark) — use softer B pencils for deep, smudgy shading.
📐 A single vanishing point on the horizon helps make a twisting funnel look like it's receding into the distance and moving toward you.
📷 For safety, always study storm photos or videos from trusted sources instead of observing tornadoes up close when sketching motion and texture.
How do you draw a realistic tornado with pencils and shading?
What materials are needed to draw a realistic tornado with pencils and shading?
What ages is this pencil tornado drawing activity suitable for?
How can children safely observe storms and use reference images when drawing tornadoes?
