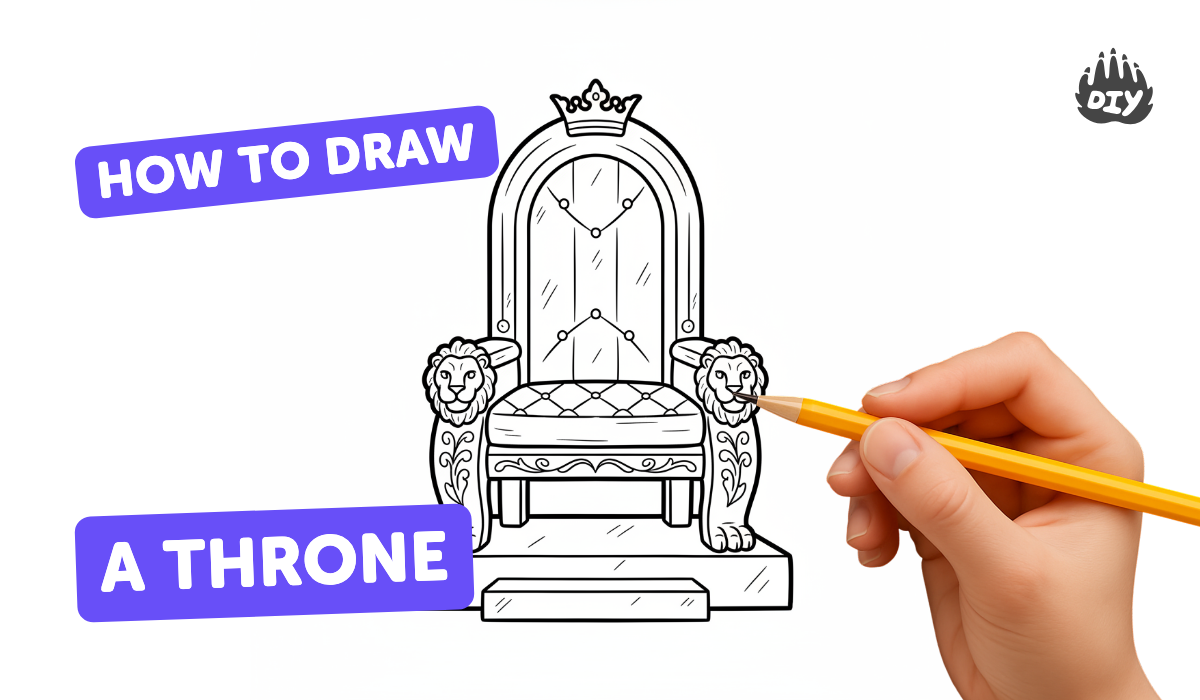
How to draw a throne - a free throne drawing guide
Draw a royal throne step by step using simple shapes, perspective lines, shading, and decorative patterns. Practice adjusting proportions and adding textures.

Drawing Apps
Photos of royal throne drawings


Step-by-step guide to draw a royal throne
How to Draw a Throne Easy for Beginners
Step 1
Lightly draw a horizontal horizon line and place a single vanishing point on it.
Step 2
Use the ruler to draw two straight perspective guide lines from the vanishing point outward.
Step 3
Sketch a light rectangle for the seat using the guide lines so the seat follows the perspective.
Step 4
Draw a taller rounded rectangle or arch for the backrest that connects to the rear edge of the seat.
Step 5
Add armrests and front legs as simple boxes or cylinders that sit on the seat corners and follow the perspective lines.
Step 6
Measure and adjust the width height and depth with your ruler until the throne looks balanced.
Step 7
Refine the throne outline by smoothing curves and firming up the final shape.
Step 8
Draw decorative patterns like a crown motif stars or leaf shapes on the backrest and armrests.
Step 9
Add texture details such as short strokes for velvet and curved lines for wood grain on the legs.
Step 10
Decide where the light is coming from and mark the light source with a small dot above the throne.
Step 11
Shade the sides away from the light source with darker pencil strokes to create shadow.
Step 12
Gently blend the shaded areas with a tissue or cotton swab to soften the shadows.
Step 13
Colour your throne using your colouring materials and add small highlights with a lighter color or the eraser.
Step 14
Take a photo of your finished throne and share your creation on DIY.org
Help!?
What can we use if we don't have a ruler, cotton swabs, or fancy colouring tools?
Use a straight book edge or cereal box flap as a ruler, a folded tissue or your fingertip to gently blend shaded areas instead of a cotton swab, and substitute crayons or markers for colouring materials and your phone camera to take the final photo for DIY.org.
My throne looks crooked or the seat doesn't follow the perspective—what should I fix?
Lighten or erase the seat rectangle, re-align its rear edge to the vanishing point using your ruler so the perspective guide lines match, then redraw the backrest, armrests, and front legs to follow those same guide lines.
How can I change the activity for different ages or skill levels?
For younger kids pre-draw the horizon, vanishing point, and a simple seat rectangle for them to add armrests and colour with crayons, while older kids should use the ruler to measure width/height/depth and add texture details like short velvet strokes and curved wood-grain lines.
How can we make the throne more special or challenge older kids further?
Personalize the backrest with a custom crown motif or banners, add a raised platform and deeper cast shadows by marking the light source dot, or experiment with mixed media like glued fabric for velvet before photographing and sharing on DIY.org.
Watch videos on how to draw a royal throne
How to Draw a Throne in a Few Easy Steps: Drawing Tutorial for Beginner Artists
4 Videos
How to Draw a Throne in a Few Easy Steps: Drawing Tutorial for Beginner Artists
How to Draw a Throne
how to draw 👑 throne easy Step by step #drawing #shorts #youtubeshorts #shortvideo #viral
👑 How to Draw a Simple King | Step-by-Step Lesson 🏰
Facts about drawing and perspective for kids
👑 The word "throne" comes from the ancient Greek thronos, meaning a seat or chair — thrones have symbolized power for thousands of years.
🖼️ Filippo Brunelleschi demonstrated linear perspective in the 15th century, a breakthrough that helps artists draw believable space and thrones that recede into the scene.
✏️ You can make a flat throne sketch look 3D with just three shading tones: light, mid, and dark.
🔱 Many royal thrones feature heraldic symbols (lions, eagles, fleur-de-lis) that tell stories about a ruler's family, rank, or nation.
🪵 Traditional thrones were often carved from solid wood and then covered with gilding, upholstery, or inlays to add rich textures and patterns.
How do I draw a royal throne step by step?
What materials do I need to draw a throne?
What ages is this drawing activity suitable for?
What are the benefits of drawing a throne?
