How to draw a steak - a free steak drawing guide
Draw a realistic steak step-by-step using pencil, shading, and grill marks. Practice proportions, texture, and light to make it look three-dimensional.

Drawing Apps
Photos of realistic steak drawing examples


Step-by-step guide to draw a realistic steak
STEAK Drawing: How to Draw A STEAK EASY for Kids | ENJOY DRAWING
Step 1
Place your drawing paper and a sharpened pencil on a flat surface.
Step 2
Choose a reference photo of a steak to look at while you draw.
Step 3
Decide which direction the light is coming from in your reference.
Step 4
Mark the light direction on your paper with a small arrow.
Step 5
Lightly sketch the outer shape of the steak with gentle pencil strokes.
Step 6
Draw the fat edge and any bone outline inside the main shape with light curved lines.
Step 7
Sketch the main marbling lines and large muscle shapes inside the steak.
Step 8
Mark the deepest shadow areas and the brightest highlight spots with small symbols.
Step 9
Shade the deepest shadow areas using the side of your pencil with firmer pressure.
Step 10
Build midtones by adding lighter pencil strokes between shadows and highlights.
Step 11
Smooth and blend the shaded areas gently with a blending stump or tissue.
Step 12
Add short directional strokes and tiny dots to create meat grain and texture.
Step 13
Draw parallel grill marks across the steak with a darker pencil to follow the form.
Step 14
Lift small highlights with your eraser and darken the edge sear to boost contrast.
Step 15
Sign your drawing and share your finished steak creation on DIY.org.
Help!?
What can I use instead of a blending stump or special pencils if I don't have them?
If you don't have a blending stump, gently smooth shaded areas in step 10 with a clean tissue, cotton swab, or your fingertip, and swap a missing darker pencil by using a softer (2B–4B) pencil for grill marks in step 12.
My steak looks flat and muddy—what should I fix?
Check the light-direction arrow from step 4, deepen the side-of-pencil shadows in step 8, refine midtones in step 9 and blend in step 10, then lift highlights with your eraser as described in step 13 to restore volume and contrast.
How can I adapt this drawing for different ages and skill levels?
For younger kids focus on steps 1, 5, and 12 (paper/pencil, outer shape and fat edge, and simple grill marks) while older children follow all steps including detailed marbling in step 7, blending in step 10, and lifting highlights in step 13.
How can we extend or personalize the steak drawing after finishing the basic steps?
Try adding colored pencils or light watercolor washes after step 11 for cooked tones, vary the edge sear and grill-mark darkness in steps 12–13 for different doneness, and sign and photograph your finished piece to share on DIY.org as in step 14.
Watch videos on how to draw a realistic steak
How To Draw A Funny Steak
4 Videos
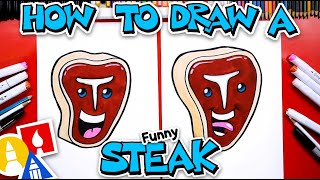
How To Draw A Funny Steak
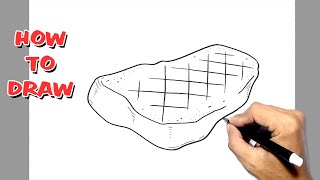
How to draw a PIECE of MEAT step by step / drawing Steak easy
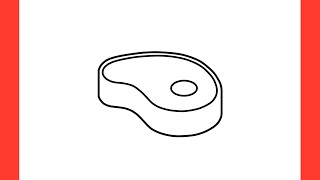
How to Draw Beef steak easy drawing
How To Draw Charlie the Steak 🥩 | Easy Drawing Tutorial
Facts about pencil drawing and shading
🥩 The word “steak” comes from an Old Norse word for roast; popular cuts for steaks include ribeye, sirloin, and filet mignon.
🔥 Grill marks are produced by the Maillard reaction — those dark lines are where sugars and proteins caramelize and add flavor.
✏️ Pencil grades range from hard (H) to soft (B); softer B pencils make darker, smoother shading while H pencils keep fine light details.
🎨 Chiaroscuro is an art technique using strong contrasts of light and shadow to make flat images appear three-dimensional.
👁️ Small changes in value (lightness/darkness) and contrast are what trick our eyes into seeing texture, depth, and juiciness in drawings.
How do you draw a realistic steak step-by-step using pencil, shading, and grill marks?
What materials do I need to draw a realistic pencil-steak with shading and grill marks?
What ages is drawing a realistic steak suitable for?
What are the benefits and variations of practicing realistic steak drawings?
