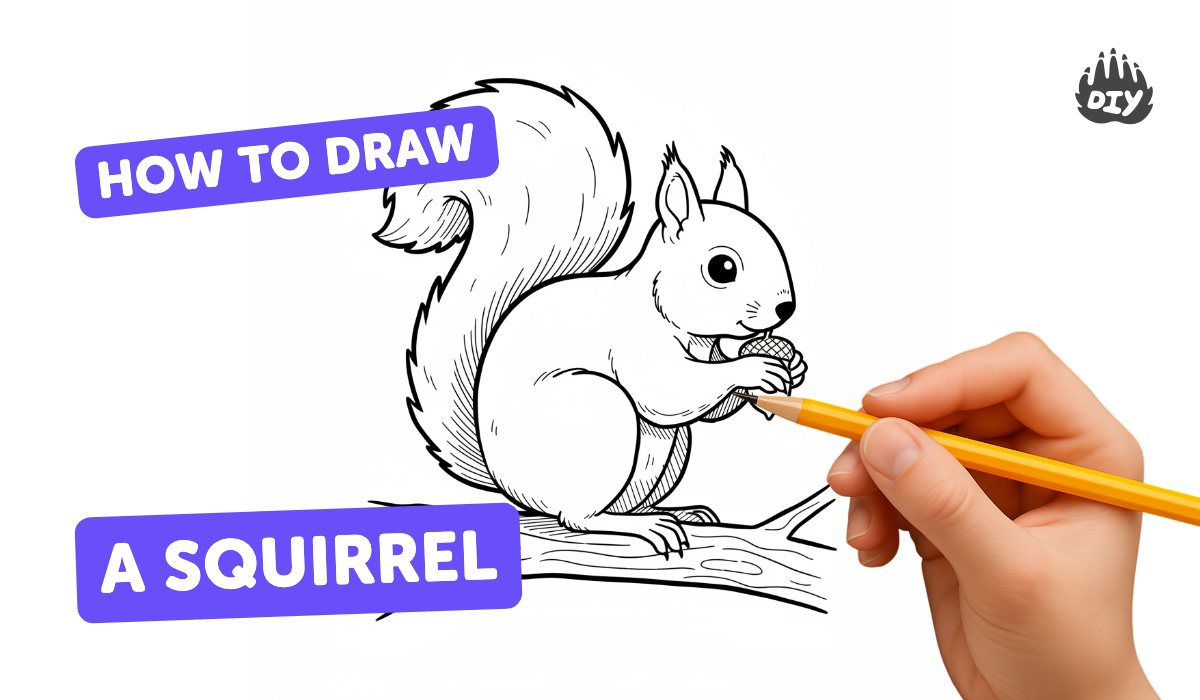
How to draw a squirrel - a free squirrel drawing guide
Draw a realistic squirrel step-by-step using simple shapes, shading, and texture. Practice proportions, line work, and observation skills confidently today.

Drawing Apps
Get inspired with these


Instructions
How to draw a squirrel easy step by step || Easy squirrel drawing
Step 1
Lay out your materials neatly on your table so everything is within reach.
Step 2
Place the reference photo of a squirrel where you can see it while you draw.
Step 3
Lightly draw a circle for the squirrel’s head using a soft pencil.
Step 4
Lightly draw a larger oval that overlaps the head circle to make the squirrel’s body.
Step 5
Lightly draw a vertical center line and a horizontal eye line across the head to help place features.
Step 6
Sketch a small rounded muzzle at the front of the head and a triangle-like ear on top of the head.
Step 7
Draw two simple front leg shapes and two back leg shapes using elongated ovals to mark their positions.
Step 8
Draw the squirrel’s big bushy tail as a large curved shape flowing from the back of the body.
Step 9
Connect and smooth the basic shapes with continuous outlines to form the squirrel’s silhouette.
Step 10
Add facial details: place an eye on the eye line a little in front of the center line and draw a small nose at the tip of the muzzle.
Step 11
Add fur texture with short curved pencil strokes that follow the body and tail direction.
Step 12
Shade the darker areas like under the belly behind the legs and the base of the tail with soft pencil strokes.
Step 13
Gently blend shaded areas with a blending stump or soft tissue and then erase any visible guide lines.
Step 14
Take a photo of your finished squirrel drawing and share your creation on DIY.org.
Help!?
What can we use instead of a blending stump or a soft pencil if we don't have them?
If you don't have a blending stump use a folded soft tissue or cotton swab, and substitute an HB or 2B pencil for the 'soft pencil' while keeping your guide circles, oval, and light strokes faint.
My squirrel looks lopsided after drawing the head circle and body oval—how do I fix proportions?
If the proportions seem off after steps 3–4, measure the head circle and larger body oval with your pencil or finger, adjust the oval so it overlaps the head circle correctly, then erase and redraw the continuous outlines lightly before adding details.
How can I adapt this drawing activity for different ages or skill levels?
For younger children offer a pre-drawn head circle and body oval to trace and let them color the big tail, while older kids can follow all steps including placing the vertical center and eye lines, adding fur texture, shading darker areas, and blending with a stump.
What are simple ways to extend or personalize the squirrel drawing once it's finished?
To personalize the finished squirrel, change the reference photo to a different pose, add a background like acorns or trees with colored pencils after blending, and then take the photo to share on DIY.org.
Related videos
How to Draw a Simple Squirrel | Step-by-Step Lesson
4 Videos
How to Draw a Simple Squirrel | Step-by-Step Lesson
Easy Squirrel Drawing for Kids . How to Draw a Cute and Simple Squirrel
How to Draw a Squirrel For Kids and Coloring Step By Step | Squirrel Drawing for kids #squirrel #art
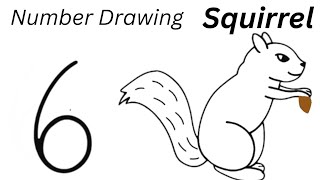
How to Draw Squirrel Easy from Number 6 - Easy SQUIRREL Drawing Step by Step For kids and Beginners
Fun Facts
🐿️ Squirrels can fall many times their body length and survive — great reason to study their upright landing poses!
✏️ Artists often begin a squirrel drawing with simple shapes: a circle for the head, an oval for the body, and a teardrop for the tail.
🐾 A squirrel's hind legs are longer and more powerful than its front legs — key for accurate proportions and movement.
🎨 Squirrel fur has both fluffy underfur and longer guard hairs — use short, directional strokes and layering for realistic texture.
👀 Eastern gray squirrels can rotate their ankles 180° to climb down trees headfirst — perfect inspiration for dynamic poses.
How do I draw a realistic squirrel step-by-step?
What materials do I need to draw a realistic squirrel?
What ages is drawing a realistic squirrel suitable for?
What are the benefits of drawing a realistic squirrel?
