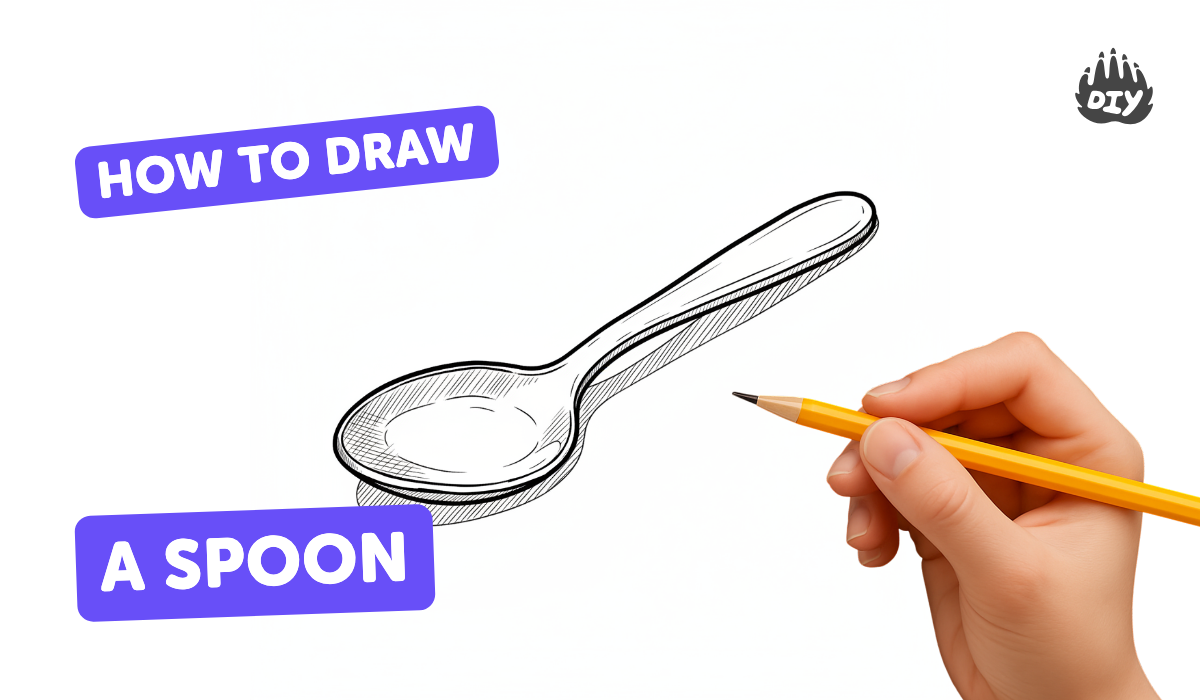
How to draw a spoon - a free spoon drawing guide
Draw a realistic spoon using simple shapes, shading, and perspective. Practice observation, proportion, and basic shading to create a three dimensional look.

Drawing Apps
Get inspired with these


Instructions
How To Draw A spoon Learn step to step for Kids
Step 1
Gather all your materials and put them on a clean flat table.
Step 2
Find a real spoon and look at it closely to notice the bowl shape handle length and shiny spots.
Step 3
Lightly draw a straight centerline on your paper with the ruler to show the spoon’s direction.
Step 4
Sketch a light oval at the top of the centerline to make the spoon’s bowl.
Step 5
Draw a long narrow handle attached to the bowl following the centerline.
Step 6
Draw a second line around the handle and a thin rim around the bowl to show thickness.
Step 7
Lightly mark where the brightest highlights and the darkest shadows appear on the spoon.
Step 8
Shade the darkest shadow areas using light layers of pencil to build up tone.
Step 9
Shade the middle tones and leave the lightest areas nearly white.
Step 10
Use the tissue or cotton swab to gently blend the shaded areas so the metal looks smooth.
Step 11
Erase thin lines to lift clean bright highlights and refine any edges or details.
Step 12
Share your finished creation on DIY.org.
Help!?
What can I use if I don't have a real spoon or cotton swabs/tissue?
If you don't have a real spoon, study a metal measuring spoon or a clear photo to observe the bowl and shiny spots, and substitute the tissue or cotton swab with a cotton ball, blending stump, or a soft finger for blending.
What should I do if my spoon looks crooked, smudged, or the highlights are lost while shading?
Re-check and lightly redraw the straight centerline with your ruler and the oval for the bowl, build up shadow tones in light pencil layers as instructed, blend gently with tissue, and use the eraser to lift clean bright highlights and refine edges.
How can I adapt the steps for different age groups?
For younger kids let them trace a real spoon and color, for elementary students follow the centerline, oval and simple shading steps, and for older kids or teens focus on mapping highlights and darkest shadows, thin rim details, and layered blending with a stump.
How can we extend or personalize the spoon drawing activity after finishing the basic drawing?
Draw the spoon under different light directions to study changing highlights and shadows, add a cast shadow or textured table surface, experiment with decorative handle patterns or metal finishes, and photograph stages to share on DIY.org.
Related videos
How to draw spoon | Let's Draw a Cute spoon - Easy Art for Kids | Spark & Hobby
4 Videos
How to draw spoon | Let's Draw a Cute spoon - Easy Art for Kids | Spark & Hobby
How to Draw a Realistic Spoon | Step by Step Art Lesson for Beginners
Learn how to draw a spoon Real Easy | Step by Step with Easy - Spoken Instructions
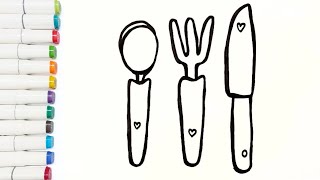
Easy Spoon Drawing for Kids| Spoon,Fork, and Knife Tutorial #drawing #spoon #knife #fork #kids
Fun Facts
🔍 Most spoons can be broken down into two simple shapes: an oval bowl and a long, slightly curved handle—great for practicing proportion.
🪞 A metal spoon acts like a curved mirror (a convex surface), showing a wide, warped view of the room on its bowl.
✏️ To make a spoon look 3D, combine a soft gradient for the form with a small bright highlight for shiny metal.
🎨 Chiaroscuro (light vs. dark), used since the Renaissance, helps artists turn flat shapes into realistic, three-dimensional objects.
🔁 Reflections on curved objects compress and bend nearby shapes—observing them can teach you how light and surroundings affect shading.
How do I draw a realistic spoon step-by-step?
What materials do I need to draw a realistic spoon?
What ages is drawing a realistic spoon suitable for?
What are the benefits of drawing a realistic spoon?
