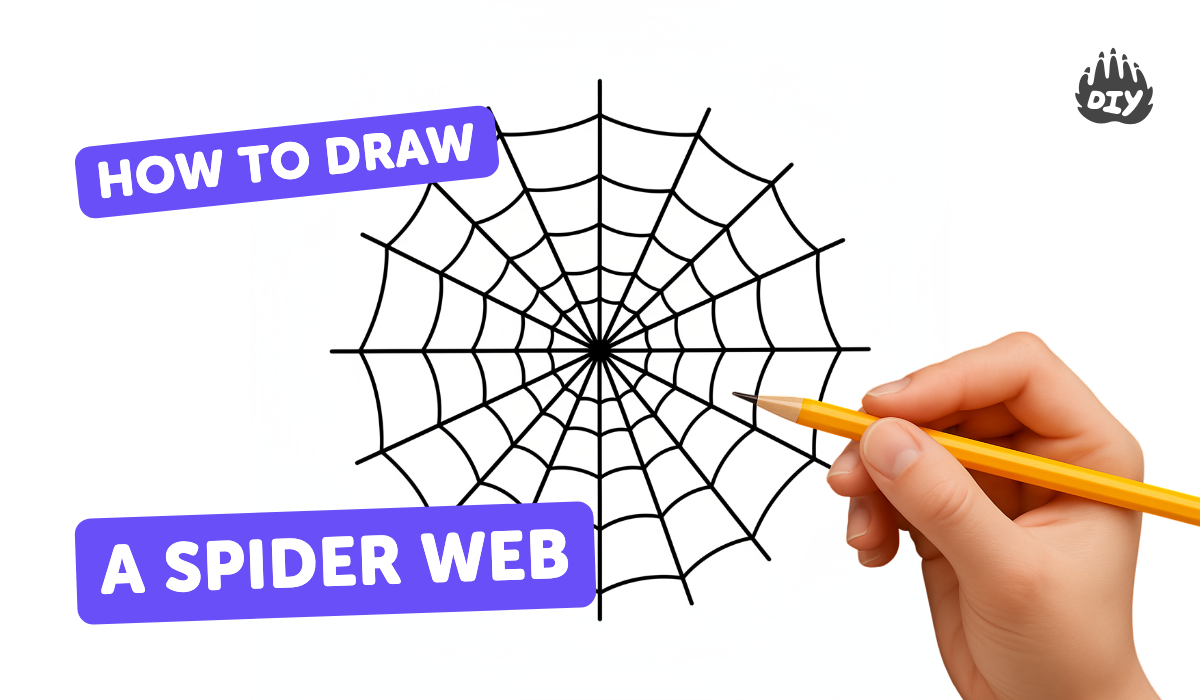
How to draw a spider web - a free spider web drawing guide
Draw a detailed spider web using pencil, ruler, and compass. Practice symmetry, radial lines, and curved connecting strands to learn geometry.

Drawing Apps
Get inspired with these


Instructions
How To Sketch A Spider Web
Step 1
Place your paper on a flat surface and make a small center dot with your pencil.
Step 2
Put the compass point on the center dot and draw a small circle around the dot.
Step 3
Open the compass a bit wider and draw three more concentric circles around the same center.
Step 4
Put the protractor center on the dot and lightly mark points on the outer circle every 45 degrees.
Step 5
Use the ruler to draw straight lines from the center dot to each mark so you have eight radial lines.
Step 6
Erase any extra protractor numbers or guide marks but keep the radial lines and circles.
Step 7
On the innermost circle draw a curved arc between each pair of neighboring radial lines that bows slightly toward the center.
Step 8
Repeat drawing matching curved arcs on each outer concentric circle so the arcs line up between the same radial lines.
Step 9
Darken the main web strands you like by tracing over them with firmer pencil strokes.
Step 10
Add tiny knot dots where strands meet and tidy any uneven curves with your eraser.
Step 11
Shade or colour around the web to give it depth and make it pop.
Step 12
Share your finished spider web on DIY.org.
Help!?
What can we use if we don't have a compass or protractor?
Use round objects like a cup or jar lid to trace the concentric circles around the center dot and either fold the paper twice to create 45° marks on the outer circle or use a free protractor app on a phone to mark every 45 degrees.
My curved arcs don't line up between radial lines — how do we fix that?
Lightly pencil each arc first and check alignment between the same radial lines on all concentric circles, tighten the compass so circles don't shift, and erase and redraw any uneven curves before you darken the main web strands.
How can we adapt the steps for younger or older kids?
For younger children, use pre-drawn concentric circle stencils, only four radial lines (every 90°) and a marker for bold shapes, while older kids can add more concentric circles, divide the outer circle into smaller angles than 45°, and refine shading, tiny knot dots, and line weight with colored pencils and fine liners.
What are easy ways to enhance or personalize our spider web drawing?
After you darken preferred strands and add tiny knot dots, personalize it by drawing a spider on a silk line, adding colored washes or pencil shading around the web for depth, applying glitter glue to highlight strands, and photographing the final piece to share on DIY.org.
Related videos
How To Draw A Cartoon Spider And Spider Web
4 Videos
How To Draw A Cartoon Spider And Spider Web
How To Make A Spider Drawing

CBeebies Makes | How to make a spooky spider web
How To Draw A Minecraft Spider
Fun Facts
🕸️ Many orb-weaving spiders build webs with 20–40 radial lines — perfect for practicing angles and symmetry.
🕷️ Spider silk is stronger than steel by weight and very stretchy, inspiring resilient curved spiral designs.
📐 A compass draws perfect circles, which helps set evenly spaced concentric rings for the web.
🔁 Many orb webs form a logarithmic spiral for the connecting strands — you can mimic it by increasing spacing as you go out.
✏️ Using a ruler for radials and a compass for rings is a classic hands-on geometry exercise in constructing symmetry.
How do I draw a detailed spider web using a pencil, ruler, and compass?
What materials do I need to draw a precise spider web with a compass and ruler?
What ages is drawing a geometric spider web suitable for?
What are the benefits, safety tips, and fun variations for this spider web drawing activity?
