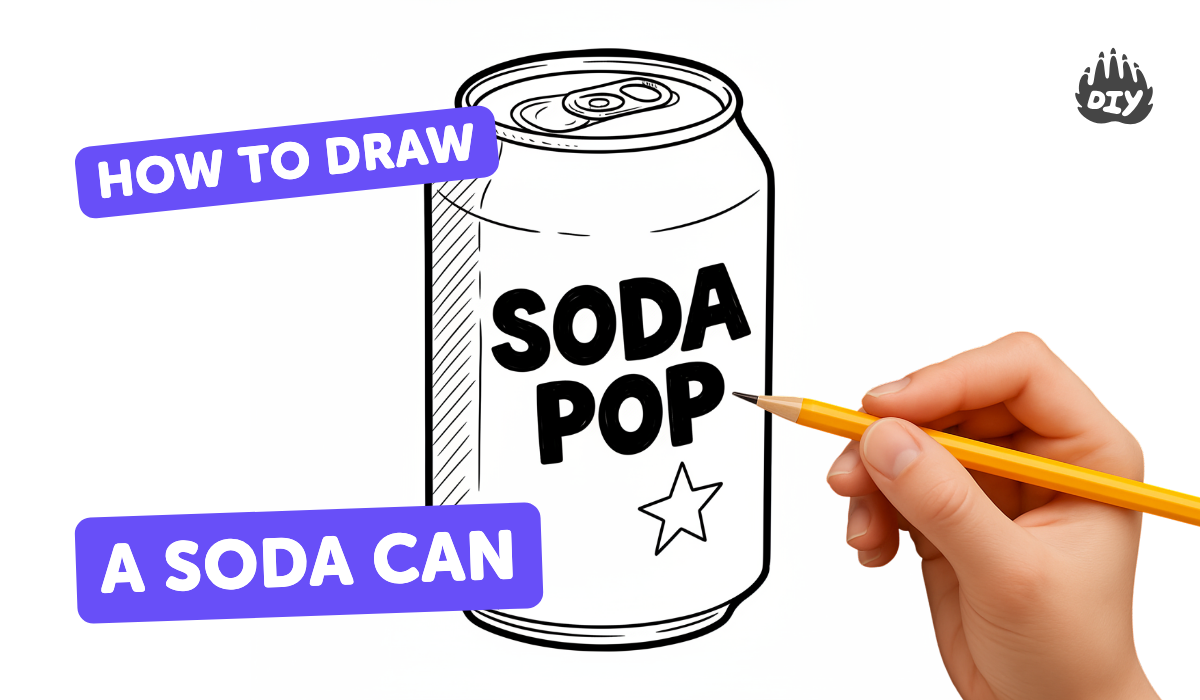
How to draw a soda can - a free soda can drawing guide
Draw a detailed soda can using pencil and shading techniques. Practice proportions, ellipses, and light to create a realistic three dimensional object.

Drawing Apps
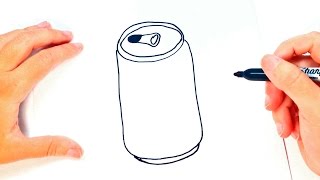
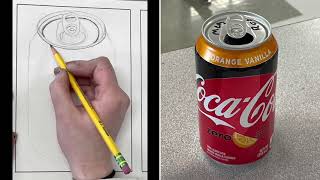
Photos of soda can drawing examples


Step-by-step guide to draw a soda can
How to Draw Soda Can Easy
Step 1
Place your soda can or photo to the side of your paper so you can see it clearly as a reference.
Step 2
Lightly draw a central vertical guideline down the middle of your paper to help keep the can straight.
Step 3
Use the ruler to mark the top and bottom heights of the can with two small light horizontal ticks.
Step 4
Draw a shallow ellipse between the top ticks to make the top rim of the can.
Step 5
Draw a slightly flatter ellipse between the bottom ticks to make the bottom rim of the can.
Step 6
Connect the left and right edges of the top and bottom ellipses with two straight vertical lines to form the can body.
Step 7
Sketch a smaller ellipse inside the top rim to show the inner lip of the can.
Step 8
Decide where the light is coming from and draw a small arrow on the page to remind you of the light direction.
Step 9
Shade the side of the can that faces away from the light with soft pencil strokes using the side of your pencil.
Step 10
Leave a vertical strip of lighter graphite where the strongest highlight should be on the can.
Step 11
Use your blending tool to smooth the shaded area with vertical strokes that follow the curve of the can.
Step 12
Use the kneaded eraser to lift thin curved highlights and small reflections from the shaded areas.
Step 13
Darken the can edges and the darkest shadows with firmer pencil pressure to add contrast.
Step 14
Add a soft shadow on the table under the can in the direction opposite the light source.
Step 15
Take a photo or scan your finished soda can drawing and share it on DIY.org.
Help!?
What can we use instead of a blending tool, kneaded eraser, or ruler if we don't have them?
Use a clean tissue or cotton swab to smooth the shaded side of the can (step 10), a soft vinyl or regular eraser to lift thin curved highlights (step 11), and a straight book edge to mark the top and bottom ticks (step 2).
My can looks lopsided or the ellipses are wrong—how do I fix that?
If the ellipses or overall shape are off, lighten your marks, reestablish the central guideline and top/bottom horizontal ticks (step 2), practice shallow and flatter ellipses on scrap paper, then reconnect the vertical sides (step 6) before committing to darker lines or shading.
How can I adapt this drawing for younger or older kids?
For preschoolers, let them trace a soda can photo to place the top and bottom ticks (steps 1–4) and do broad side-of-pencil shading, while older kids can use multiple pencil grades, refine the inner lip (step 7), lift precise highlights with a kneaded eraser (step 11), and add complex reflections and cast shadows (steps 8–12).
What are some ways to extend or personalize the soda can drawing?
Personalize by designing and drawing a custom label on the can before shading (between steps 6 and 8), sketching several cans at different angles using new central guidelines, or scanning the finished drawing (final step) to add digital color and share on DIY.org.
Watch videos on how to draw a soda can
How to draw a Can of Soda | Can of Soda Easy Draw Tutorial
4 Videos
How to draw a Can of Soda | Can of Soda Easy Draw Tutorial
Beginning to draw your soda can
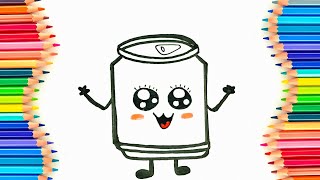
How to Draw Cute Soda Cans: Easy Step-by-Step Tutorial
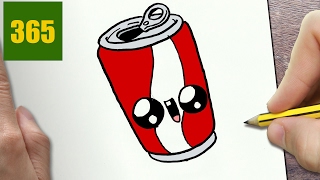
HOW TO DRAW A SODA CUTE, Easy step by step drawing lessons for kids
Facts about pencil drawing and shading
✏️ When a perfect circle is tilted away from you it becomes an ellipse — that’s why can tops look like ovals in drawings.
📐 A soda can is essentially a cylinder: draw two ellipses and connect them with straight sides to get the basic shape.
🔦 Shiny metal shows very bright highlights and sharp reflections; a single small white spot can make your can look reflective.
🎨 Smooth shading (blending) or controlled cross-hatching can create the curved gradient that makes a flat drawing look round.
🥫 Aluminum can be recycled forever without losing quality — real cans have thin, lightweight walls that catch light nicely in art.
How do I draw a realistic soda can step-by-step?
What materials do I need to draw a realistic soda can?
What ages is drawing a detailed soda can suitable for?
What are the benefits and fun variations of drawing a soda can?
