How to draw a snow leopard - a free snow leopard drawing guide
Draw a realistic snow leopard step by step using simple pencil shading, proportion guides, and spot pattern practice to learn fur texture and facial features.

Drawing Apps
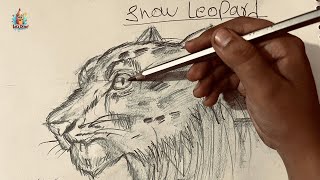
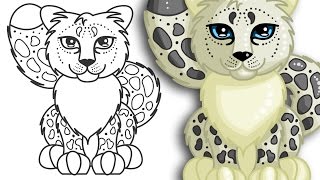
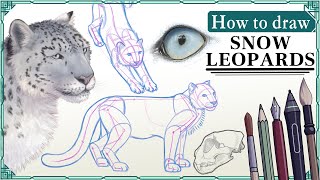
Photos of snow leopard drawing examples


Step-by-step guide to draw a snow leopard
Learn how to draw A SNOW LEOPARD: STEP BY STEP GUIDE! (Age 5 +)
Step 1
Lightly draw a medium oval for the snow leopard’s head.
Step 2
Draw a larger oval below the head that overlaps a bit to mark the body.
Step 3
Add a vertical center line and a horizontal eye line across the head to make facial guidelines.
Step 4
Draw two gentle curved lines connecting the head oval to the body oval to show the neck and spine direction.
Step 5
Sketch four simple cylinders for the legs and one long curved cylinder for the tail to set proportions.
Step 6
Refine the head shape by adding rounded cheeks a chin and two small rounded ears on top.
Step 7
Draw two almond shaped eyes on the eye line and place the pupils where the leopard is looking.
Step 8
Draw a small rounded triangle for the nose at the center and a short line below it for the mouth.
Step 9
Refine the leg cylinders into paws by adding simple oval toes and joints.
Step 10
Practice drawing rosette shapes and small solid spots on a scrap corner of your paper to try different patterns.
Step 11
Lightly place clusters of spots and rosettes on the body and tail following your reference photo.
Step 12
Shade the fur using short pencil strokes that follow the fur direction to build texture and form.
Step 13
Use the 2B pencil to darken the deepest shadows and the centers of some rosettes for contrast.
Step 14
Gently blend shaded areas with a blending stump and then erase stray construction lines to clean up the drawing.
Step 15
Share your finished snow leopard on DIY.org
Help!?
What can I use if I don't have a 2B pencil or a blending stump?
If you don't have a 2B pencil, use an HB for lighter marks or a 4B for darker shading when you 'use the 2B pencil to darken', and replace a blending stump by gently smudging with a rolled tissue, cotton swab, or your fingertip when you 'gently blend shaded areas'.
My snow leopard's legs look too stiff or the proportions are off — how can I fix them?
If the legs look stiff, go back to the 'sketch four simple cylinders for the legs' step and adjust cylinder length, angle, and overlap with the body oval before you 'refine the leg cylinders into paws' and erase stray construction lines to clean up proportions.
How can I adapt this activity for younger children or older teens?
For younger children simplify by pre-drawing the 'medium oval' head and larger body oval and using big solid spots from the 'place clusters of spots' step, while older teens can add detailed 'short pencil strokes' fur texture, complex 'rosette shapes', and emphasize shadows with the 2B pencil.
How can we enhance or personalize the finished snow leopard drawing?
To enhance the drawing, create a rocky or snowy background, experiment with colored pencils or light watercolor washes after you 'erase stray construction lines', or invent unique rosette patterns on the body and tail before you 'share your finished snow leopard on DIY.org'.
Watch videos on how to draw a snow leopard
🎨 12-Year-Old Draws Snow Leopard! How to Draw a Snow Leopard (Easy Step-by-Step for Kids)
4 Videos
🎨 12-Year-Old Draws Snow Leopard! How to Draw a Snow Leopard (Easy Step-by-Step for Kids)
How to draw a Snow Leopard | Cute and Easy | Step By Step Drawing
How to draw SNOW LEOPARDS - Step by Step Art Tutorial
How to Draw a Snow Leopard in a Few Easy Steps: Drawing Tutorial for Beginner Artists
Facts about wildlife drawing for kids
🐆 Snow leopards have long tails nearly as long as their bodies — great to practice flowing, wrapped shapes when drawing tails!
✏️ Pencil shading uses different pressures and strokes (like hatching and cross-hatching) to make believable fur texture.
❄️ Snow leopards live high in mountains and their spotted coat helps them blend into rocky, snowy backgrounds — perfect inspiration for spot patterns.
🎨 Picking one consistent light source makes shading easier and makes your leopard look three-dimensional and realistic.
👀 Snow leopards have a compact face with forward-facing eyes; small changes around the eyes and nose give your drawing lots of character.
How do I draw a realistic snow leopard step by step using pencil shading and spot pattern practice?
What materials do I need to draw a realistic snow leopard with pencil shading?
What ages is drawing a realistic snow leopard suitable for?
What are the benefits and variations of drawing a realistic snow leopard?
