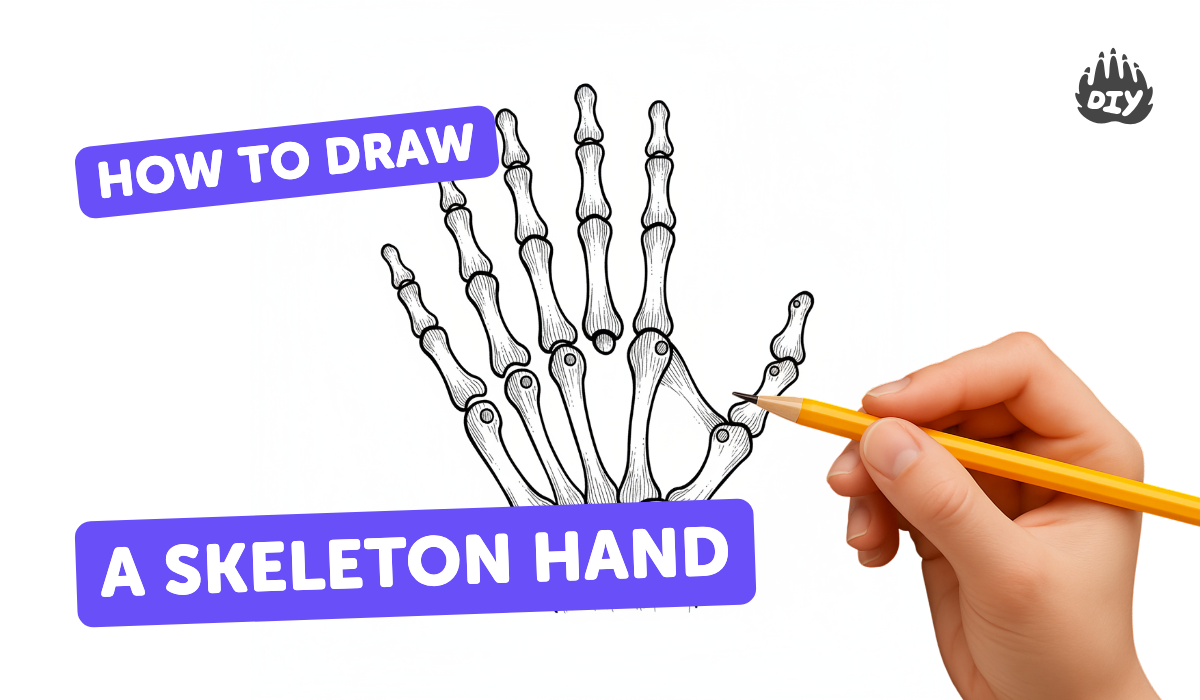
How to draw a skeleton hand - a free skeleton hand drawing guide
Draw a detailed skeleton hand using pencil and eraser, studying bone shapes and proportions. Practice shading to make a realistic final drawing.

Drawing Apps
Photos of skeleton hand drawings


Step-by-step guide to draw a skeleton hand
How to draw a Skeleton Hand for Halloween Real Easy | Step by Step with Easy - Spoken Instructions
Step 1
Gather all your materials and place them on a clean flat surface.
Step 2
Sit with your reference image and look closely at the overall shape and proportions of the hand.
Step 3
Lightly draw a simple oval for the palm and a smaller oval for the wrist to map the basic hand area.
Step 4
Mark the knuckle positions and draw short guide lines for each finger length with light pencil strokes.
Step 5
Sketch the finger bones as three connected segments for each finger using light, straight guide lines.
Step 6
Draw the metacarpal bones in the palm as long shapes that connect each finger base to the wrist.
Step 7
Refine each bone by tracing slightly wider rounded bone shapes over your guide lines.
Step 8
Erase the extra construction lines so only the refined bone shapes remain.
Step 9
Add small details like joint creases rounded tips and tiny bone bumps using a sharp pencil.
Step 10
Decide where the light is coming from on your drawing so shading will look consistent.
Step 11
Shade darker along the edges under overlapping bones and in joint creases to create depth.
Step 12
Use a tissue or blending stump to gently blend the shaded areas for a smooth look.
Step 13
Darken final outline edges where bones cast shadow and erase any stray marks for a clean drawing.
Step 14
Take a photo or scan of your finished skeleton hand and share your creation on DIY.org.
Help!?
What can I use instead of a blending stump or a scanner if I don't have them?
If you don't have a blending stump or scanner, use the listed tissue (or a folded cotton swab or your clean fingertip) to blend and use your smartphone camera to take a photo instead of scanning.
My fingers look out of proportion after drawing the knuckle marks and guide lines—how do I fix that?
If fingers are out of proportion, lightly erase the construction marks, reposition the knuckle positions and short guide lines so they align with the palm oval, then redraw the three-segment finger bone guides before refining.
How can I adapt this skeleton hand activity for different ages?
For younger kids pre-draw the palm and wrist ovals and thicker bone shapes to trace with crayons, while older kids should follow the full steps adding metacarpal detail and realistic shading with a sharp pencil and blending stump.
What are simple ways to enhance or personalize the finished skeleton hand drawing?
To enhance the drawing, label each metacarpal and phalange, add colored washes or a dark background to make the bones pop, and then photograph/scan and share your personalized piece on DIY.org as directed.
Watch videos on how to draw a skeleton hand
How to draw skeleton hand easy step by step || Skeleton drawing
4 Videos

How to draw skeleton hand easy step by step || Skeleton drawing

How to Draw a Skeleton Hand on your Hand / Skeleton Drawings Pictures / Skeleton Drawing Cartoon
How to draw SKELETON step by step
![How To DRAW A SKELETON HAND [Simple Guide]](https://img.youtube.com/vi/PHkxCUXA6CU/mqdefault.jpg)
How To DRAW A SKELETON HAND [Simple Guide]
Facts about skeletal anatomy for drawing
🦴 The human hand has 27 bones — 8 carpals, 5 metacarpals, and 14 phalanges!
✍️ Many artists start by breaking the hand into simple shapes (cylinders for fingers, blocks for the palm) to nail proportions fast.
🎨 Different pencils matter: H pencils stay light and sharp for lines, B pencils give rich dark tones for deep shadows.
📏 The finger lengths follow a predictable order (middle > ring > index > little) — measuring helps keep them believable.
🔍 A kneaded eraser can lift graphite gently to make realistic highlights on bone surfaces instead of rubbing them away.
How do you draw a realistic skeleton hand step by step?
What materials do I need to draw a detailed skeleton hand?
What ages is drawing a skeleton hand suitable for?
What are the benefits, safety tips, and variations for this activity?
