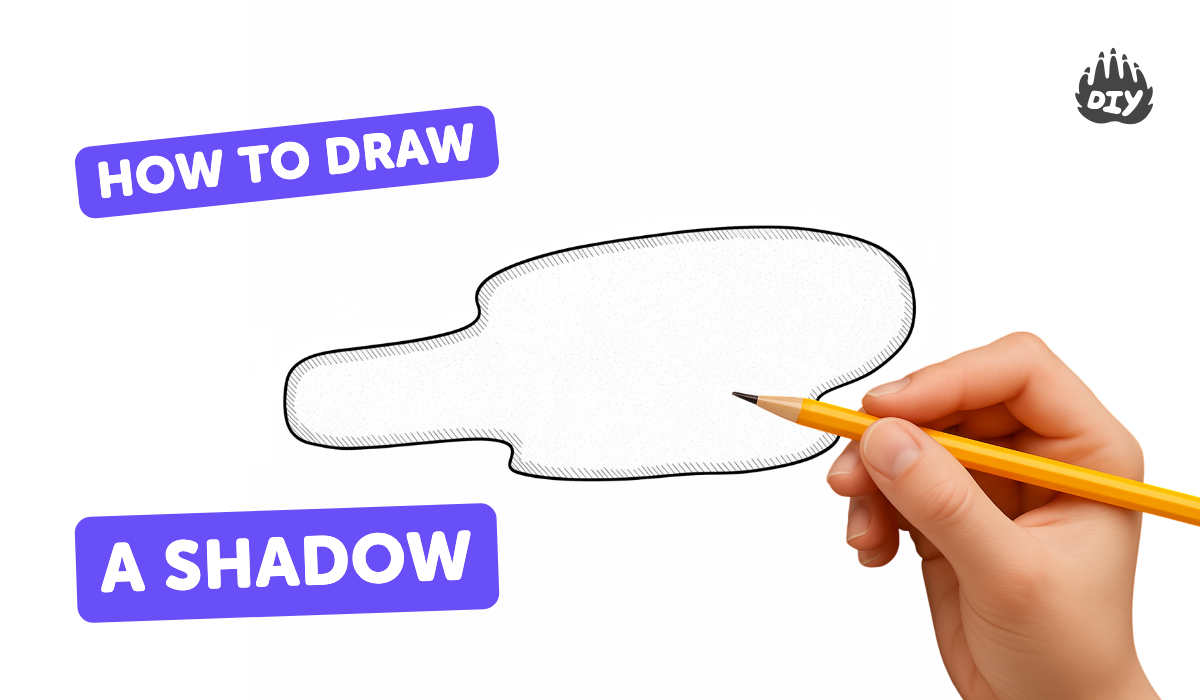
How to draw a shadow - a free shadow drawing guide
Draw realistic shadows for objects by observing light direction, sketching silhouettes, adding tonal shading, and practicing with sunlight or a desk lamp.

Drawing Apps
Photos of realistic shadow drawing examples


Step-by-step guide to draw realistic shadows for objects
HOW TO DRAW SHADOWS | For Beginners | DrawlikeaSir
Step 1
Pick one small toy or object and put it on a flat table.
Step 2
Turn on a desk lamp to one side or move the table into a sunny spot so the object casts a clear shadow.
Step 3
Look carefully and decide which direction the light is coming from and where the shadow falls.
Step 4
Place your paper on the table so part of the shadow lies across the paper.
Step 5
Hold the object steady with one hand so the shadow does not move.
Step 6
Trace the outline of the shadow on the paper with a light pencil line.
Step 7
Draw a simple sketch of the object beside the shadow tracing to compare shapes.
Step 8
Find the darkest part of the shadow closest to the object by looking closely.
Step 9
Shade the whole shadow area with light even pencil strokes to fill it in.
Step 10
Press a bit harder with your pencil to make the area nearest the object darker for depth.
Step 11
Gently smudge the shaded area with a finger or tissue to make a smooth gradient.
Step 12
Use the eraser to lift tiny bits of graphite inside the shadow to show subtle reflected light.
Step 13
Move the lamp or change the object position and repeat the tracing to practice different shadow lengths and directions.
Step 14
Take a photo or scan your finished drawing and share your creation on DIY.org.
Help!?
What can we use if we don't have a desk lamp, pencil, eraser, or tissue?
If you lack a desk lamp, use a phone flashlight or a bright window for step 2, substitute any graphite or colored pencil for shading in steps 8–9, use a fingertip or soft cloth instead of a tissue for smudging in step 11, and a kneaded eraser in place of a regular eraser.
Why does the shadow blur or move while I'm tracing and how do I fix it?
If the shadow blurs or shifts during tracing (steps 4–6), steady the object with one hand or a small piece of putty, make sure the lamp is fixed in place, and dim other room lights so the shadow edge is clearer.
How can I adapt this activity for younger or older kids?
For younger children, use a large simple toy and a chunky crayon with a caregiver holding the object during step 5, while older kids can practice moving the lamp in step 12 and refine gradients and reflected light in steps 10–11 and add detailed sketches beside the tracing in step 7.
What are some ways to extend or personalize the shadow drawing?
To enhance the activity, repeat step 12 to make overlapping shadows from different lamp positions, shade each shadow with different colors or textures during steps 8–11, and photograph the finished piece to share on DIY.org as in step 13.
Watch videos on how to draw realistic shadows for objects
How to Draw Shadow? - Drawing Tutorial
4 Videos
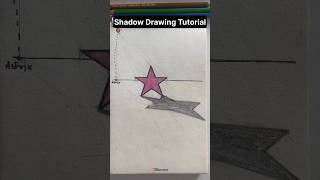
How to Draw Shadow? - Drawing Tutorial
Basic rules of light and shadow for drawing _ Beginner's Tutorial

Drawing Shadows Made Simple: Quick Tips & Tricks
How To Draw An Eyeshadow Kit
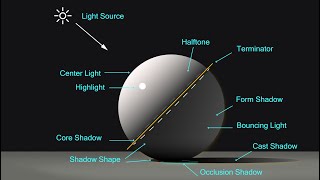
Facts about shading and light in drawing
🎨 Chiaroscuro is an art technique that uses strong contrasts of light and dark to create the illusion of volume.
☀️ A single point light source (like the sun) creates sharp, predictable cast shadows — move the light and the shadow moves with it!
💡 Desk lamps with lampshades or bulbs that are farther from the object make softer, fuzzier shadows compared to small, close light sources.
👀 Our brains instantly spot wrong shadows — even a tiny shadow error can make a drawing look 'off' or floating.
✏️ Practicing with different object shapes (cubes, spheres, cylinders) trains you to see how form changes the shadow and highlight patterns.
How do I draw realistic shadows for objects?
What materials do I need to draw realistic shadows?
What ages is this shadow-drawing activity suitable for?
What are the benefits of practicing shadow drawing?
