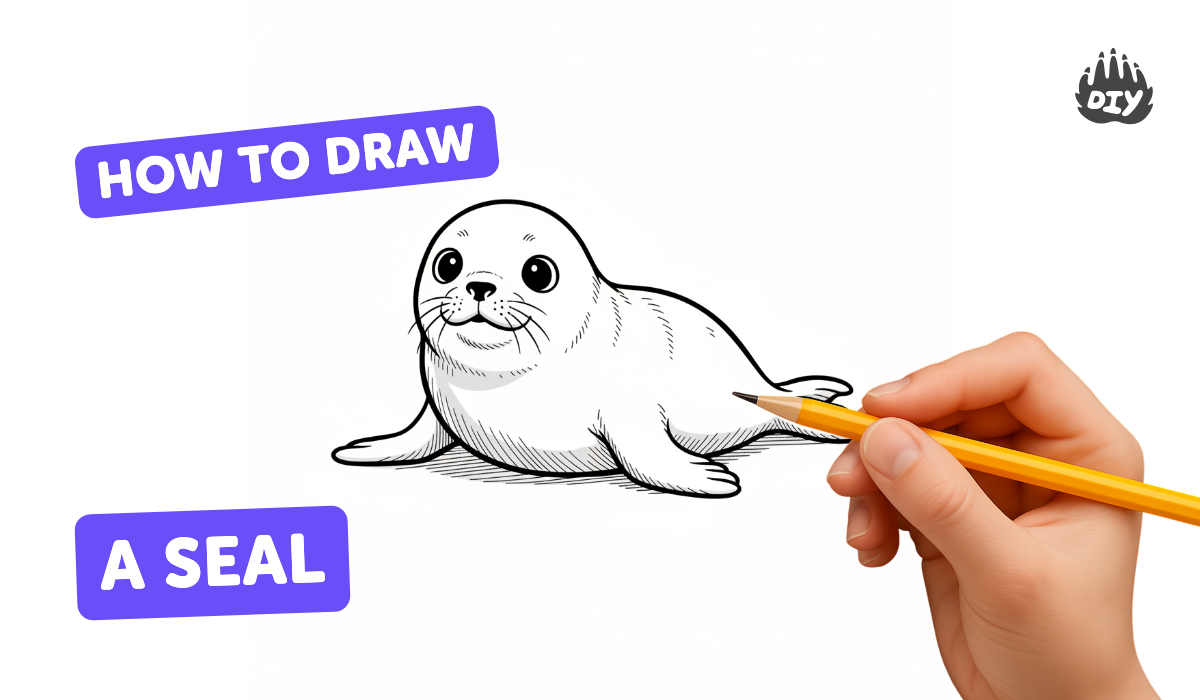
How to draw a seal - a free seal drawing guide
Draw a seal using simple shapes, step-by-step sketching, and shading. Practice proportion, flipper placement, and fur texture from photo references.

Drawing Apps
Get inspired with these


Instructions
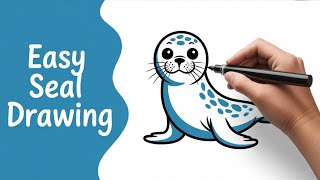
Cute Seal Drawing for Kids | Easy Step by Step Tutorial(@howtodraw1984)
Step 1
Choose a clear photo reference of a seal and place it where you can see it while you draw.
Step 2
Put your paper on a flat surface so it won’t move while you sketch.
Step 3
Sharpen your pencil so it makes light fine lines that are easy to erase.
Step 4
Lightly draw one large sideways oval for the body and a smaller circle touching one end for the head.
Step 5
Draw faint guidelines by adding a center line along the body and a horizontal eye line across the head.
Step 6
Add a small rounded snout shape at the front of the head.
Step 7
Mark the eye on the eye line with a small circle and leave a tiny unshaded dot inside it for a highlight.
Step 8
Sketch both front flippers as long rounded ovals and the rear flippers as smaller curved shapes where they attach to the body.
Step 9
Draw a small curved V shape at the back to show the tail notch.
Step 10
Smoothly connect the basic shapes with a single clean outline to form the seal’s final body contour.
Step 11
Erase the inside construction lines gently so only the final outline remains.
Step 12
Add fur texture with short directional pencil strokes that follow the shape of the body.
Step 13
Shade the belly and shadowed areas with gentle pencil strokes to show form and depth.
Step 14
Lightly blend shaded areas with your fingertip or a cotton swab for softer shadows.
Step 15
Share your finished seal drawing on DIY.org.
Help!?
What can we use instead of a cotton swab for blending or if we don't have a clear photo reference?
Use a clean fingertip, a folded tissue, or a blending stump instead of the cotton swab, and use a printed magazine image or a phone/tablet screen placed next to your paper as the clear photo reference.
My large sideways oval or flippers look wrong—how do I fix them without ruining the rest of the drawing?
Lightly erase and redraw the large sideways oval and flippers using the center line and horizontal eye line as guides, keep your pencil sharp for light fine lines, and reshape the flippers with soft gesture curves before you trace the single clean outline.
How can I adapt these steps for younger children or older kids who want more challenge?
For younger children, simplify by making the basic shapes larger and letting them trace the final outline with a thick marker while skipping fine fur texture, and for older kids, add detailed short directional pencil strokes, try different pencil grades for richer shading, and refine blends with a cotton swab or blending stump.
What are some ways to extend or personalize the seal drawing after I finish the outline and shading?
After you erase construction lines and blend shaded areas, personalize it by adding a background like ice or water with colored pencils or a light watercolor wash, vary the fur texture with different stroke lengths, or create a series showing the seal in different poses and share the finished drawing on DIY.org.
Related videos
How To Draw A Baby Seal Cartoon
4 Videos
How To Draw A Baby Seal Cartoon
How To Draw A Baby Seal
Easy Seal Drawing for Kids, How to Draw a Cute and Simple Seal Fish, Art videos
How To Draw Cute Cartoon Seal Step By Step Easy Drawing For Kids
Fun Facts
🦭 Seals have very sensitive whiskers (vibrissae) that help them detect movement in water — a great little detail to add to your sketch!
✏️ Many artists start animal drawings by blocking shapes with 3–5 basic forms (circle for head, oval for body) to nail proportions fast.
🐾 Front flippers steer while rear flippers push — placing flippers low and slightly angled makes your seal look ready to swim.
🎨 Short, directional strokes or light smudging can suggest dense seal fur without drawing every hair.
🔍 Spot patterns on seals are often unique, so using a photo reference helps you capture realistic markings and proportions.
How do you draw a seal step by step using simple shapes and shading?
What materials do I need to draw a seal with my child?
What ages is this seal drawing activity suitable for?
What are the benefits of drawing seals from photo references?
