How to draw a seahorse - a free seahorse drawing guide
Draw a colorful, detailed seahorse step-by-step using shapes, lines, and shading. Practice proportions, textures, and creativity while learning basic sea creature anatomy.

Drawing Apps
Get inspired with these


Instructions
How To Draw A Seahorse
Step 1
Lightly draw a long gentle S-shaped curve on your paper to make the seahorse's spine and tail guide.
Step 2
Draw a small oval at the top of the S for the seahorse's head.
Step 3
Draw a narrow tube-shaped snout extending from the oval for the nose.
Step 4
Draw a rounded belly line parallel to the S to form the body shape.
Step 5
Draw the tail curling into a spiral at the bottom of the S.
Step 6
Draw a fan-shaped dorsal fin along the back and a small rounded pectoral fin near the cheek.
Step 7
Draw segmented bony rings across the body following the curve to show the seahorse's plates.
Step 8
Add a circle for the eye a tiny dot for the nostril and a short curved line for the mouth.
Step 9
Trace over your best outer lines with a firmer pencil or fineliner to refine the seahorse outline.
Step 10
Erase the light guide lines so only the cleaned-up seahorse drawing remains.
Step 11
Add texture by drawing small curved plates scales or leaf-shaped ridges between the rings.
Step 12
Shade under the belly behind the rings and under the fins with light pencil strokes then blend gently with a tissue for softer shadows.
Step 13
Colour your seahorse with base colors then add darker tones for shadows and lighter strokes for highlights and patterns.
Step 14
Share your finished seahorse creation on DIY.org.
Help!?
What can we use instead of a fineliner or tissue if we don't have them?
If you don't have a fineliner, trace over your best outer lines with a sharp 2B pencil or a thin-tipped felt pen, and replace the tissue for blending the light pencil shadows with a cotton swab or folded napkin.
My seahorse proportions look wrong or the rings look messy — how do I fix that?
If the S-guide, belly line, or segmented rings look crooked, redraw those guide lines very lightly with an HB pencil using the oval head and belly as measurement points, then only trace final outer lines with a firmer pencil or fineliner before erasing guides to prevent smudging.
How can I adapt this activity for different ages and skill levels?
For preschoolers (3–5) simplify to one bold S and a spiral tail using crayons and skip detailed rings, for ages 6–9 follow the full step list with pencil and basic shading, and for 10+ add the small curved plates, blended shadows with tissue, and layered colouring techniques.
What are some ways to enhance or personalize my seahorse drawing?
Personalize by inventing patterns between the rings, adding seaweed and bubbles in the background, experimenting with watercolor washes for base colors and colored-pencil highlights, and then share your finished seahorse on DIY.org.
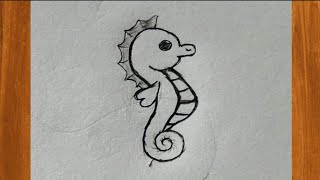
Related videos
How To Draw a Seahorse | Sketch Art Lesson (Step by Step)
4 Videos
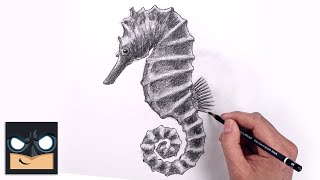
How To Draw a Seahorse | Sketch Art Lesson (Step by Step)
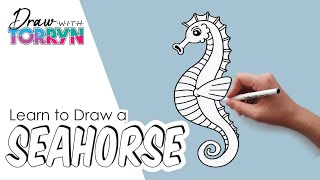
How to Draw a SEAHORSE | Step by Step Tutorial | easy 🌊🌊

How to draw seahorse|Easy drawing for kids step by step tutorial for beginners|Easy things to draw
Easy Seahorse Drawing Tutorial with Pencil | Step by Step Guide for Beginners
Fun Facts
🐴 Seahorses are named for their horse-like heads and belong to the genus Hippocampus.
👨👦 Male seahorses are the ones that carry the eggs in a pouch and give birth to live young.
🎨 Many seahorses can change color to hide among coral and seagrass — great inspiration for colorful drawings!
🧩 Instead of scales, seahorses have bony plates arranged in rings that give their bodies a textured look.
🌿 Seahorses use their prehensile tails like little anchors to grab seagrass or coral and stay put in currents.
How do I draw a seahorse step-by-step?
What materials do I need to draw a detailed seahorse?
What ages is drawing a detailed seahorse suitable for?
What are the benefits of drawing a detailed seahorse?
