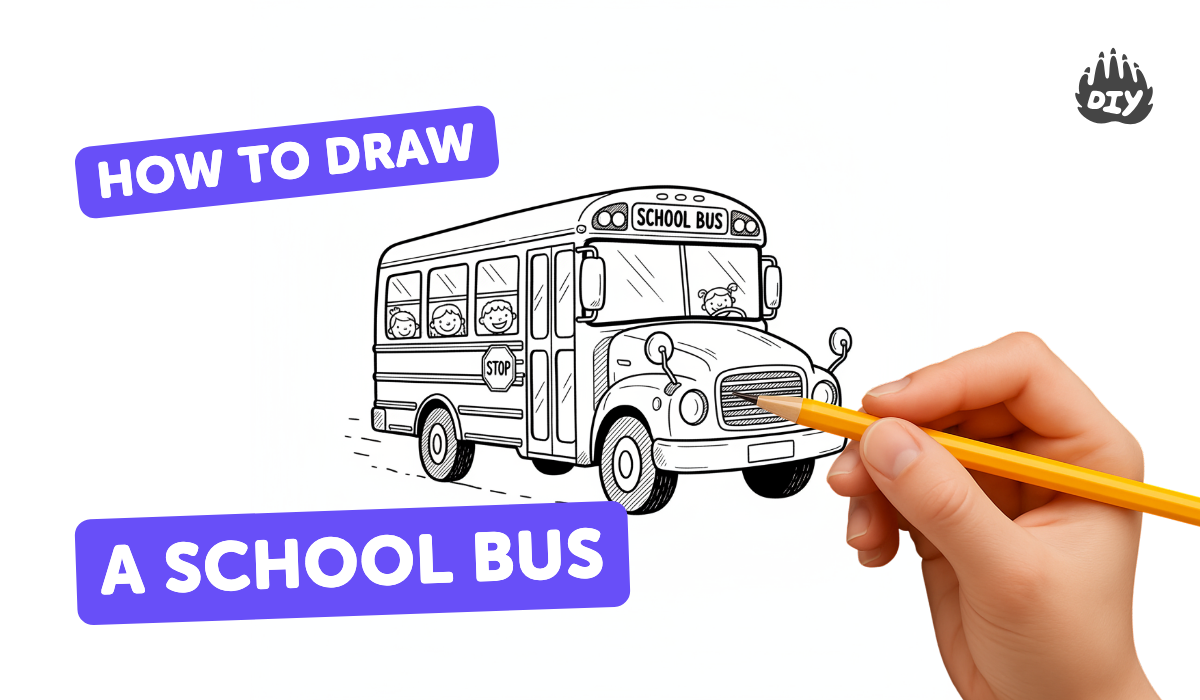
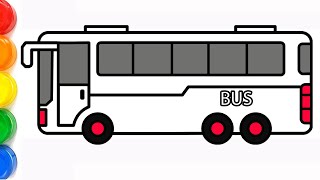
How to draw a school bus - a free school bus drawing guide
Draw a school bus step by step using simple shapes; add windows, wheels, doors, and color to create a clear vehicle drawing. Practice shading.

Drawing Apps
Photos of school bus drawing examples


Step-by-step guide to draw a school bus
How to Draw a School Bus Step by Step | Easy Drawing for Kids
Step 1
Place a sheet of paper on a flat surface.
Step 2
Pick up your pencil and draw a large horizontal rectangle in the center of the page for the bus body.
Step 3
Round the top corners of the rectangle to shape the bus roof.
Step 4
Draw two large circles under the bus body for the wheels.
Step 5
Draw a smaller circle inside each wheel for the hubcaps.
Step 6
Draw a tall vertical rectangle near the front of the bus for the door.
Step 7
Draw a row of evenly spaced rectangular windows along the top half of the bus body.
Step 8
Draw a small circle at the front of the bus for the headlight.
Step 9
Draw a small horizontal rectangle on the roof for the bus sign.
Step 10
Write the words SCHOOL BUS inside the roof sign in clear block letters.
Step 11
Trace over your pencil lines with a black marker to make the drawing bold.
Step 12
Color the main body of the bus yellow using your coloring materials.
Step 13
Color the windows wheels and small details with suitable colors.
Step 14
Lightly shade under the bus and on the side away from the light with your pencil then blend gently with a tissue to make soft shadows.
Step 15
Share your finished school bus drawing on DIY.org.
Help!?
What can I use if I don't have a black marker to trace my drawing?
If you don't have a black marker to 'Trace over your pencil lines with a black marker', use a dark-colored pencil or black crayon and press firmly to make bold lines.
My wheels look crooked or uneven—how can I fix them?
When 'Draw two large circles under the bus body for the wheels', place a round object like a cup to trace perfect circles, then add the 'smaller circle inside each wheel for the hubcaps'.
How can I change the activity for younger or older children?
For younger kids, lightly sketch the 'large horizontal rectangle' and 'row of evenly spaced rectangular windows' for them to trace, while older kids can add perspective, detailed shading, and extra parts like mirrors using the 'lightly shade under the bus' step for realism.
How can we personalize or extend the school bus drawing?
To extend the activity, draw faces or sticker passengers in the windows (the 'row of evenly spaced rectangular windows'), add a custom license plate or bus number on the front, and create a background scene before you 'Color the main body of the bus yellow'.
Watch videos on how to draw a school bus
How to Draw a School Bus Easy for Kids!
4 Videos
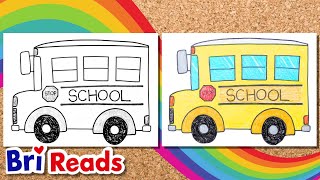
How to Draw a School Bus Easy for Kids!
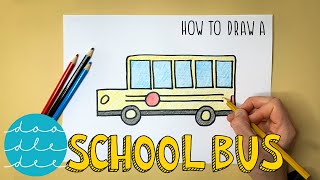
How to Draw a School Bus - Fun & Easy Step by Step Tutorial | With Coloring | For Kids & Beginners
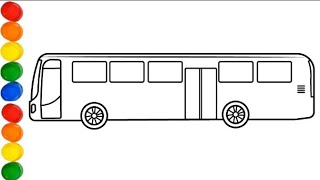
How To Draw Bus - Easy drawing tutorial
How to Draw a Simple Bus | Step by Step Drawing Tutorial
Facts about drawing vehicles for kids
🚌 School buses are traditionally painted a special "school bus yellow" because that color is highly visible in low light and fog.
✏️ Many artists build vehicle drawings from simple shapes first — rectangles for the body and circles for the wheels make a great roadmap.
🎨 Choosing one light source for shading helps a flat drawing look three-dimensional with highlights and shadows.
🪟 Small details like window frames and reflections make a cartoon bus look more realistic and lively.
⚙️ Wheels are great practice for concentric shapes: outer tire, inner rim, and the hubcap at the center.
How do you draw a school bus step by step?
What materials do I need to draw a school bus?
What ages is this school bus drawing activity suitable for?
What are the benefits and variations of drawing a school bus?
