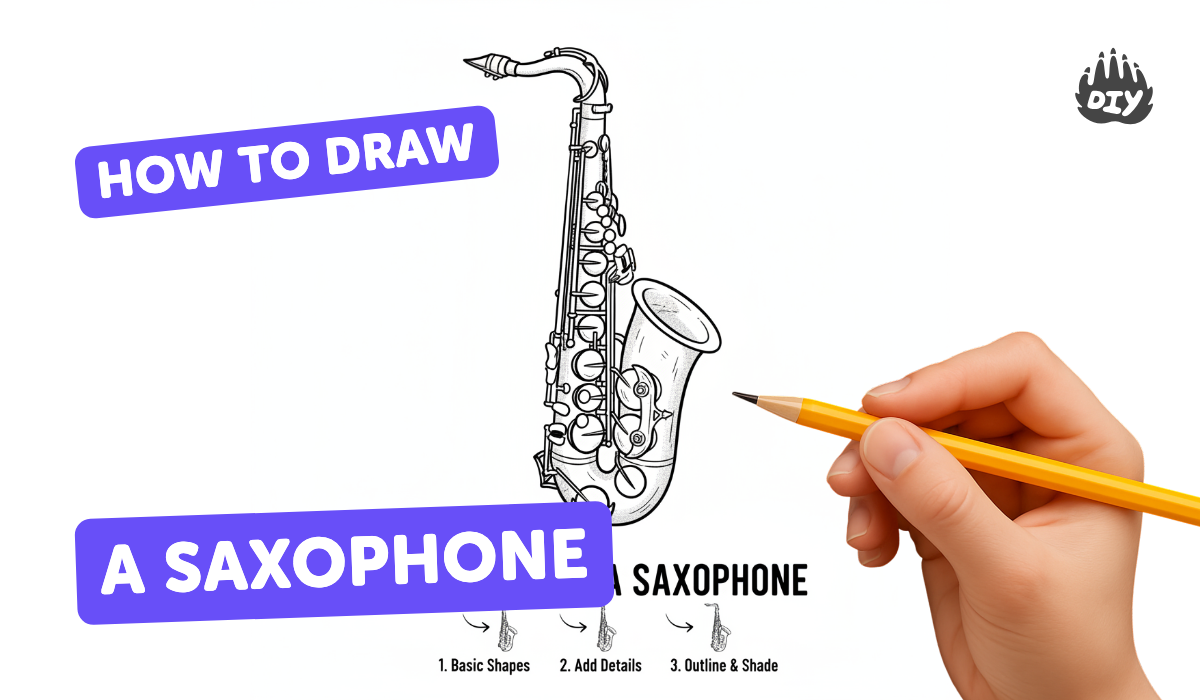
How to draw a saxophone - a free saxophone drawing guide
Draw a saxophone step by step using basic shapes, outlines, and details. Practice proportions, curves, and shading to create a realistic sketch.

Drawing Apps
Photos of saxophone drawing examples


Step-by-step guide to draw a saxophone
How to Draw a Saxophone - VERY EASY FOR KIDS
Step 1
Gather your materials.
Step 2
Lightly draw a long slightly curved vertical line to mark the saxophone's center spine.
Step 3
Draw a parallel curved line to create the other edge of the saxophone body.
Step 4
Connect the two lines at the bottom with a wide flared curve to form the bell.
Step 5
Draw a short S-shaped curve at the top to make the neck.
Step 6
Add a small rounded rectangle at the end of the neck to make the mouthpiece.
Step 7
Sketch several small circles and ovals along the body for the keys and pads.
Step 8
Draw thin straight lines beside the keys to show the rods and linkages.
Step 9
Add a small curved tab on the back of the body for the thumb rest.
Step 10
Erase extra overlapping sketch lines to clean up your drawing.
Step 11
Darken the final outlines with firmer pencil strokes to refine the sketch.
Step 12
Shade the body with light pencil strokes on one side to show the saxophone's round shape.
Step 13
Smudge the shading gently with a blending tool or tissue for a smooth metallic look.
Step 14
Use the eraser to lift tiny spots for shiny highlights and optionally add color with colouring materials.
Step 15
Share your finished saxophone drawing on DIY.org.
Help!?
What can we use instead of a blending tool or special colouring supplies?
If you don't have the blending tool or tissue called for in 'Smudge the shading gently', use a cotton swab, fingertip, or soft paper towel to smooth pencil shading and regular colored pencils or markers for the 'optionally add color' step.
My saxophone looks lopsided—how do I fix the shape and keep the two body lines parallel?
Lightly redraw the 'long slightly curved vertical line' and its parallel curve using small measurement marks or a ruler as guides, then 'Erase extra overlapping sketch lines' and reconnect the bell only when the curves match.
How can I adapt this drawing activity for different ages?
For younger kids, give a traced center spine and have them place simple round stickers for the 'Sketch several small circles and ovals' keys, while older children can focus on 'Shade the body', smudging techniques, and 'Use the eraser to lift tiny spots' for highlights.
How can we personalize or extend the saxophone drawing after finishing?
To enhance the finished saxophone, 'optionally add color with colouring materials' to create metallic finishes, draw a musician or band background, or turn it into a poster to 'Share your finished saxophone drawing on DIY.org'.
Watch videos on how to draw a saxophone
Teach Kids To Draw A Saxophone - Artie's Show
4 Videos
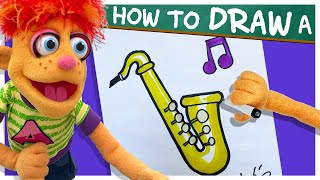
Teach Kids To Draw A Saxophone - Artie's Show

How TO Draw A Saxophone In A Few Easy Steps : Drawing Tutorial For Kids And Beginners : saxophone
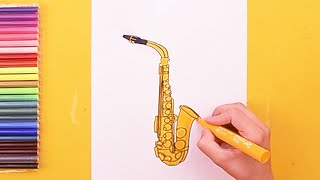
How to draw a Saxophone (Musical Instrument)

How To Draw A Saxophone Step By Step 🎷 Saxophone Drawing Easy
Facts about sketching musical instruments
🎷 Adolphe Sax invented the saxophone in the 1840s and patented it in 1846.
🎶 Even though it's made of brass, the saxophone is a woodwind because its sound comes from a vibrating single reed.
🎼 The saxophone family includes several sizes — soprano, alto, tenor, and baritone are the most common.
🔢 Modern saxophones usually have around 20–23 keys to create a wide range of notes.
✏️ Artists often start drawing a saxophone with simple shapes like cylinders and curves, then add keys and shading to make it realistic.
How do you draw a saxophone step by step?
What materials do I need to draw a saxophone?
What ages is drawing a saxophone suitable for?
What are the benefits and variations of drawing a saxophone?
